Skip to content


 Oil pastels are a powerful and versatile medium that allow artists to create vivid colors, rich textures, and expressive, dimensional artwork. Whether you're just starting out or looking to refine your skills, learning how to use oil pastel techniques properly can significantly improve your results.
In this guide, you’ll learn four essential oil pastel techniques that will help you build depth, texture, and visual impact in your artwork.
What Are Oil Pastel Techniques?
Oil pastel techniques are different ways of applying, layering, blending, and shaping pastels to achieve various artistic effects such as smooth gradients, fine details, or three-dimensional textures.
By mastering these techniques, you can:
-
Create smoother color transitions
-
Add texture and detail
-
Build depth and contrast
-
Develop a more professional artistic style
 1. Line Drawing Technique for Oil Pastels
Line work is one of the most important foundations when learning how to use oil pastels. It helps define structure, create texture, and guide the viewer’s eye.
-
Use the side of the pastel for thinner, more controlled lines
-
Use the tip of the pastel for thicker, bolder strokes
-
Layer lines over existing colors to create depth and variation
Best for:
-
Landscapes (grass, trees, textures)
-
Sketch-style illustrations
-
Adding movement and structure
Pro Tip:
Use short strokes to build texture and longer strokes to define form. Varying direction and color layering can create a more dynamic and natural look.
 2. Sgraffito Technique with Oil Pastels
The sgraffito technique involves scratching into layered pastel to reveal the color underneath, creating contrast and intricate detail.
How to do it:
-
Apply a base color evenly
-
Add a contrasting top layer
-
Scratch into the surface using a scraper or pointed tool
Best for:
-
Fine details like hair or fur
-
Texture effects (grass, patterns)
-
Decorative line work
Pro Tip:
Apply thicker layers for better results when scratching. Experiment with different tools to vary your line quality.
 3. Blending Technique for Oil Pastels
Blending is essential for creating smooth transitions and soft lighting effects in oil pastel artwork.
-
Blend using the pastel itself, a sponge tool, or a cotton swab
-
Gently push colors into each other
-
Layer multiple colors to increase richness
Best for:
-
Skies and gradients
-
Light and glow effects
-
Skin tones and soft shading
Pro Tip:
Blend in small circular or directional motions to avoid muddy colors and maintain vibrancy.
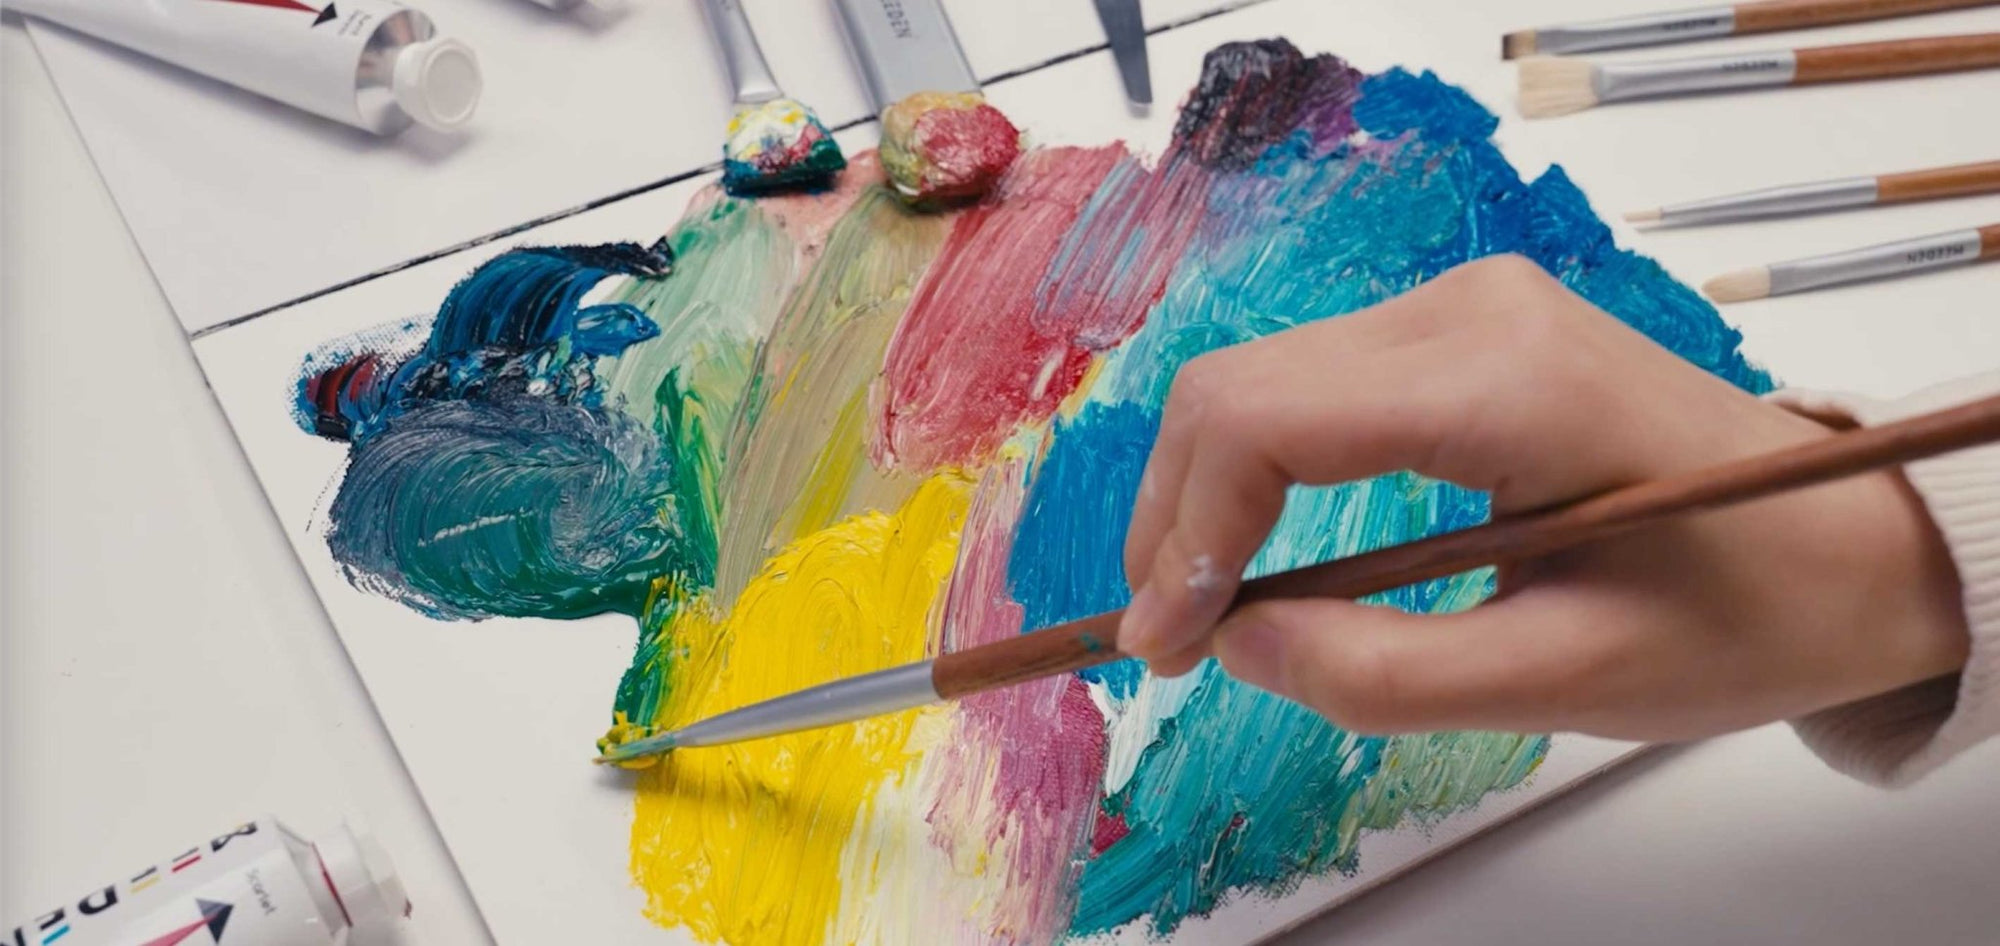
 4. Impasto Technique in Oil Pastels
Oil pastels are semi-soft, allowing you to build texture and create 3D effects directly on the surface.
-
Scrape, cut, or press pastel onto the paper
-
Layer material to build raised forms
-
Slightly warm the pastel to make shaping easier
Best for:
-
Flowers and organic shapes
-
Textured highlights
-
Abstract or decorative elements
Pro Tip:
Control how much material you apply—small amounts create subtle texture, while heavier application creates bold, sculptural effects.
Why These Oil Pastel Techniques Matter
Understanding how to use oil pastels goes beyond basic coloring. These techniques allow you to transform flat color into expressive, textured, and visually engaging artwork.
By combining line work, blending, scratching, and shaping, you can create pieces that feel more dynamic and professional.
🎥 Oil Pastel Techniques Video Tutorial
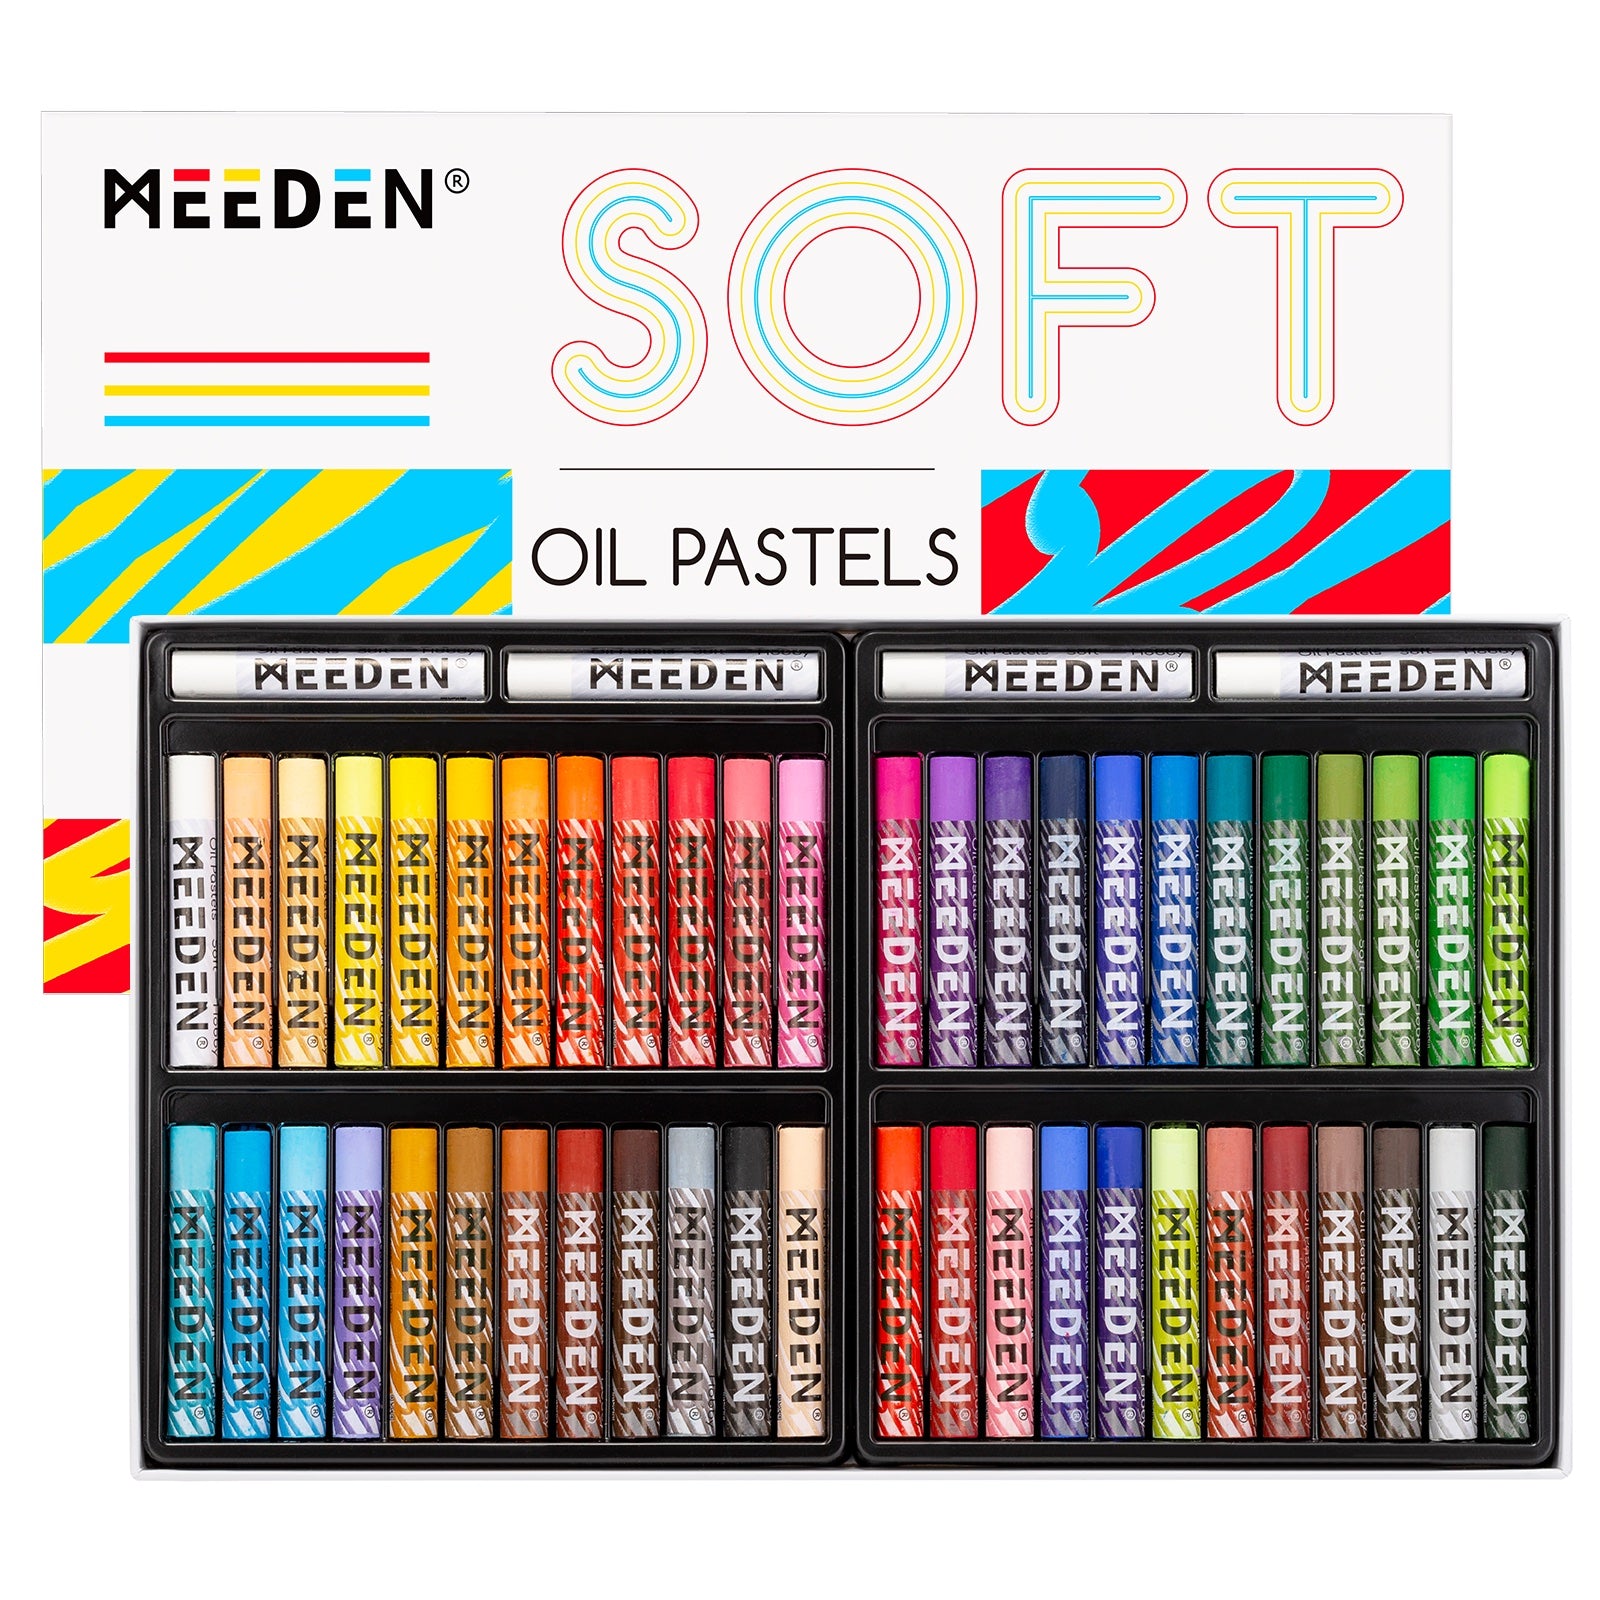
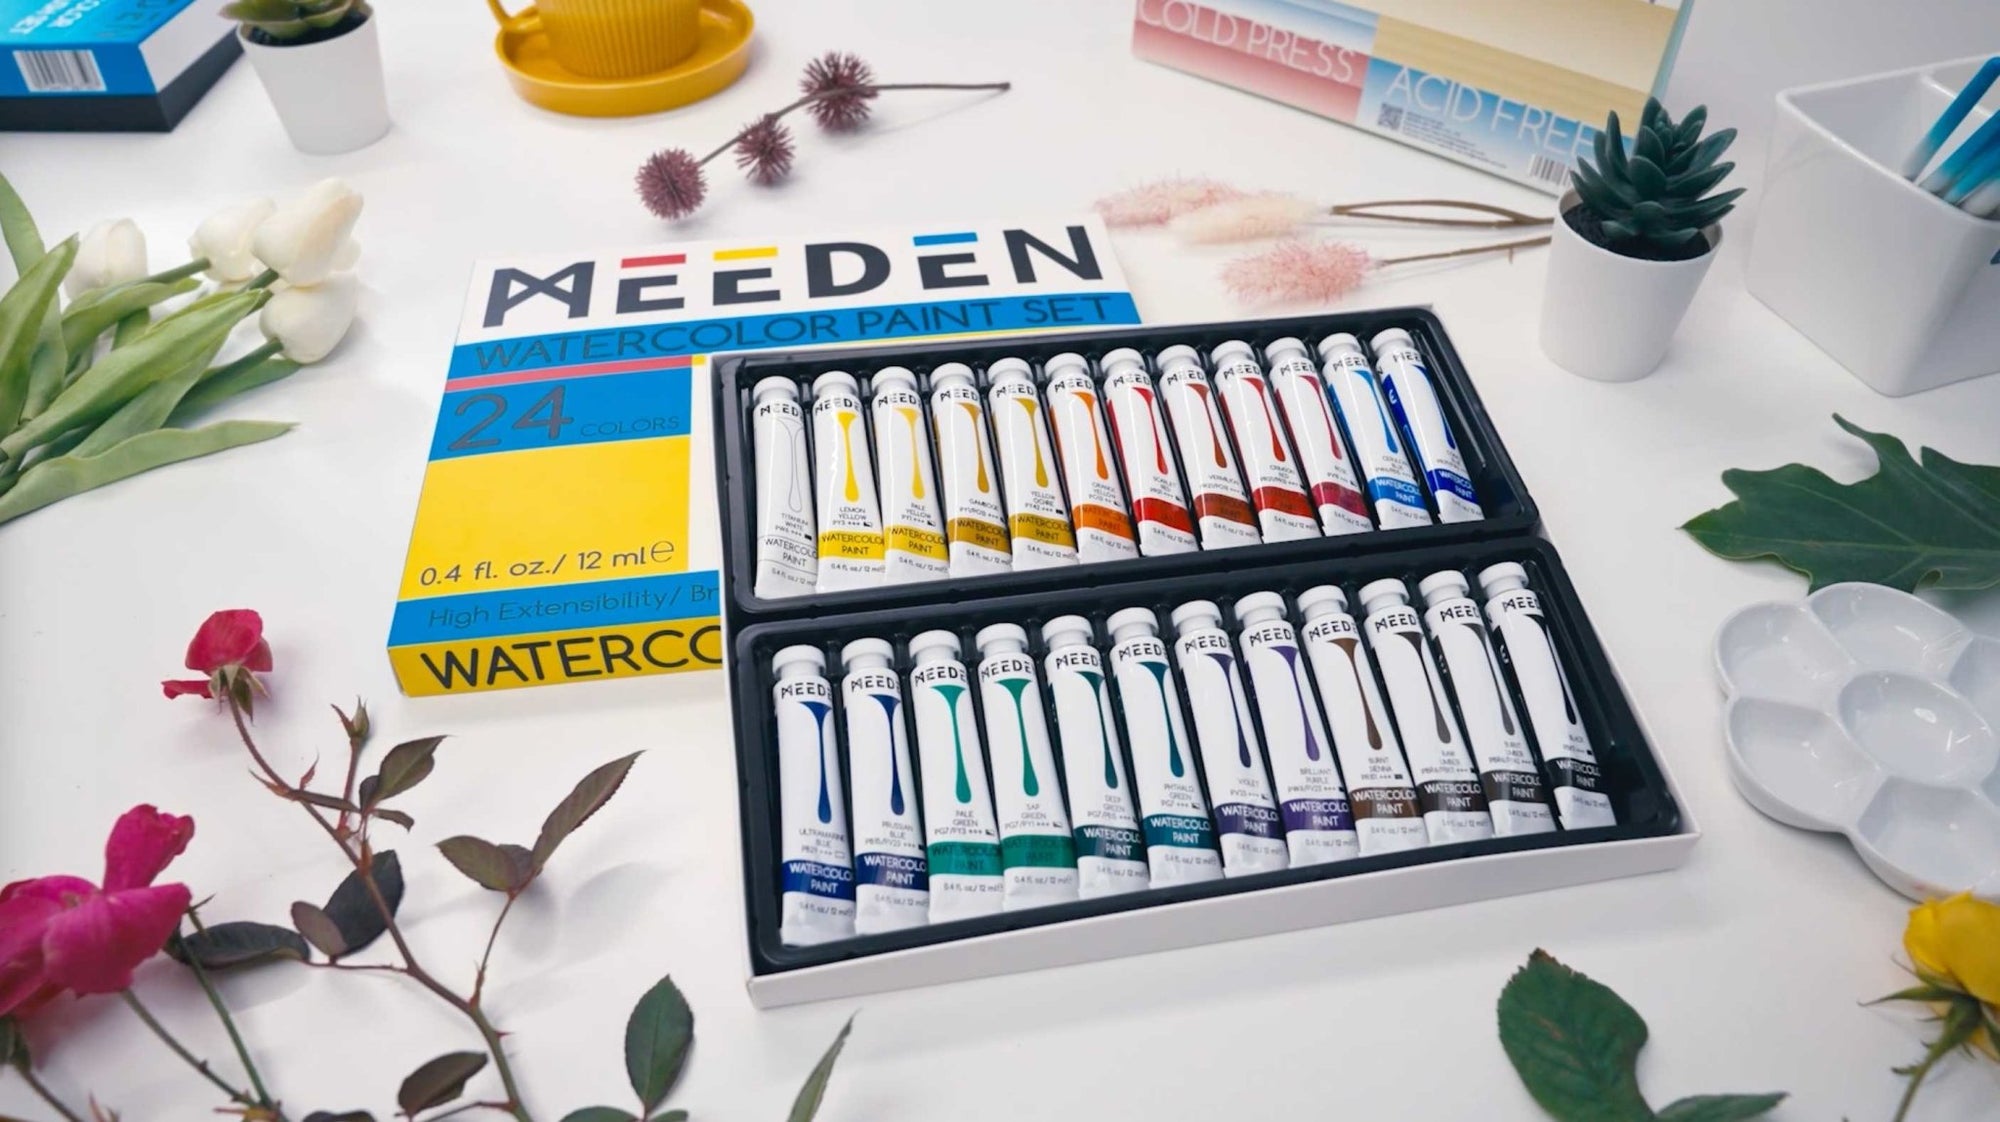
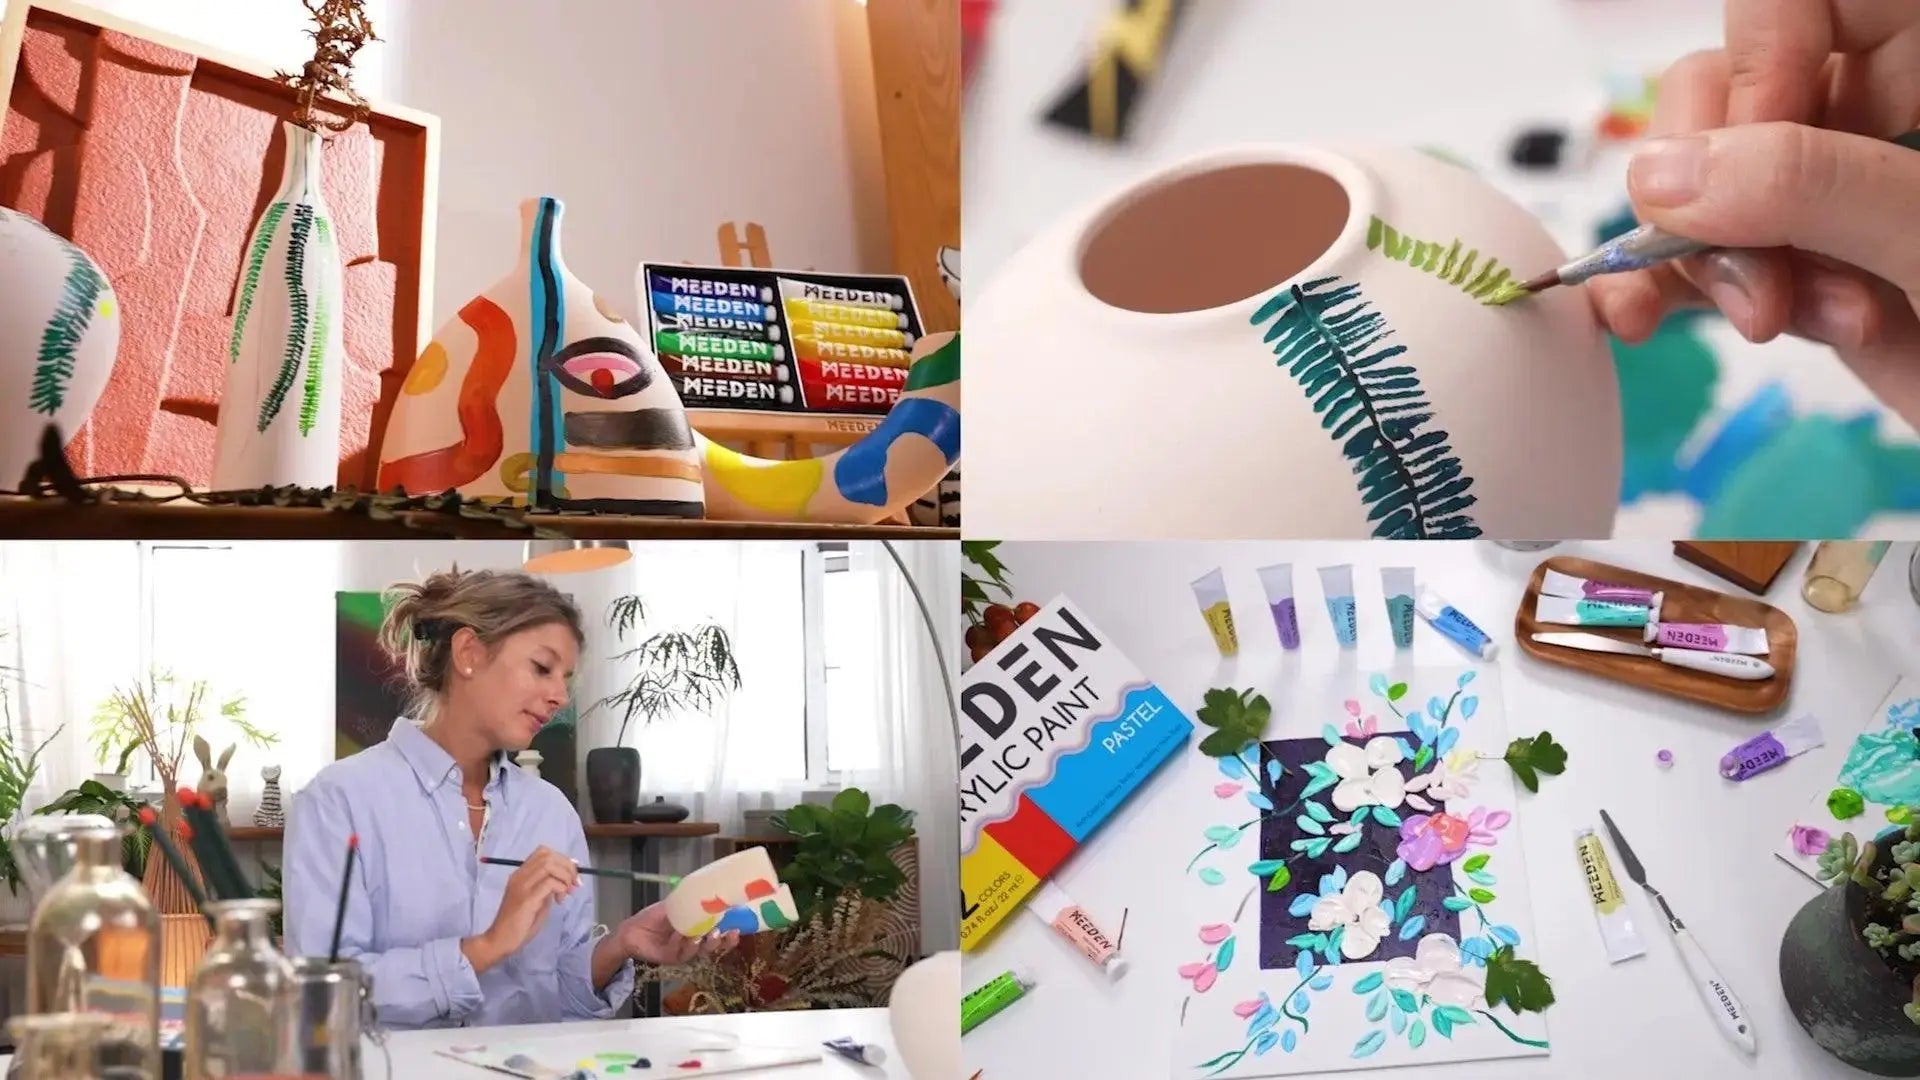
🛒 Recommended Oil Pastel
https://meedenart.com/collections/pastels
Final Thoughts
If you're learning how to use oil pastels, start with these four essential techniques: line drawing, sgraffito, blending, and impasto.
Practice consistently, experiment with layering and pressure, and most importantly—enjoy the process. Oil pastels offer endless creative freedom, and the more you explore, the more unique your artistic style will become.