Skip to content


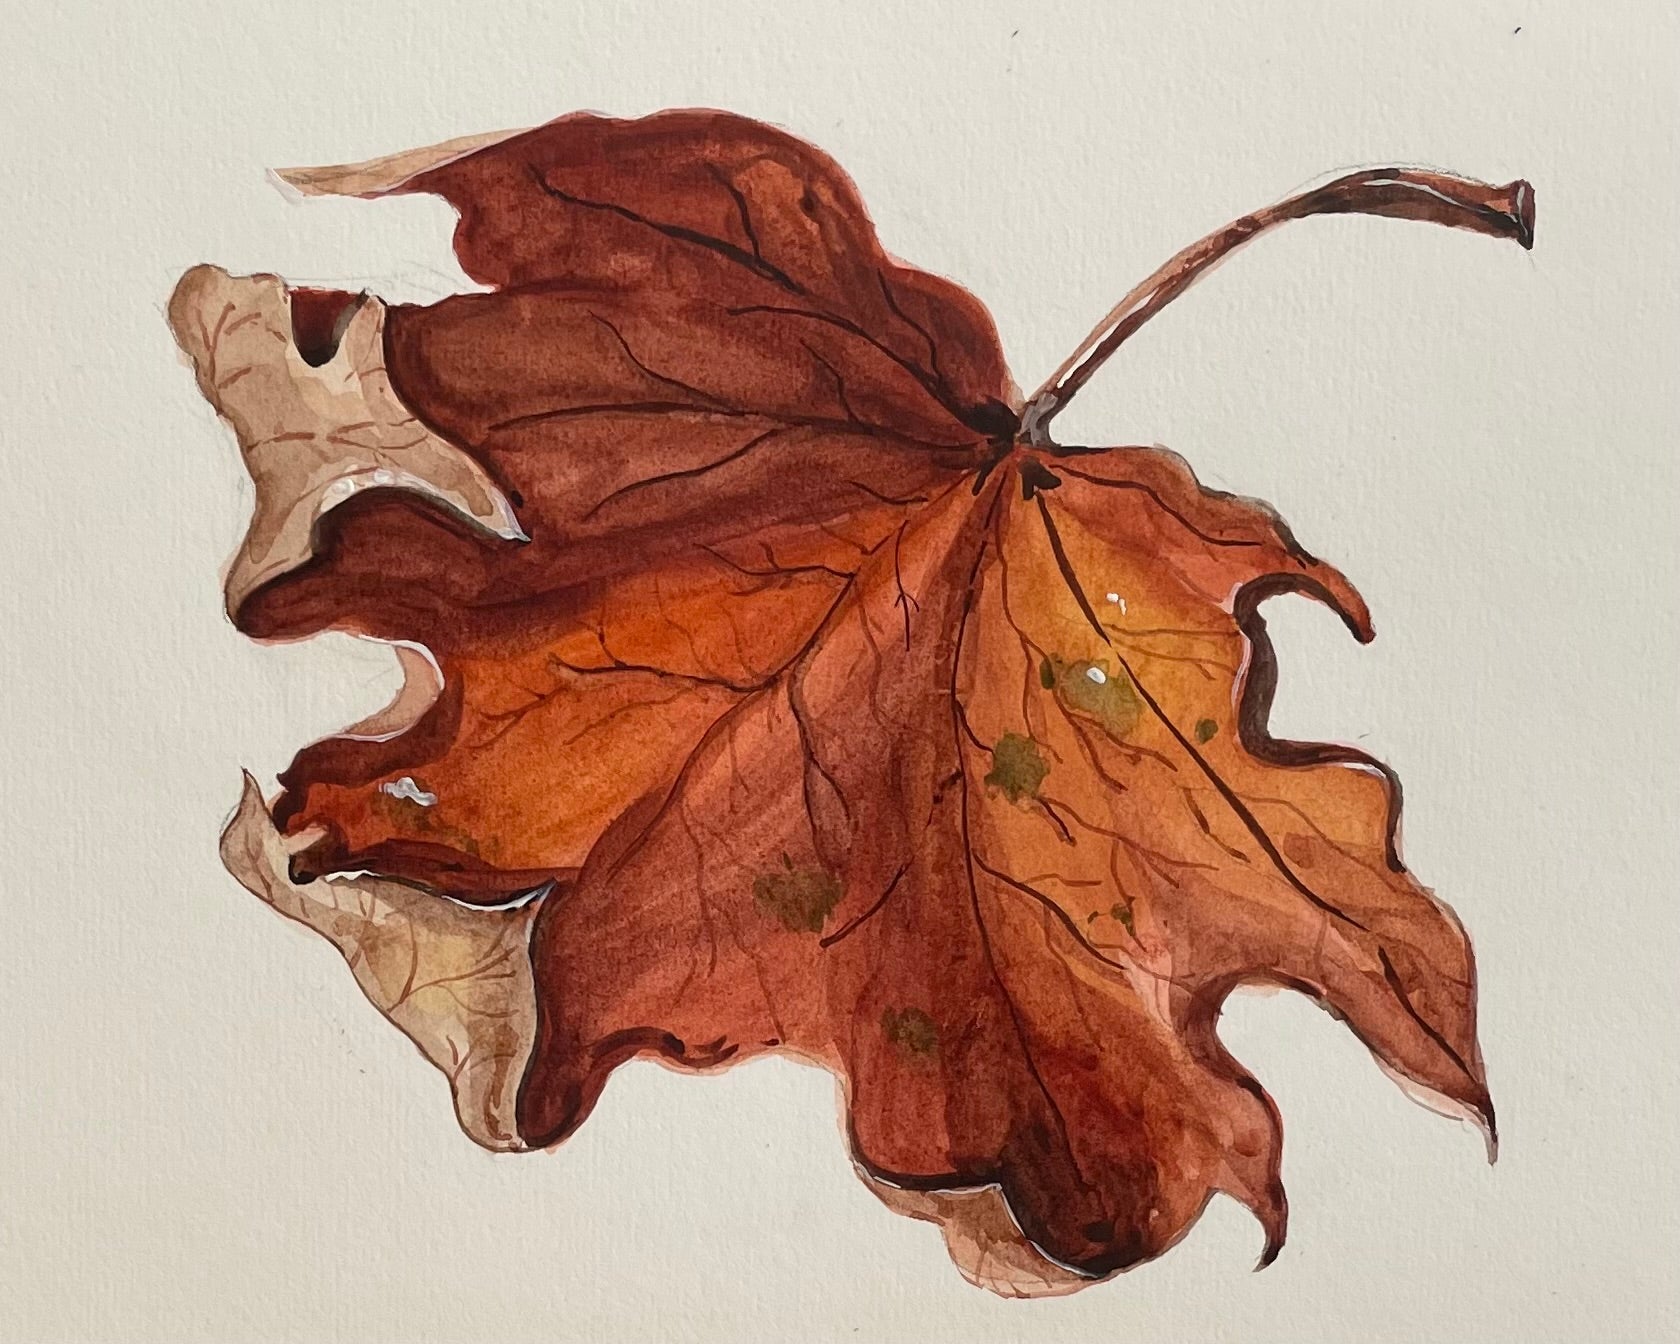
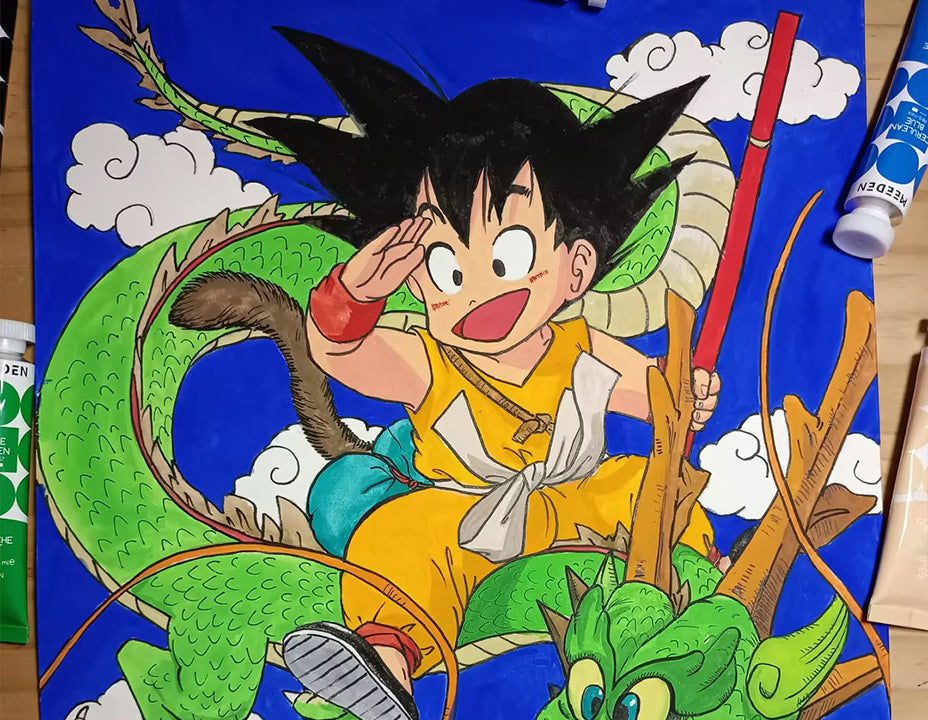
Welcome to our step-by-step watercolor painting tutorial! In this guide, we’ll teach you how to create a stunning, lifelike maple leaf using simple techniques that are perfect for both beginners and experienced artists. 🍁✨
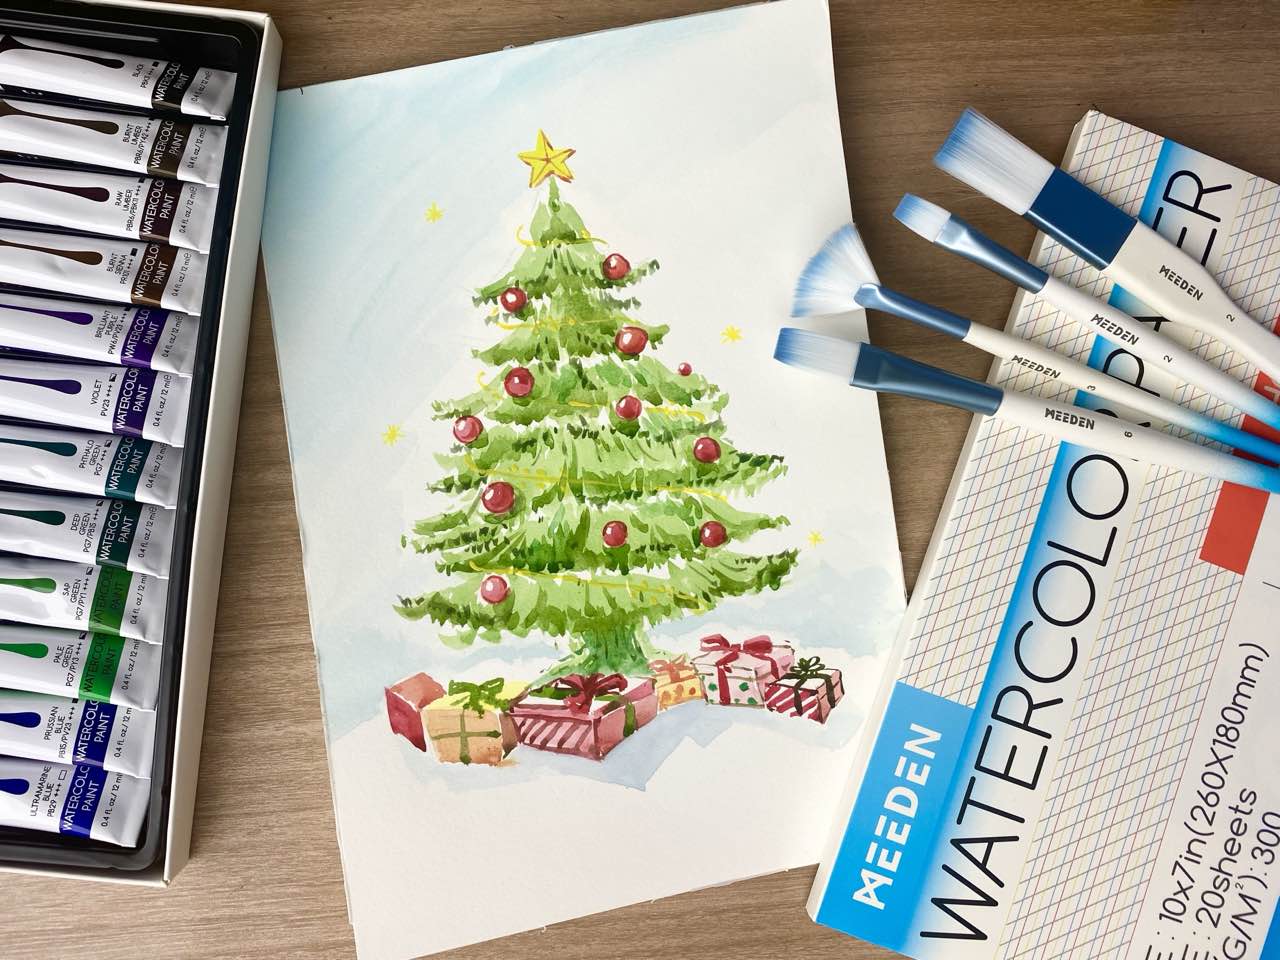
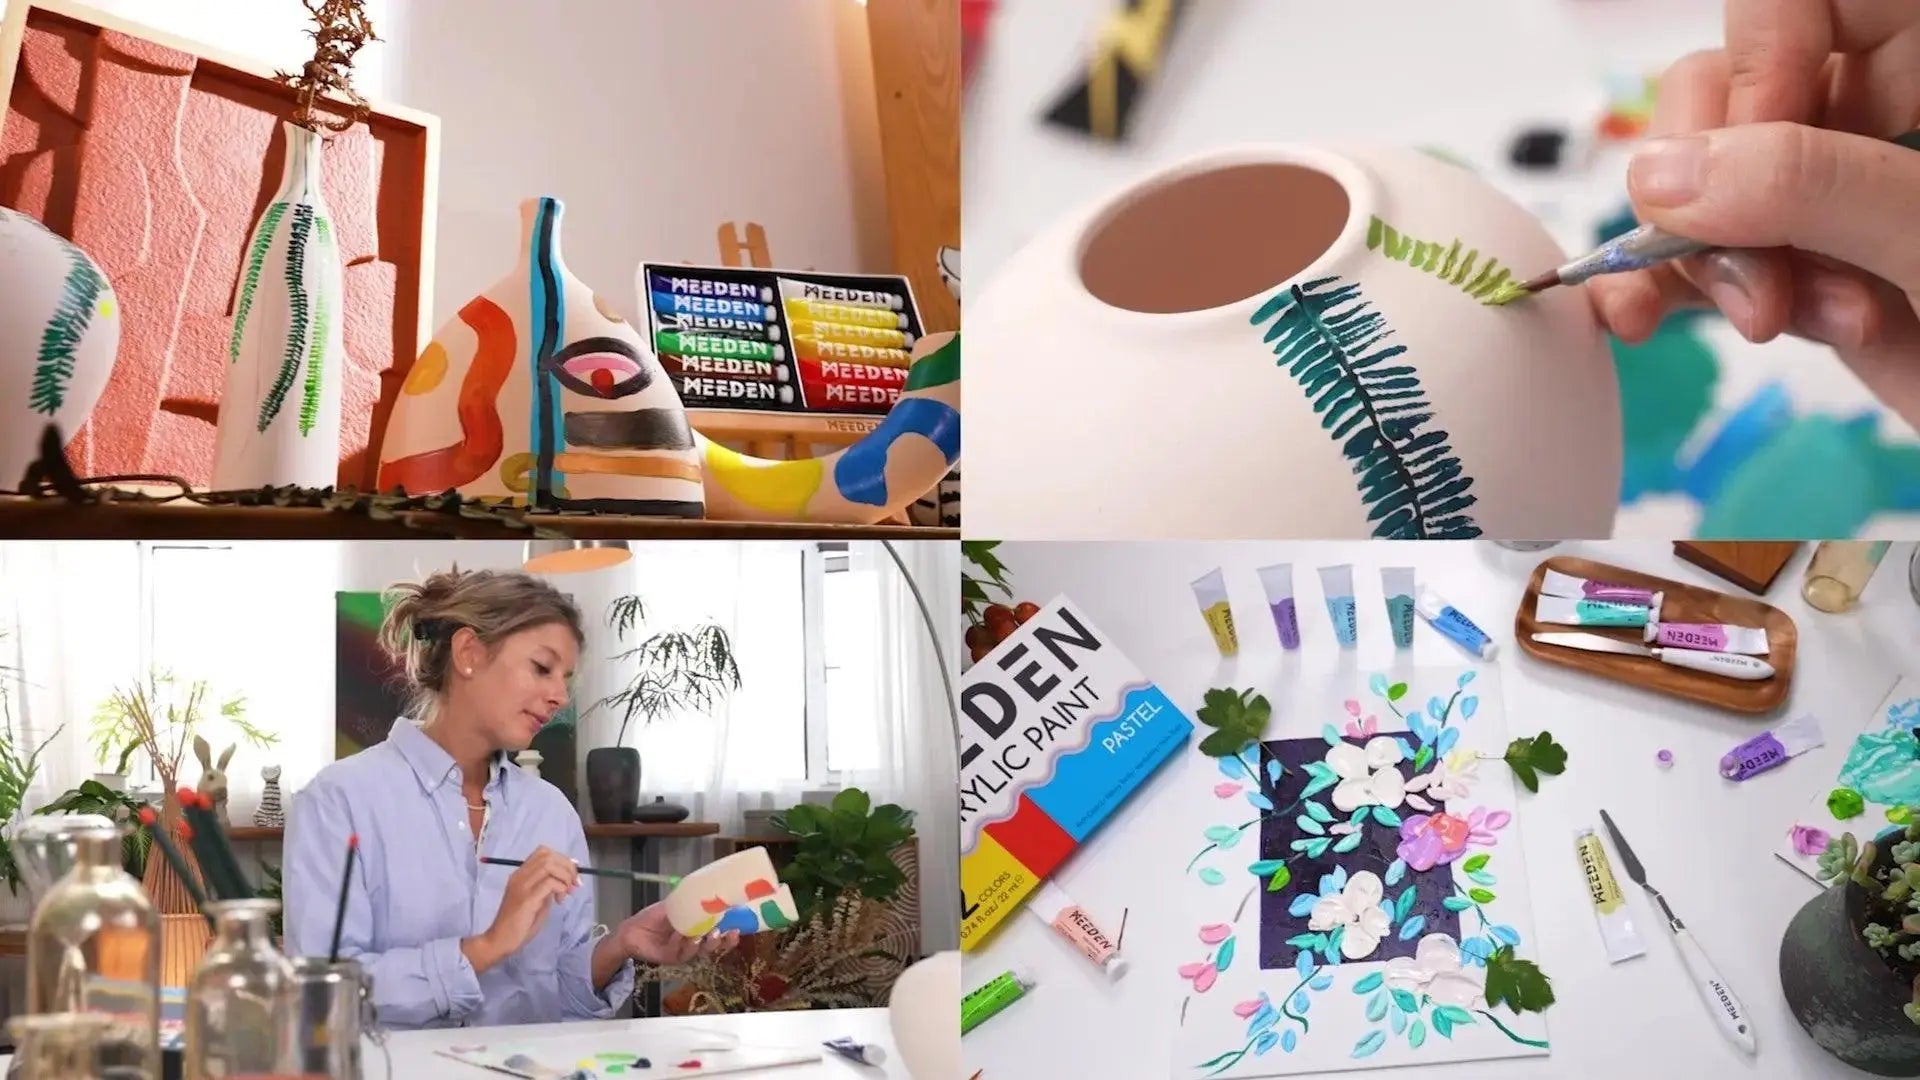
Supplies Used
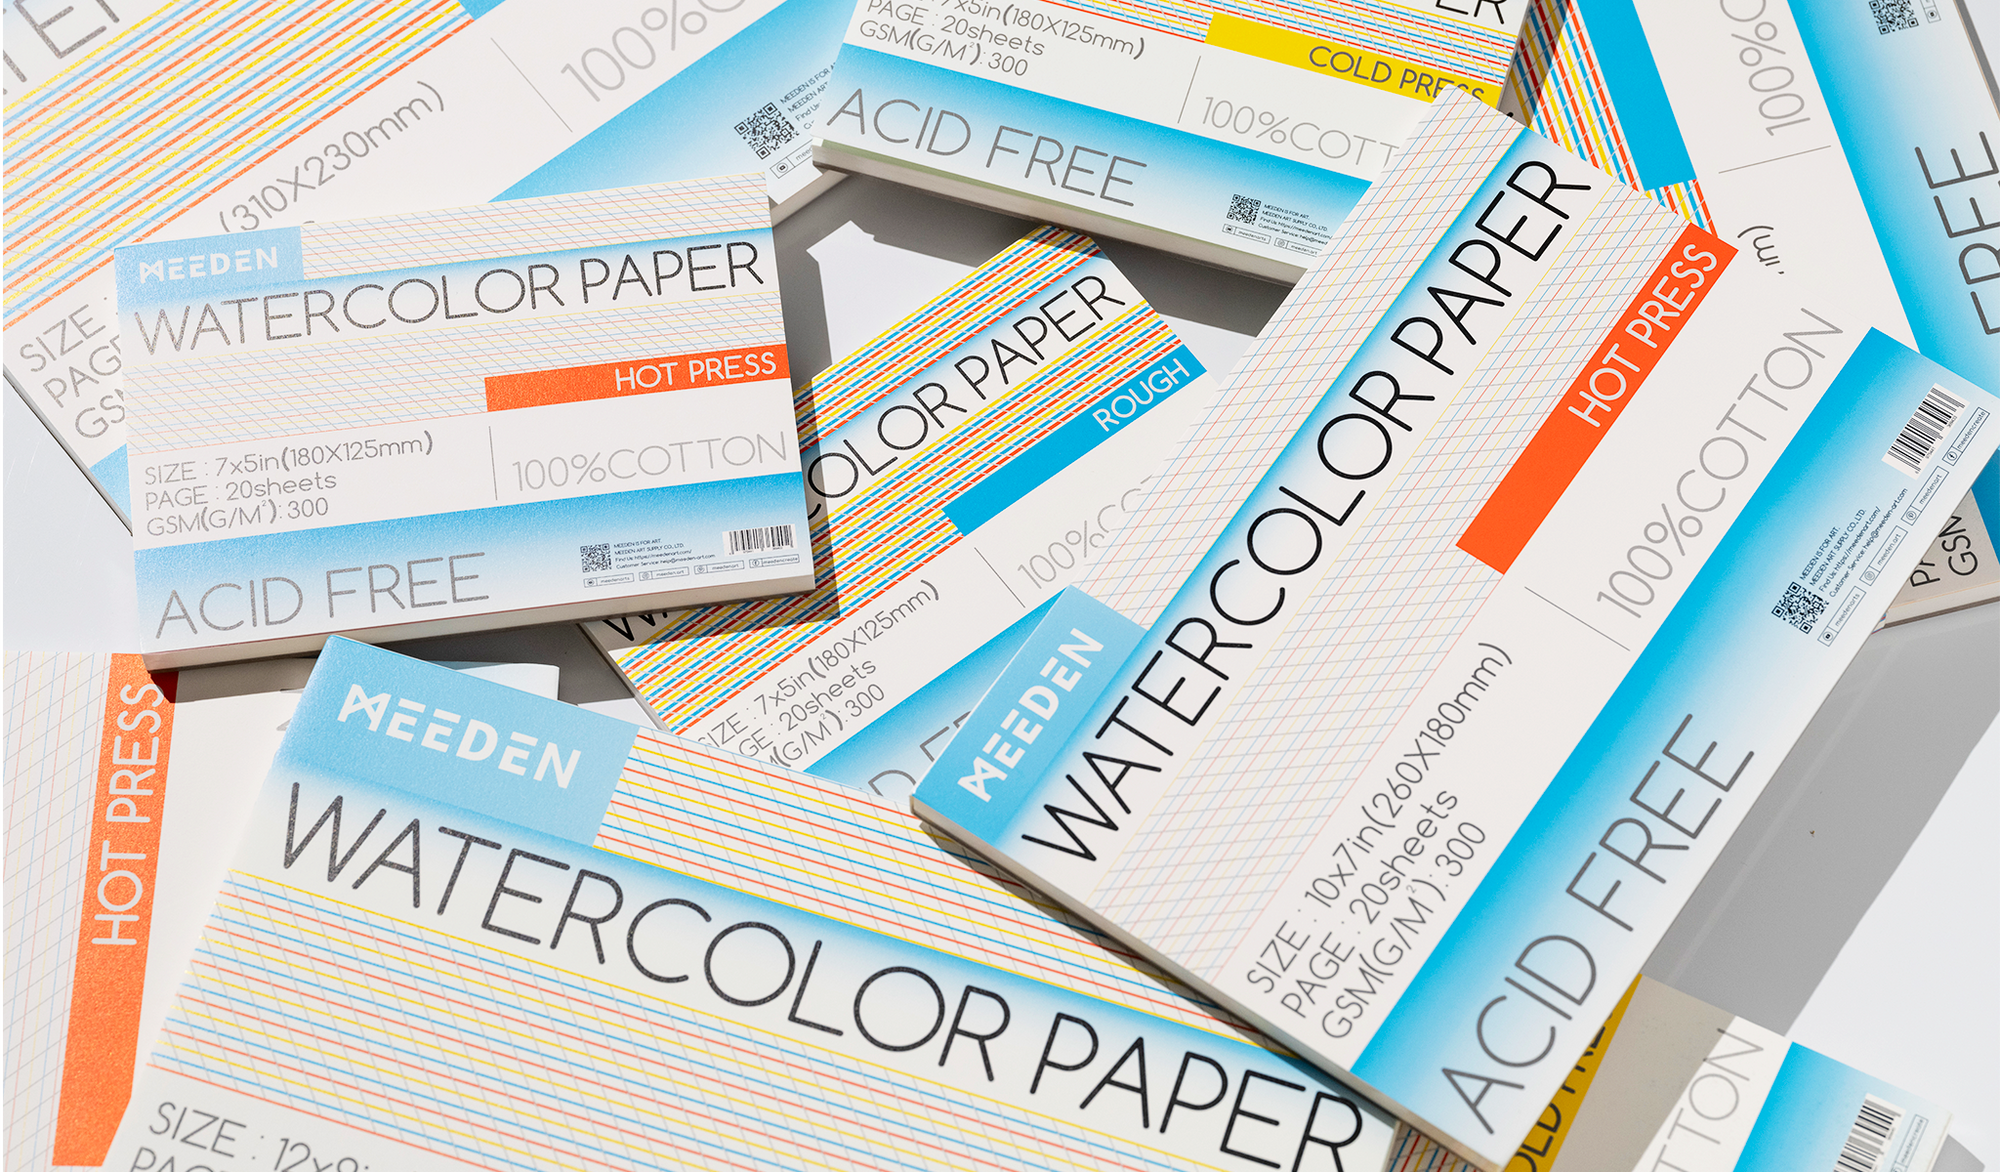
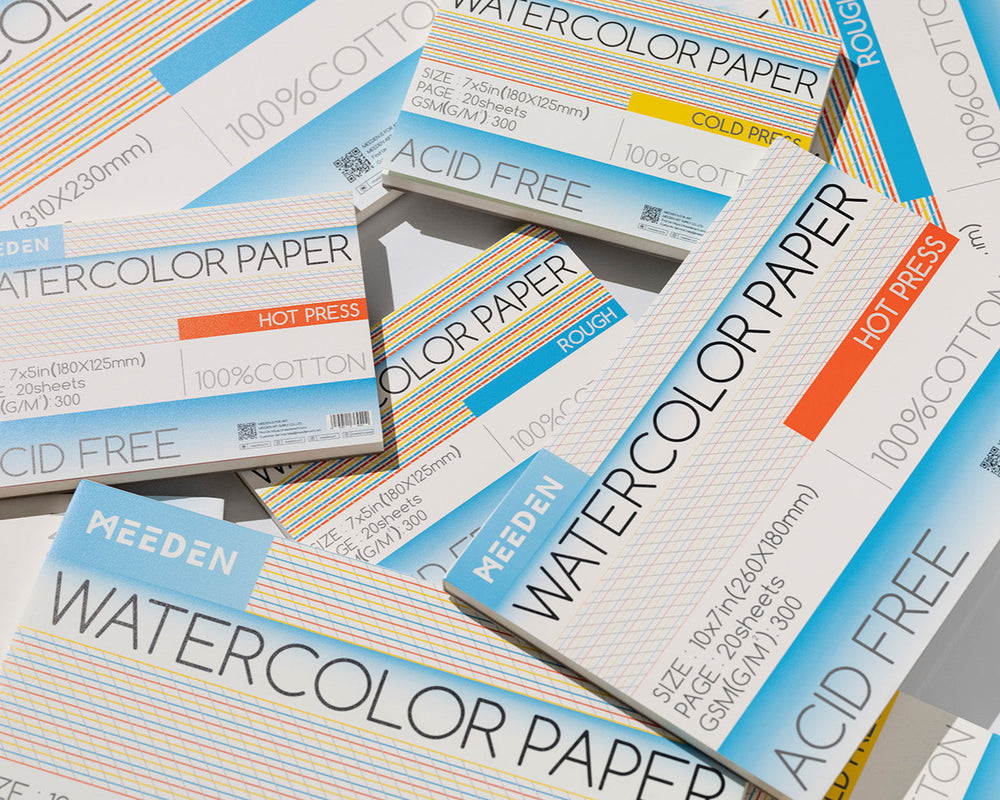
- MEEDEN 10x7" Hot Press Watercolor Paper Pad (20 sheets)
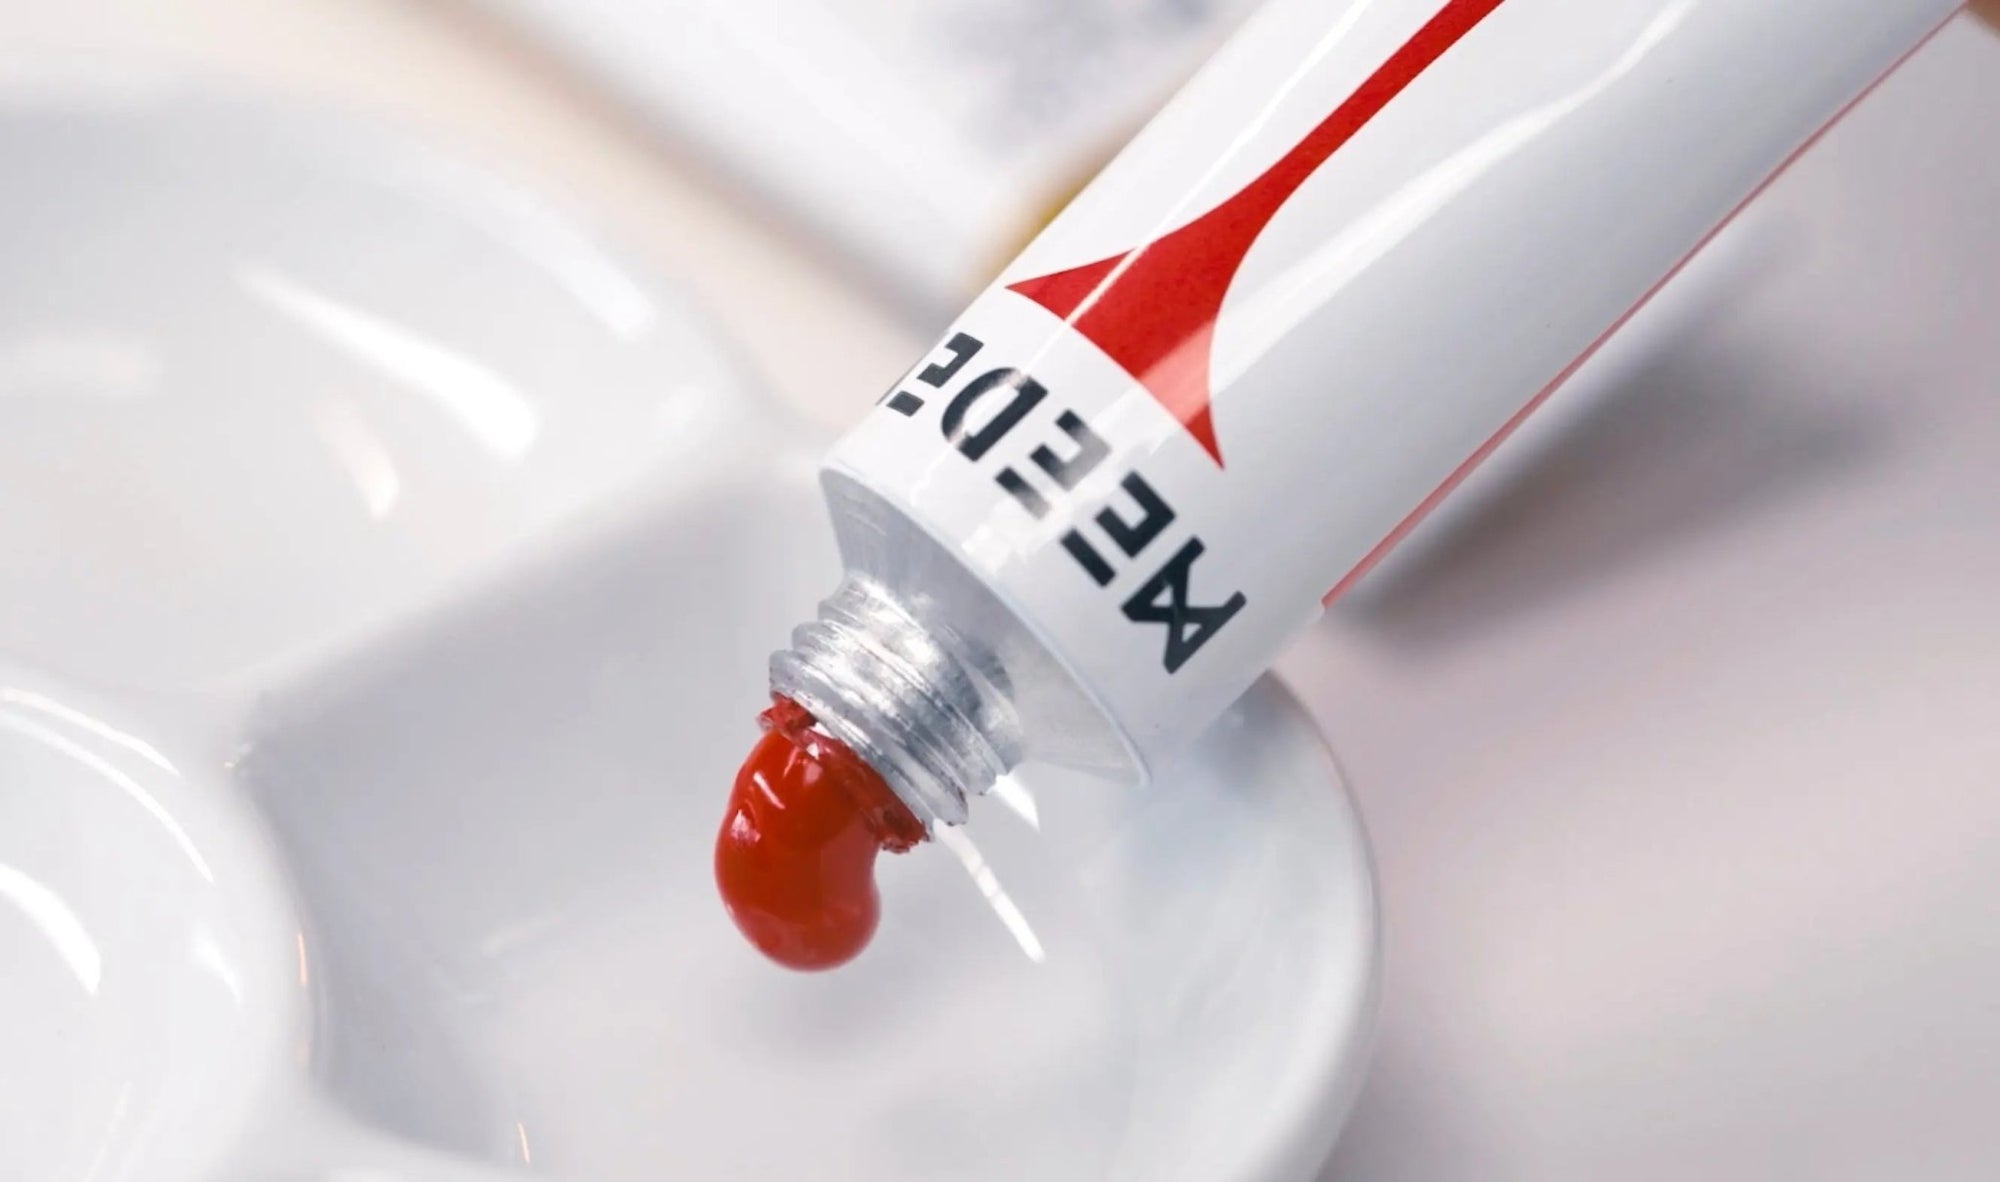
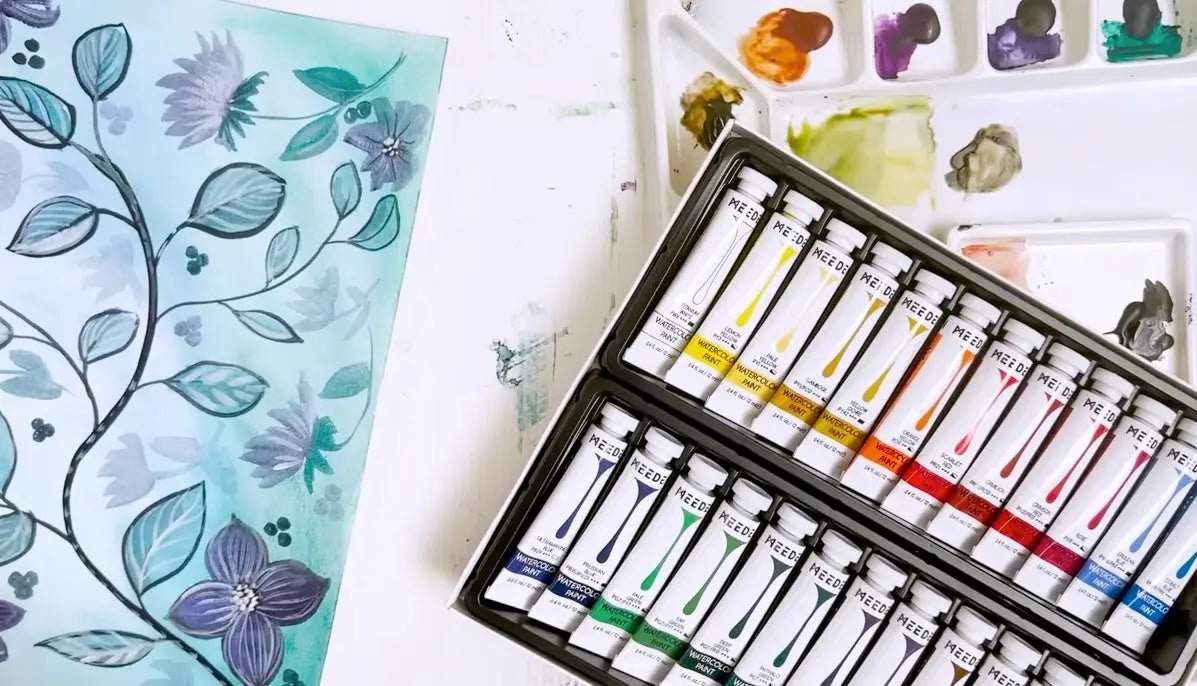
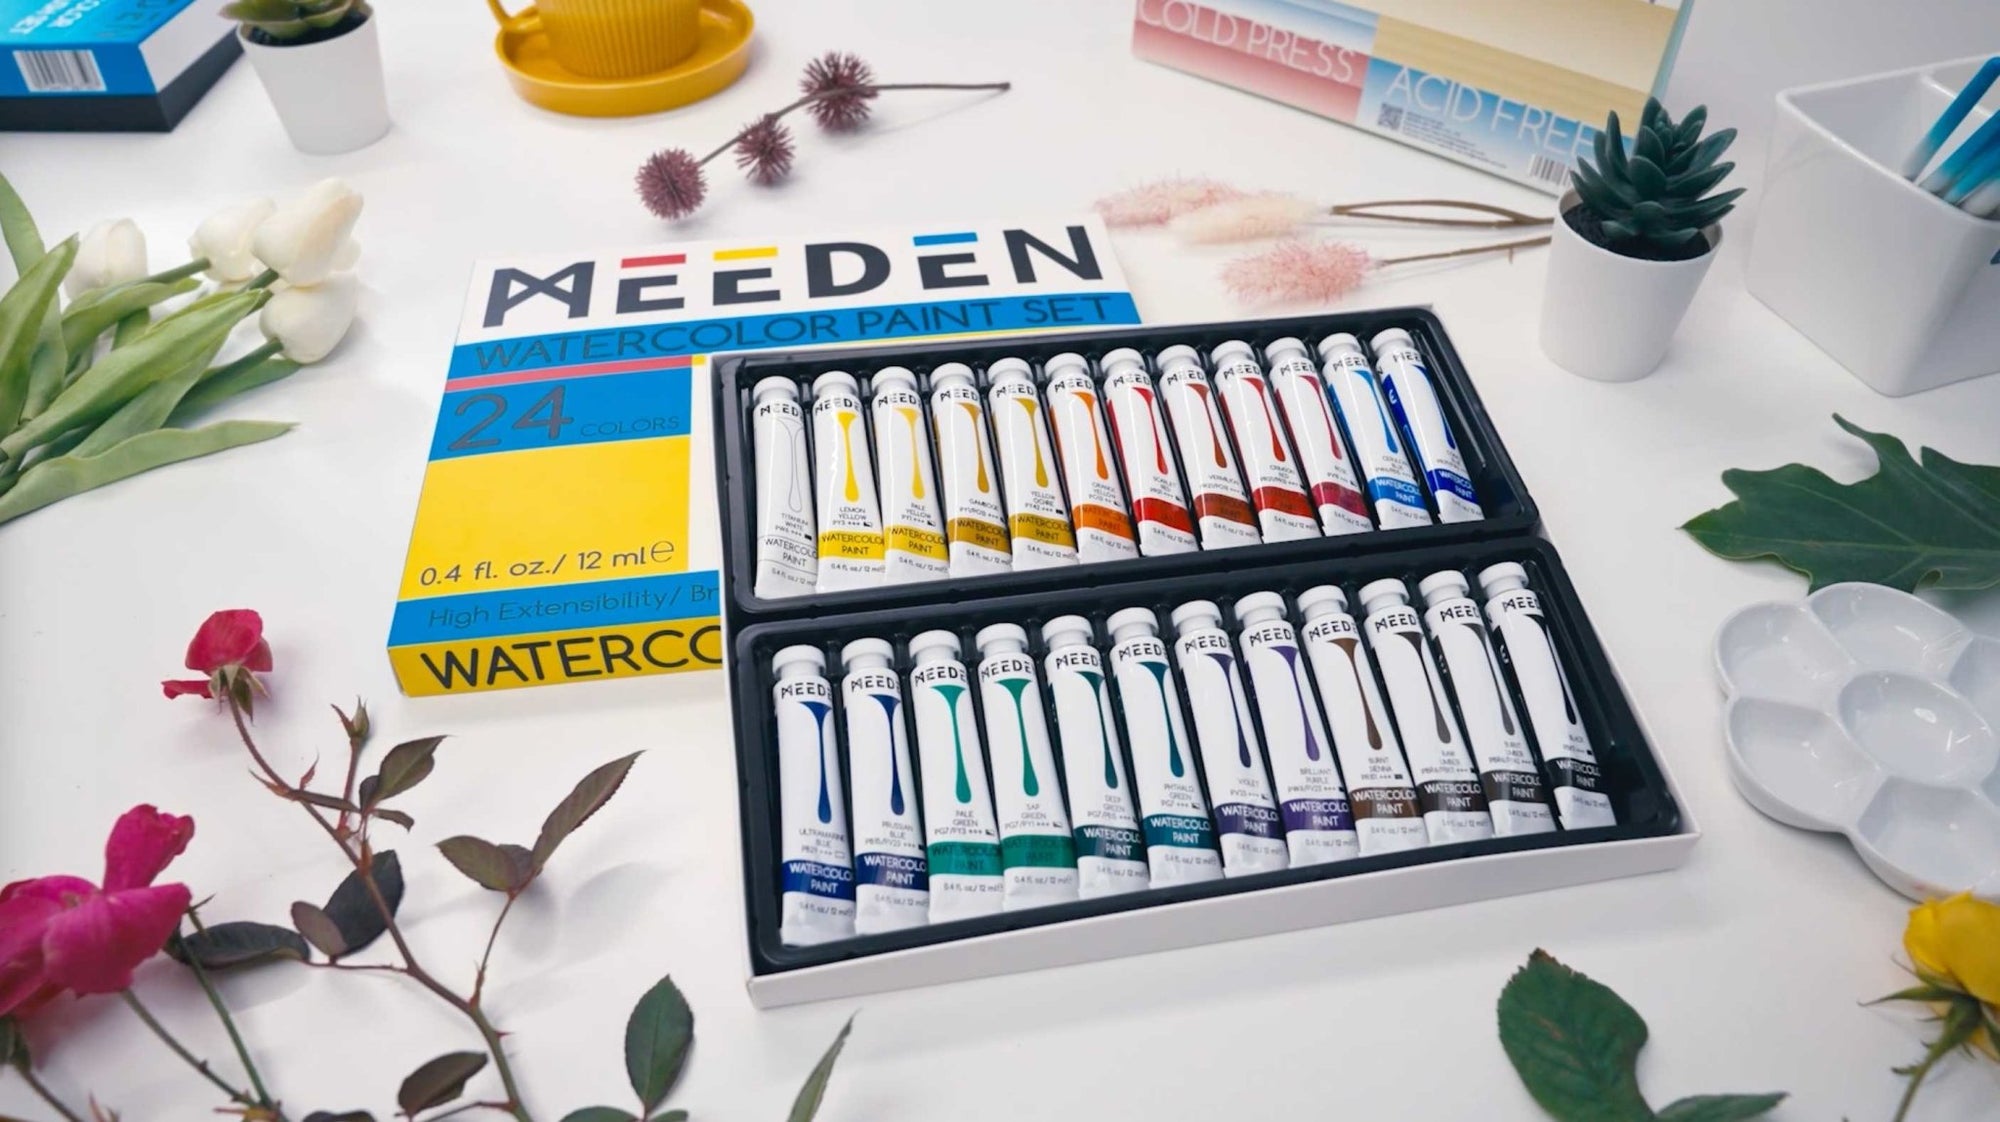
- MEEDEN Watercolor Paint Set (24 tubes, 12ml each)
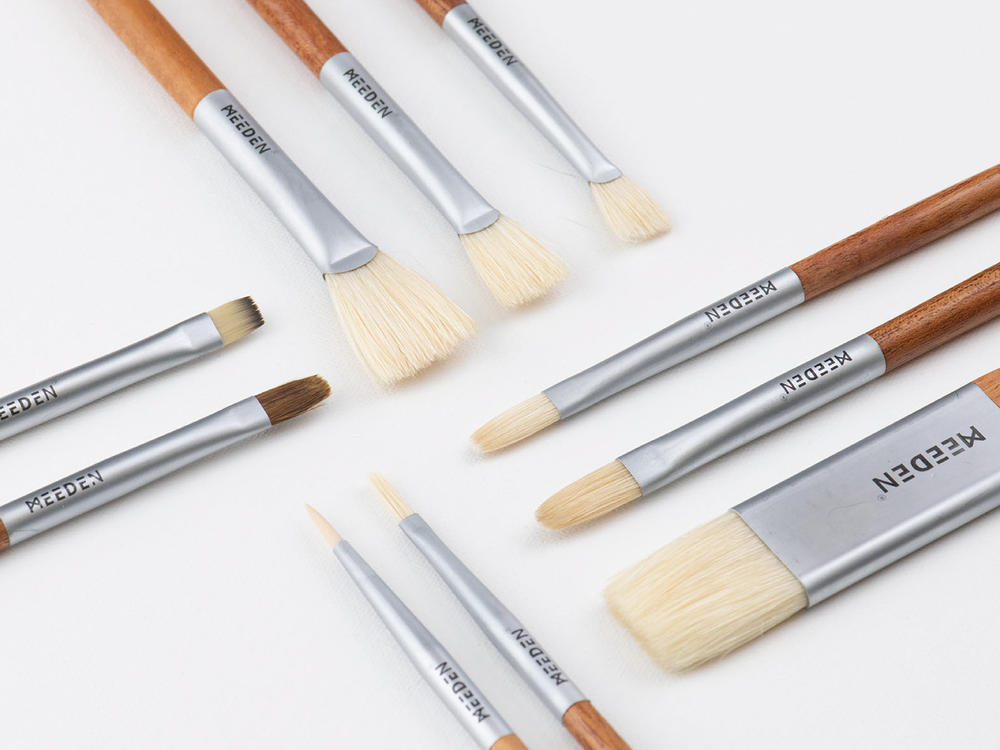
- MEEDEN Watercolor Paint Brushes Set (10 pieces)
- MEEDEN Ceramic Watercolor Wash Bowl
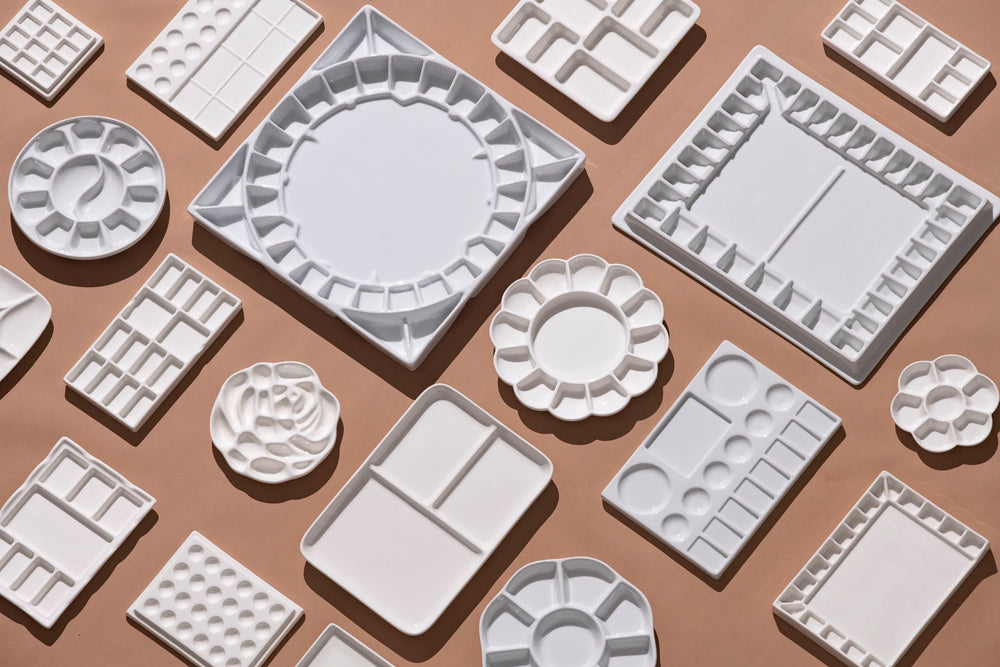
- MEEDEN Ceramic Watercolor Palette
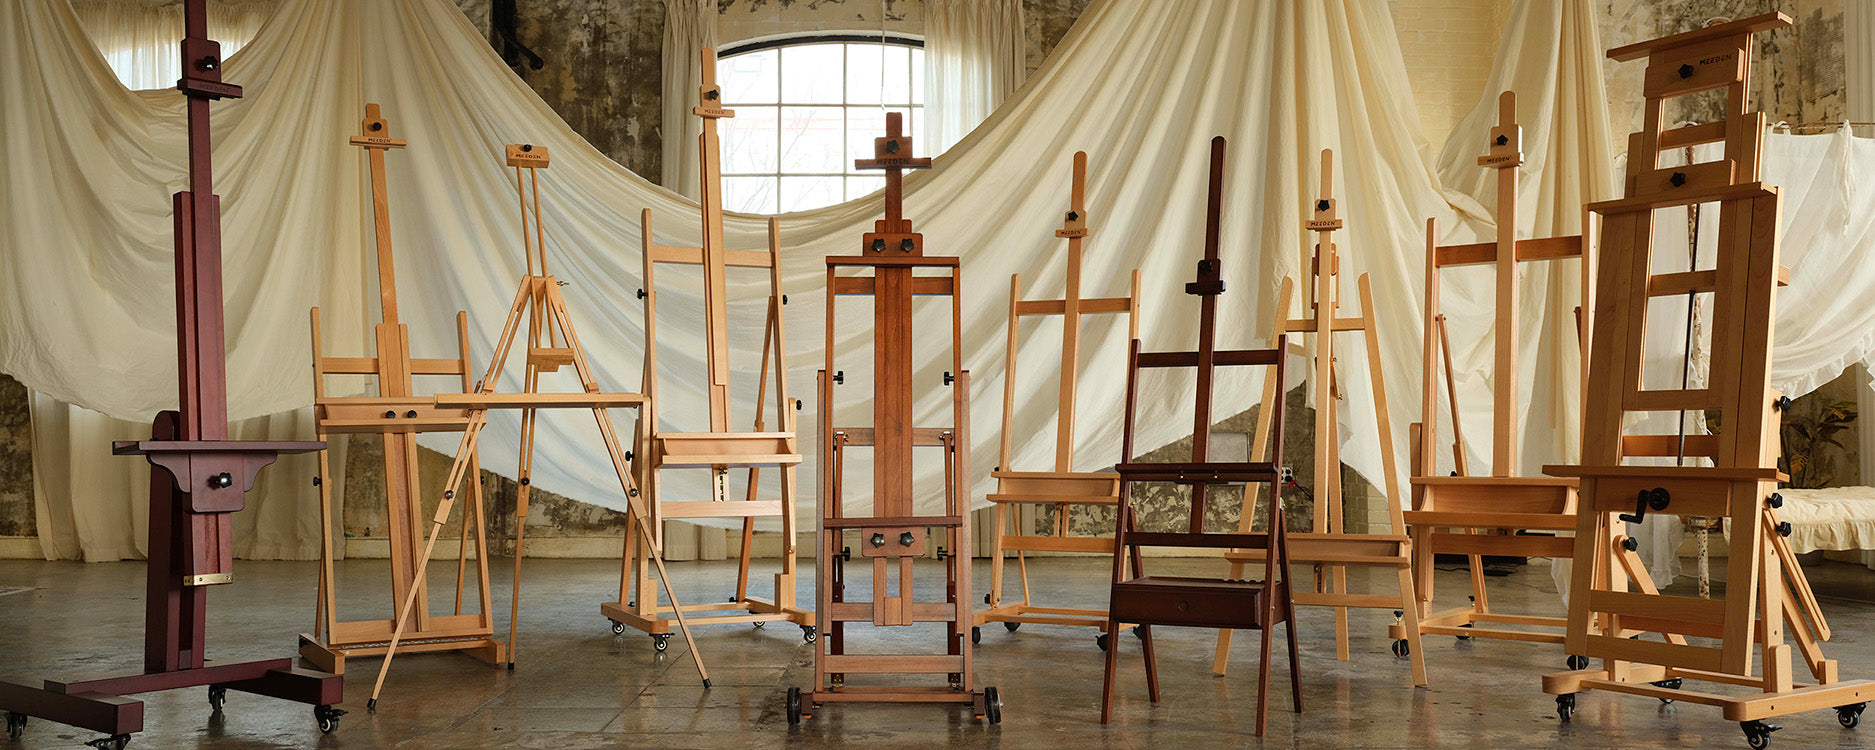
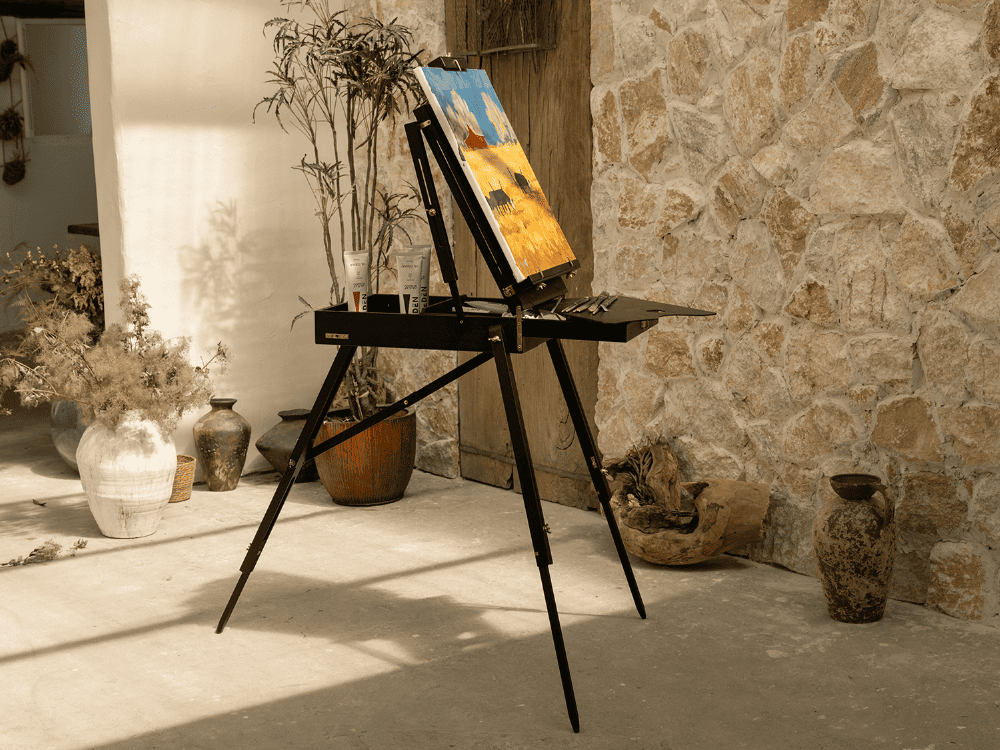
- MEEDEN Solid Beech Wood Tabletop Easel (optional)
- Pencil and eraser
- A jar of clean water
- Paper towel
Step 1: Sketch the Outline

Begin by lightly sketching the outline of your maple leaf on watercolor paper. Remember, no two leaves are alike, so there’s no need for perfection. Observe real leaves around you or use reference photos for inspiration. Once your sketch is complete, wet the paper with clean water to prepare for painting. This will ensure smooth color blending.
Step 2: Base Colors and Layering

Use the MEEDEN 24-color watercolor set to mix vibrant red-orange and orange hues for the leaf’s base. Start with a light wash to define the main areas. Use a large brush to paint broad sections, leaving lighter areas for highlights.
Layer colors gradually. Add burnt umber, dark green, deep blue, and bright yellow to create depth and dimension. Watercolors allow you to build up translucent layers, letting the lower colors peek through, which adds richness to your painting.
Step 3: Add Shadows and Texture

Identify the light source and deepen the shadows with darker tones. Use a smaller brush for detailed work along the edges and veins. For a realistic look, mix dry brush techniques with wet-on-wet effects to achieve natural bleeding and soft transitions between colors.

If you want to make the withered texture of the dry leaf more realistic, wait for one layer of paint to dry slightly, then add a layer of dark brown paint. Apply a bit more pressure with your brush, allowing the paint to blend unevenly and create a more authentic texture. You can also apply clean water directly onto the dried layers, letting the water create natural, uneven effects.
Pay attention to curled edges and dry areas of the leaf, as they often create unique shadows.
Step 5: Final Touches

Complete the piece by accentuating highlights and adding any final details. Switch to a fine detail brush to draw the veins and irregular spots. These small details enhance realism and give your painting character. Experiment with texture by preserving brushstrokes for an organic feel.Take your time to step back and evaluate the composition. A few strategic brushstrokes can elevate your work from great to extraordinary.
Share Your Artwork!
We’d love to see your fiery red maple leaf creations! Share them with us on social media using the hashtag #paintwithMEEDEN and don’t forget to tag us.
If you enjoyed this tutorial, please like, subscribe, and stay tuned for more weekly watercolor lessons. Let’s paint the beauty of autumn together! 🎨🌟