Skip to content


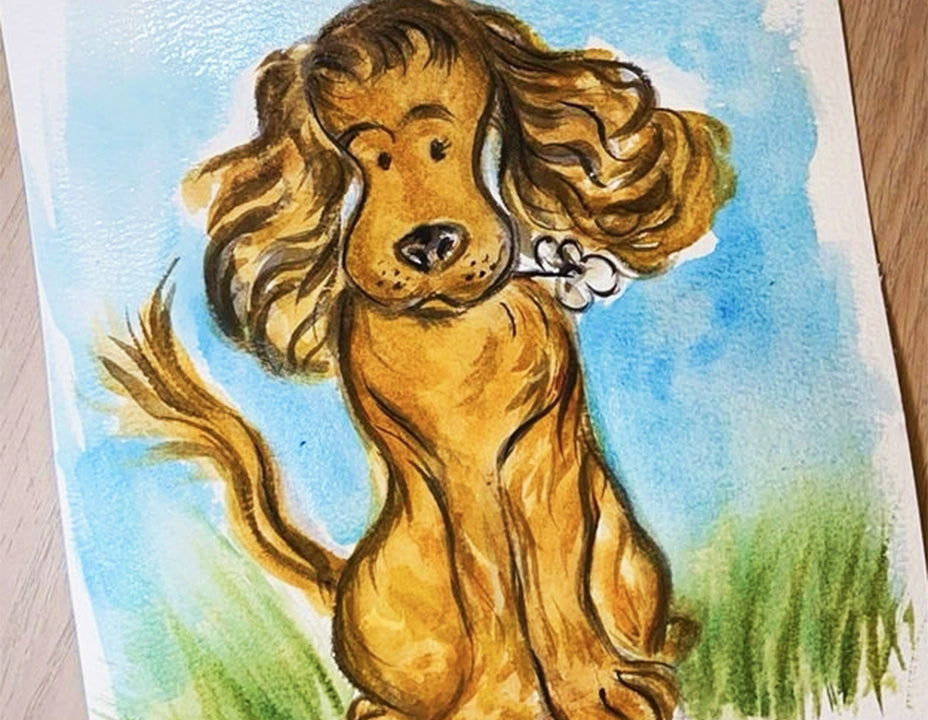
From Da Vinci's detailed animal studies to the playful spontaneity of Picasso's line drawings, animals have always held a special place in the heart of art, inviting artists into a world filled with innocent charm and natural beauty. And among these, the delightful figure of a puppy has often stood out, captivating with its boundless energy and expressive eyes. If you've ever longed to capture the essence of a puppy's joy or immortalize the tender moments spent with a furry friend on canvas, you're in for a treat.
This content is provided by Başak Kahraman, a talented Graphic Artist and Illustrator from Germany. With a vibrant and unique artistic style, Başak brings a fresh perspective to the world of art. Her work is a delightful blend of colors and imagination, making each piece a visual treat. Check out her creative universe by following her on Instagram [@aboutbasakkahraman] where she regularly shares her latest projects, provides insights, and offers glimpses into her artistic process. Whether you're an art enthusiast or an aspiring artist, Başak's work is sure to inspire and captivate.
List of Supplies
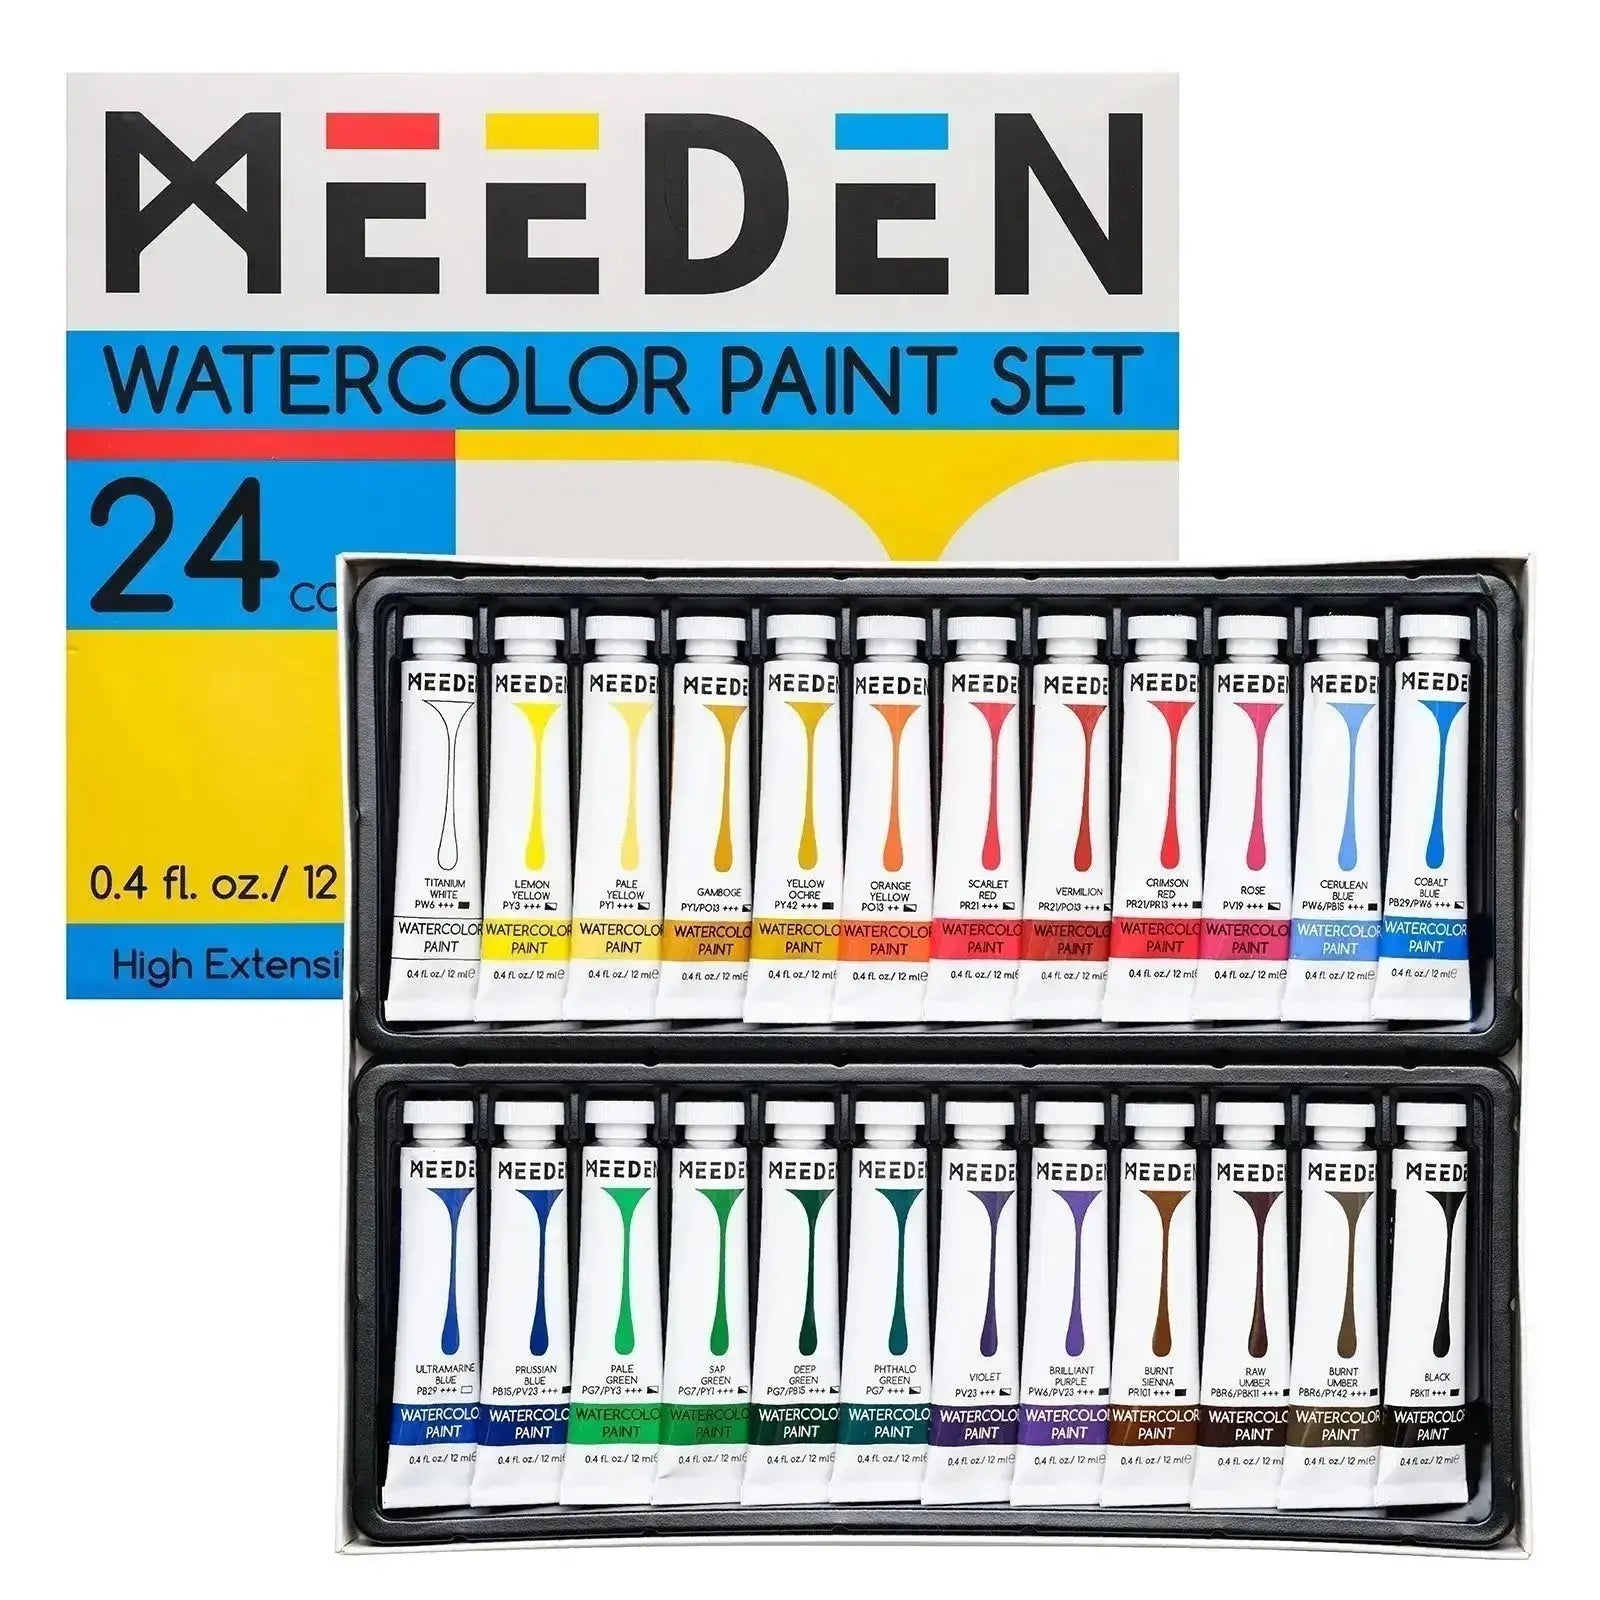
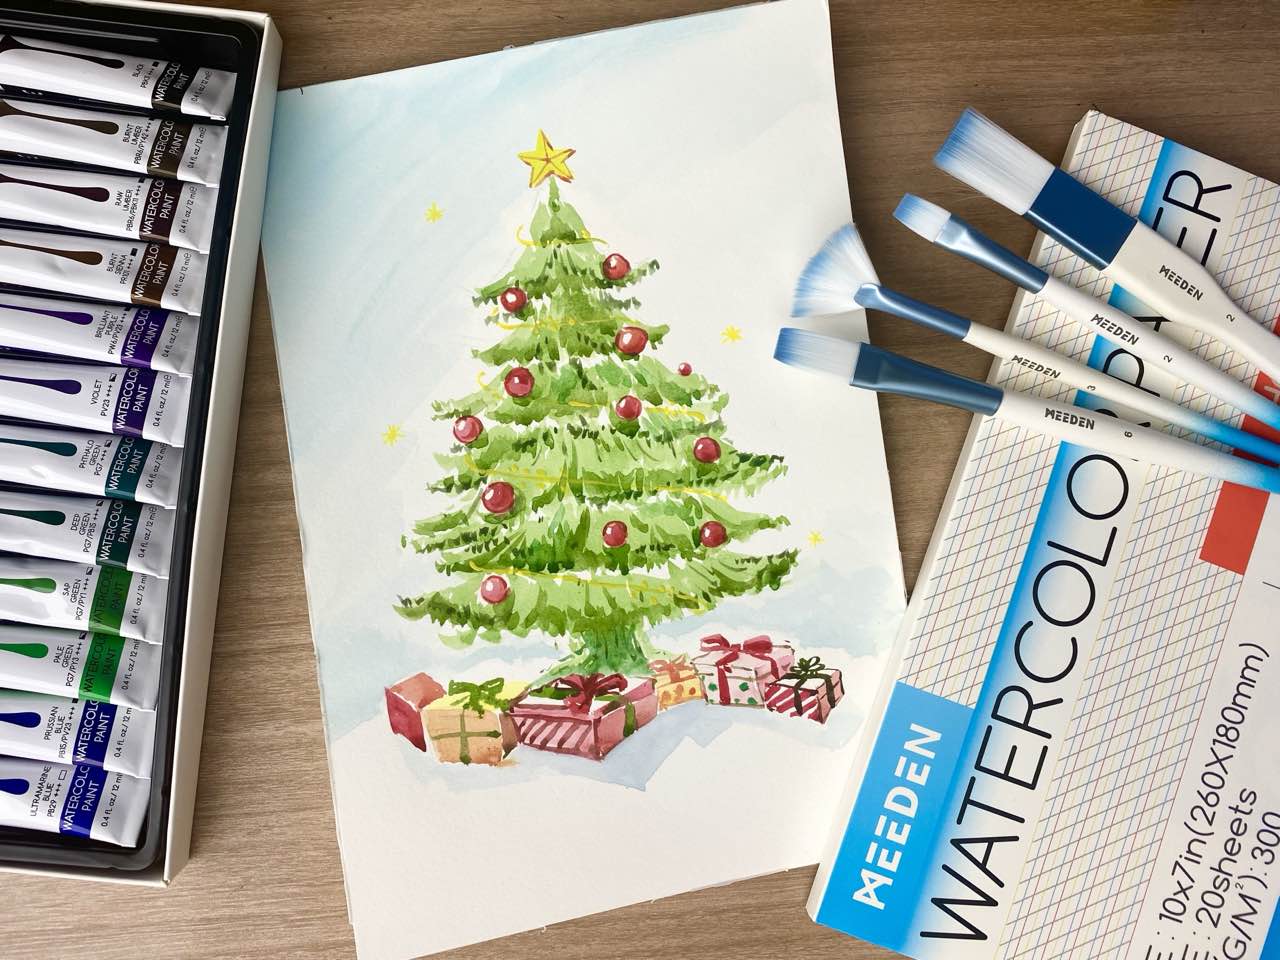
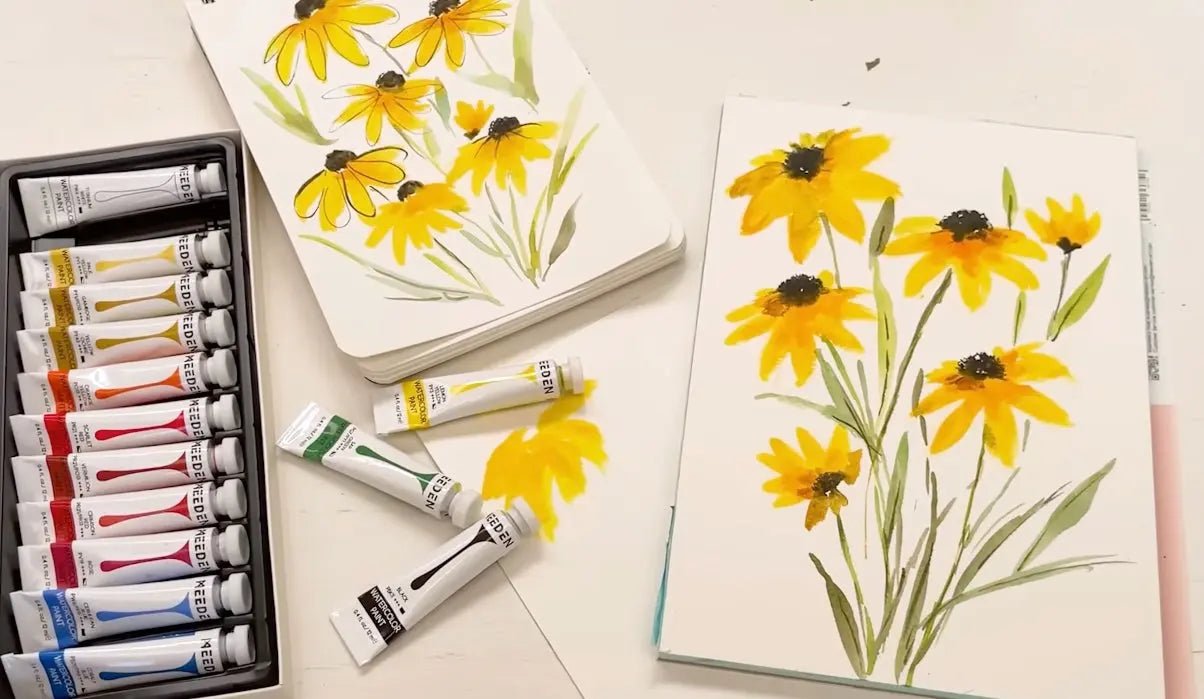
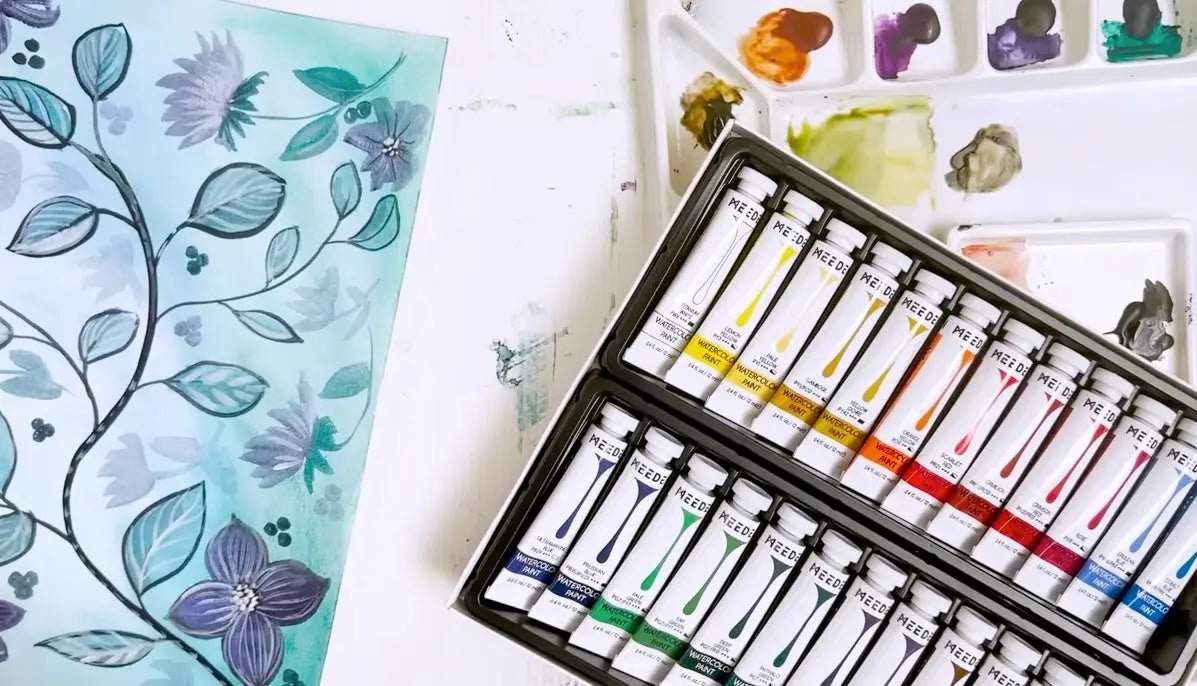
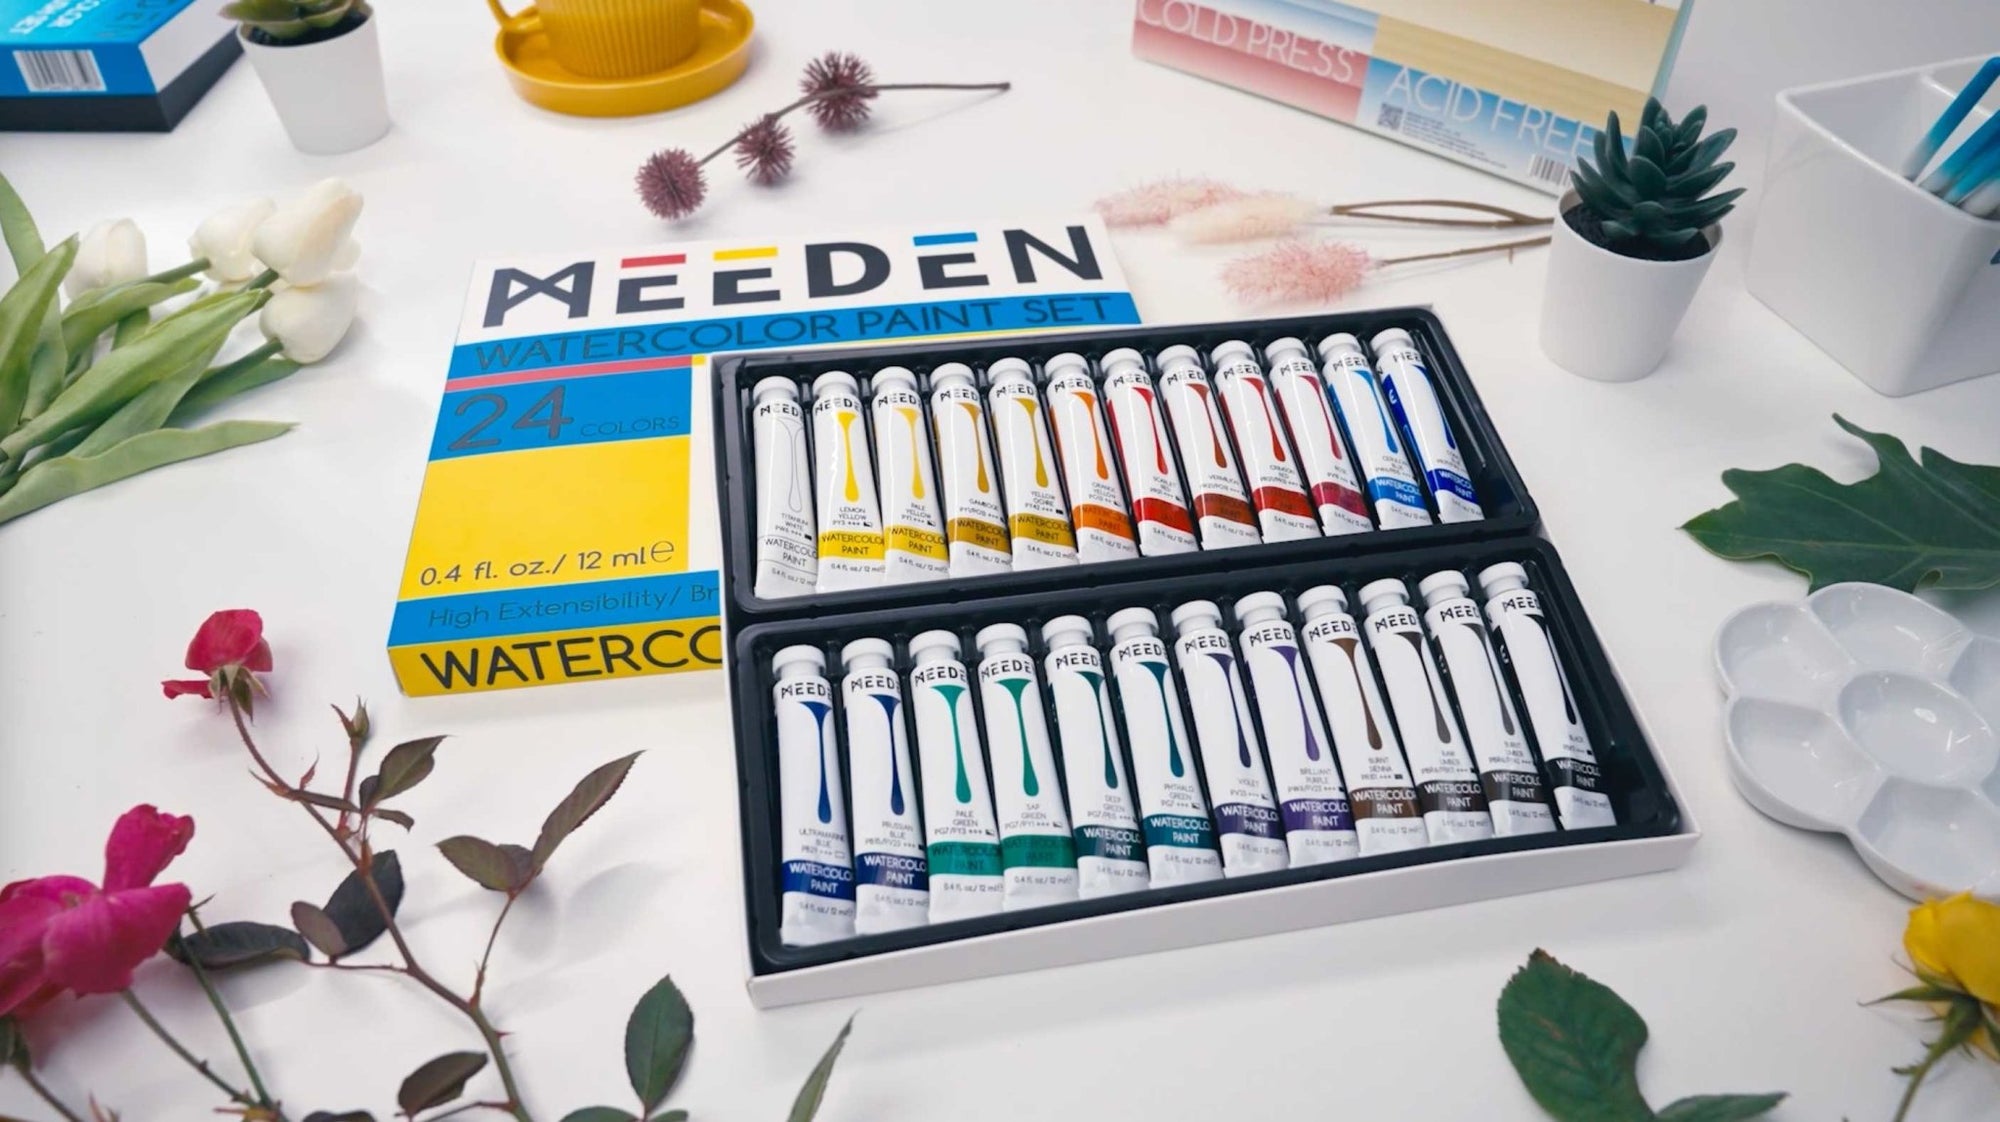
Paints: MEEDEN Watercolor Paint Set, 24 Tubes, 12ml / 0.41 oz
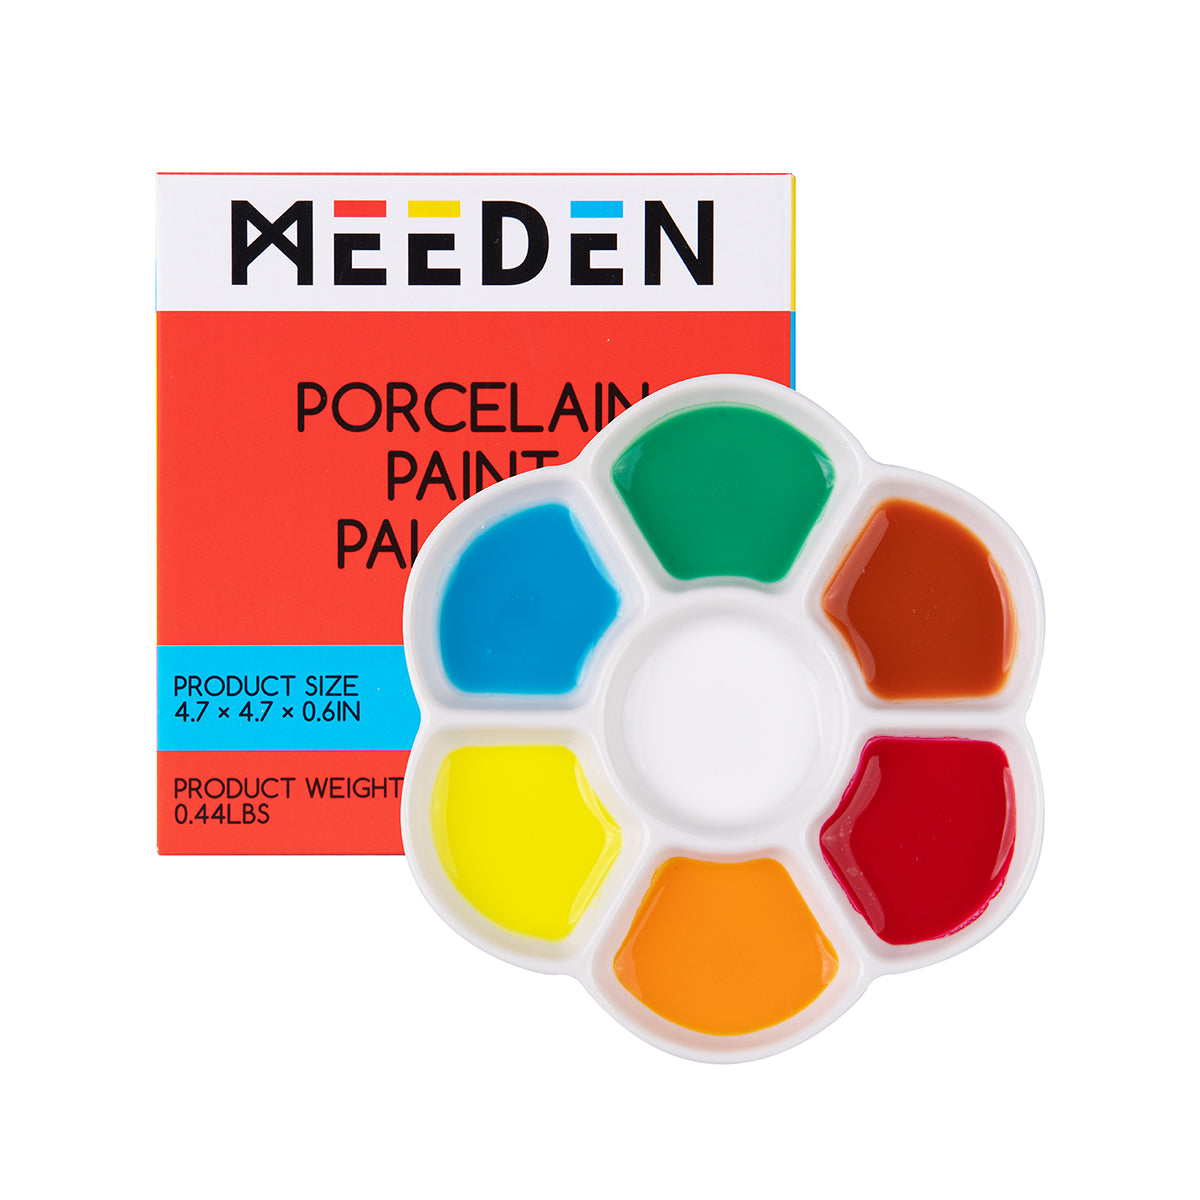
Palette: MEEDEN 7-Well Studio Porcelain Paint Palette
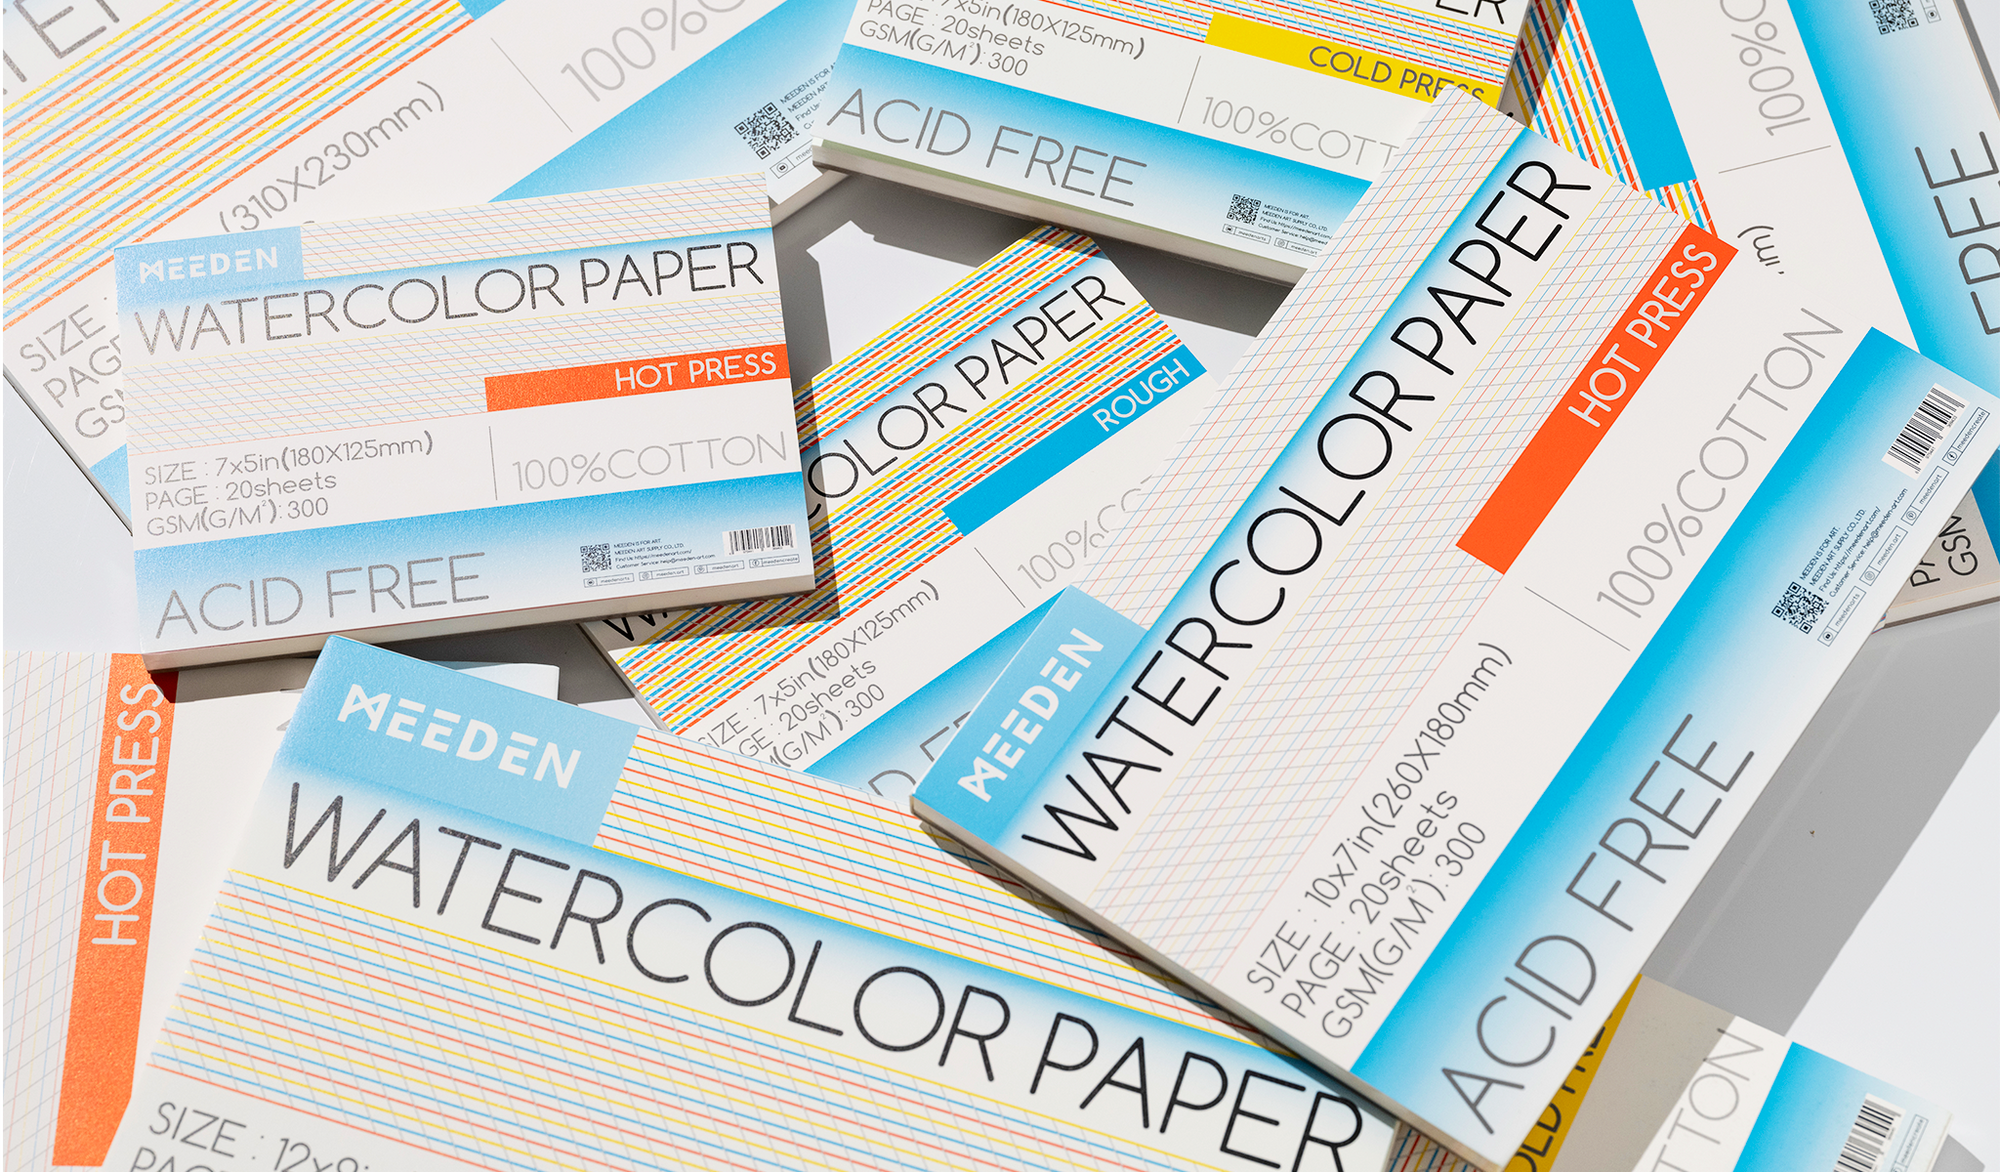
Paper: MEEDEN 10x7" Cold Press Watercolor Paper Pad 20 Sheets
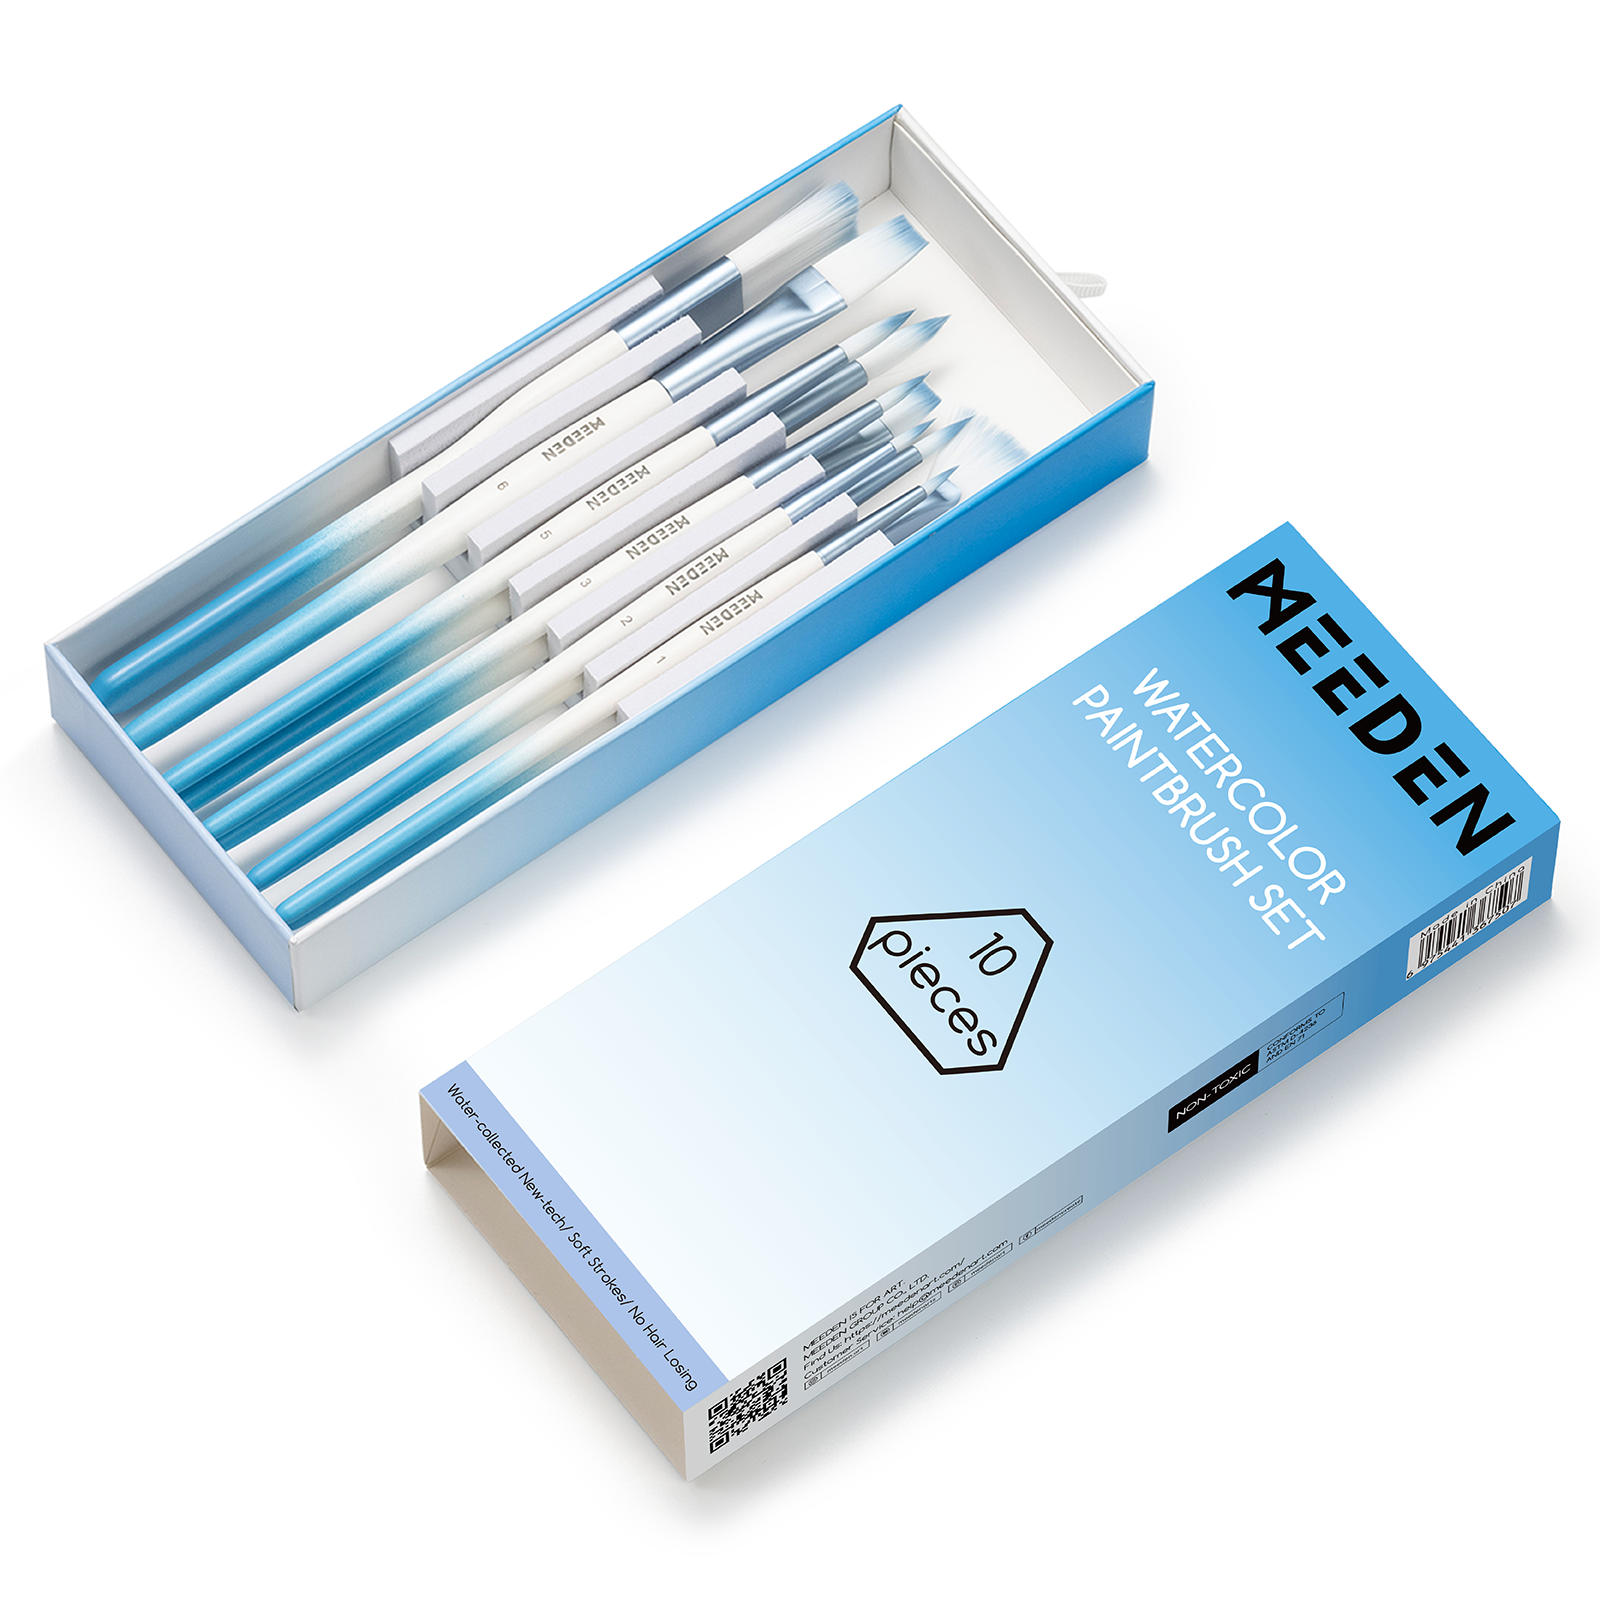
Brush: MEEDEN Watercolor Paint Brushes Set (10 Pieces), MEEDEN 15 Pcs Micro Detail Paint Brush Set
Step 1. Drafting and Outlining the Initial Sketch
Begin your sketch by drawing a "double 8" on your paper, using a smaller "8" for the head and a larger one for the body. This approach establishes the basic proportions and shapes of your dog, providing a clear foundation. Next, refine these shapes by tracing over them to adjust and accurately represent the distinct contours of the dog’s head, ears, tail, and body. Smooth the lines to enhance the overall form and capture the breed’s characteristics, such as the bushy tail and friendly facial expression. This step effectively transitions your initial shapes into a detailed outline, setting the stage for adding finer details and textures.

Step 2. Depicting Fur and Body Details
The fur of a dog is one of their most captivating features, so it's crucial to pay attention to the details of their coat when depicting them. Gentle brush strokes can be used to outline the texture of the dog's fur, making it appear more three-dimensional and natural.
Additionally, it's important to focus on conveying the body details of the dog. Illustrate the muscle lines and posture to bring more vitality to the depiction. The body of a Spaniel Cocker usually presents a sleek and balanced appearance, so be mindful of the proportions and the representation of lines.

Step 3. Rendering Fur Color
This stage involves capturing the subtle color variations across the dog's face and body. Start by mixing a light brown shade, applying it first to the lightest areas with a water-diluted mixture. Gradually build up the intensity in areas that require more depth, such as around the ears and eyes. As you layer the colors, adjust the shades slightly to enhance the realism of the fur, adding lighter or darker tones based on how light would naturally interact with the coat. This method helps to create a textured and lifelike appearance.

Step 4. Adding Details and Lighting Effects
Once the basic coloring of your dog is complete, enhance the drawing with detailed outlines and lighting effects. Use darker shades with a fine brush to emphasize fur texture, particularly around the face and tail, which adds depth and clarity. Highlight key features like the eyes and nose to bring expression and life to your artwork. Then, apply white or silvery hues to areas where light naturally hits, such as the back and head, to introduce subtle highlights. This step boosts realism, making the coat look lustrous and the overall depiction more vibrant and dimensional.

Step 5. Crafting the Background
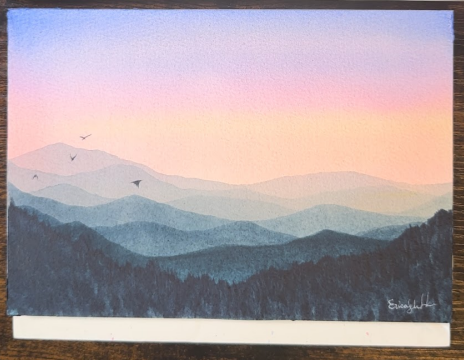
Once the dog is vividly captured on canvas, the final touch involves blending in the grass and sky colors to enrich the background. Start with the grass, using various shades of green to give it depth and texture. For the sky, choose a serene blue gradient, suggesting a clear, tranquil day. This approach not only complements the dog but also breathes life into the entire composition, making it more engaging and realistic.

For a more comprehensive understanding of the painting process, please view the demonstration video provided at the end of this tutorial. This video will guide you through each step in detail and help clarify the process that may be confusing.
Creating a simple yet beautiful dog portrait is not as challenging as it may seem. By following specific steps and techniques, you can easily produce a satisfying piece of art. Start with choosing the right tools and paints, then sketch the outline. Gradually add fur and body details, and finally, apply colors and finishing touches. With continuous practice and experimentation, you'll undoubtedly be able to craft a simple and stunning artwork.
We hope you found this dog drawing tutorial inspiring and enjoyable! Are there specific techniques or themes you're curious about? If you have questions about the process or suggestions for future content, please share them in the comments below. Your feedback is vital for shaping our future tutorials and ensuring they meet your creative needs. Let's keep the dialogue open and the ideas flowing. What would you like to explore next in the world of art?
Other posts you may enjoy:
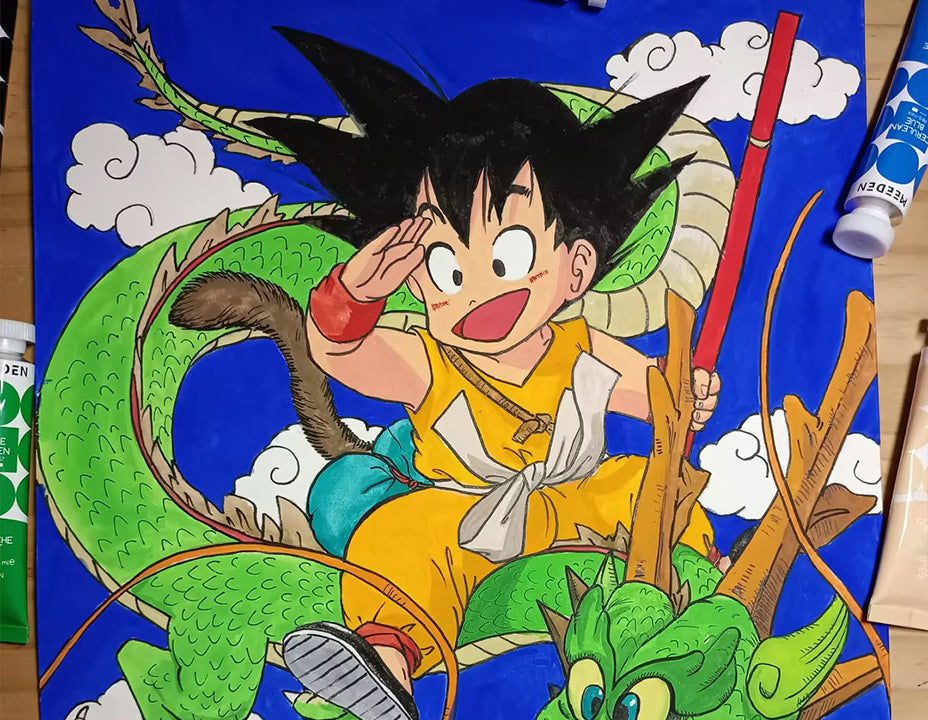
- How to Draw Goku and Bring Him to Life with Color from Dragon Ball: A Step-by-Step Gouache Painting Tutorial
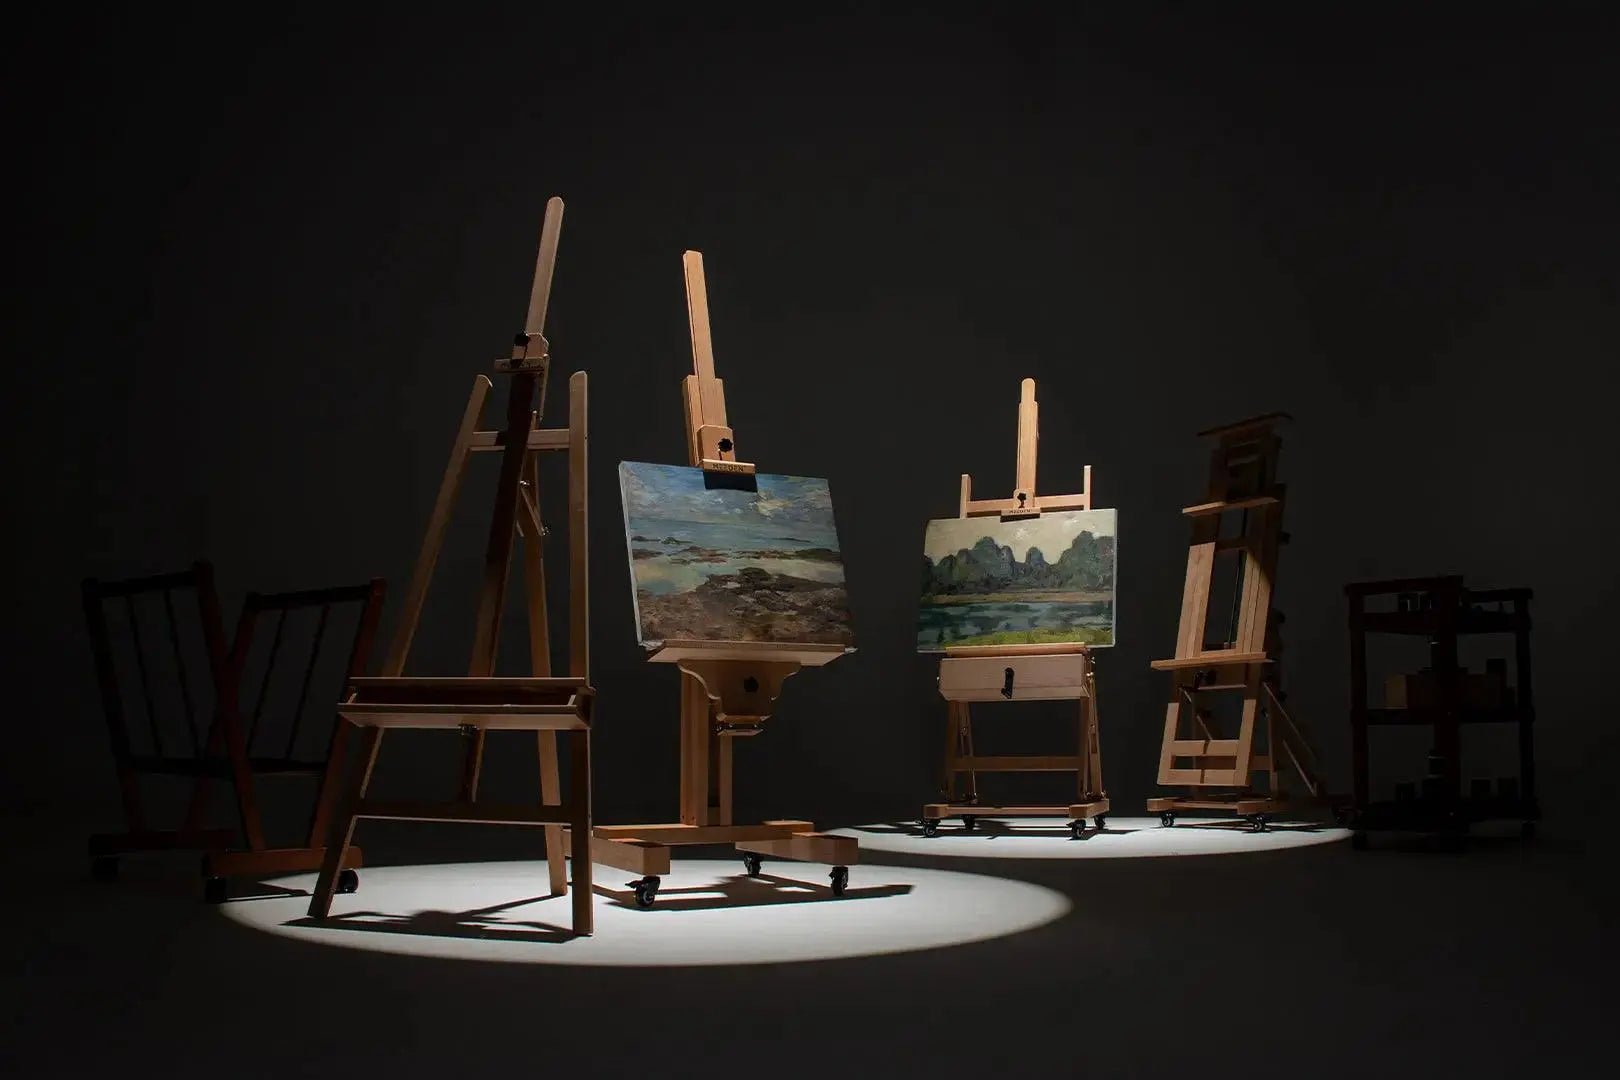
- MEEDEN Art Easel Selection Guide - From Beginners to Professional Artists
- How to Choose the Best Watercolor Paper And Enhancing Your Artistic Journey