Skip to content


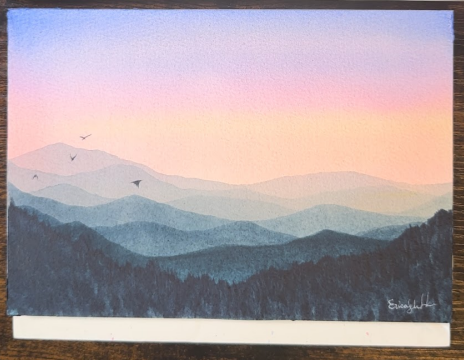
Are you ready to bring the beauty of nature to life on paper? Whether you’re a seasoned artist or just starting out, there’s something magical about capturing landscapes with the fluidity and vibrancy of watercolors. In this step-by-step tutorial, we’ll guide you through the process of creating stunning landscapes that practically glow with color.
This guide is crafted with the expertise of Erica Schaffel, known on Instagram as @wildbrushworks, who brings landscapes to life with her expert watercolor techniques. Inspired by the beauty of nature, Erica Schaffel is an intuitive watercolor artist. Her art captures the essence of going with the flow, beautifully reflected in her watercolor creations. Click here to visit her Instagram profile and explore more of her beautiful creations.
List of Supplies
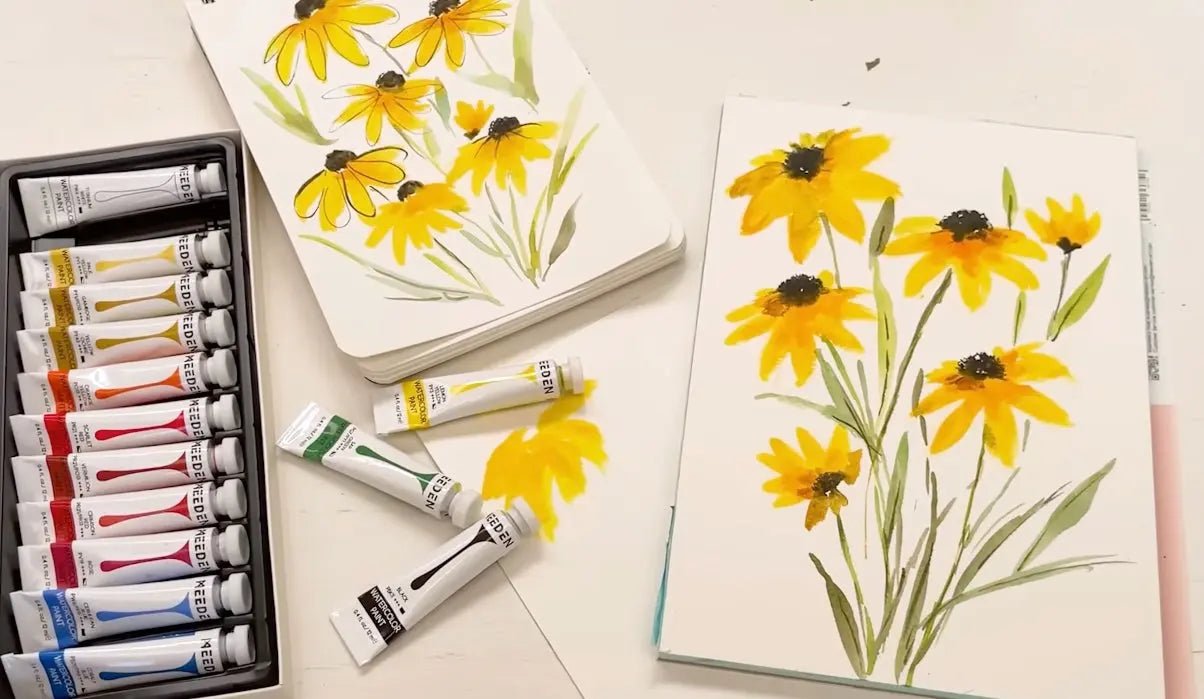
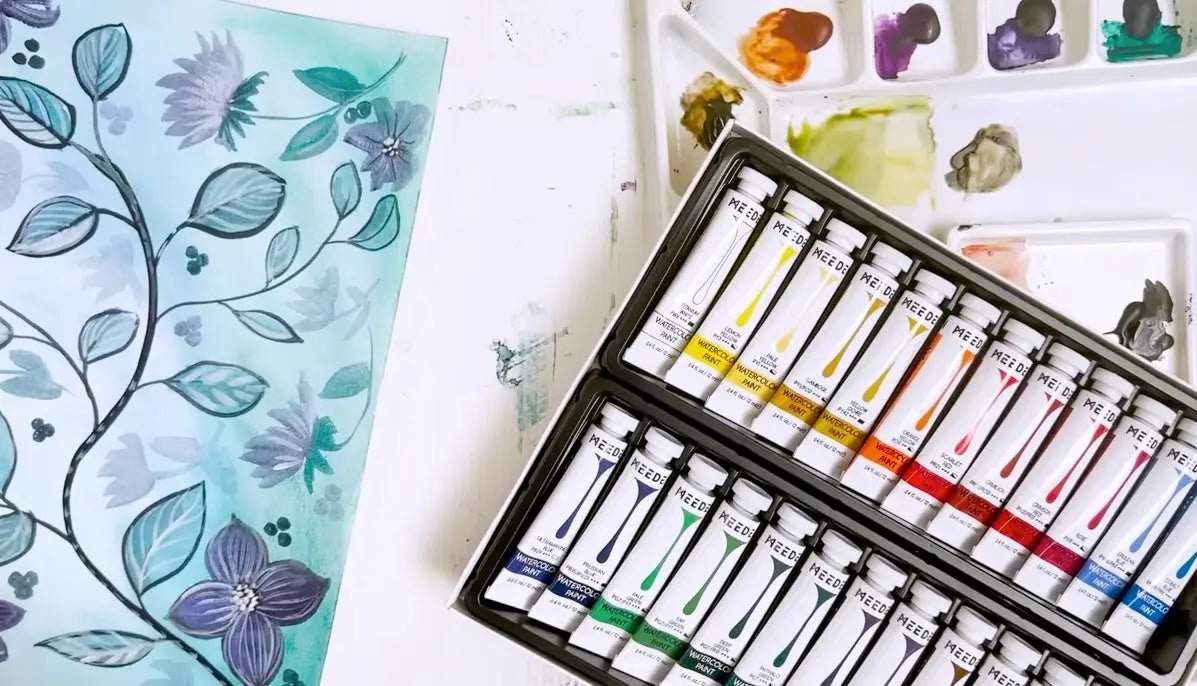
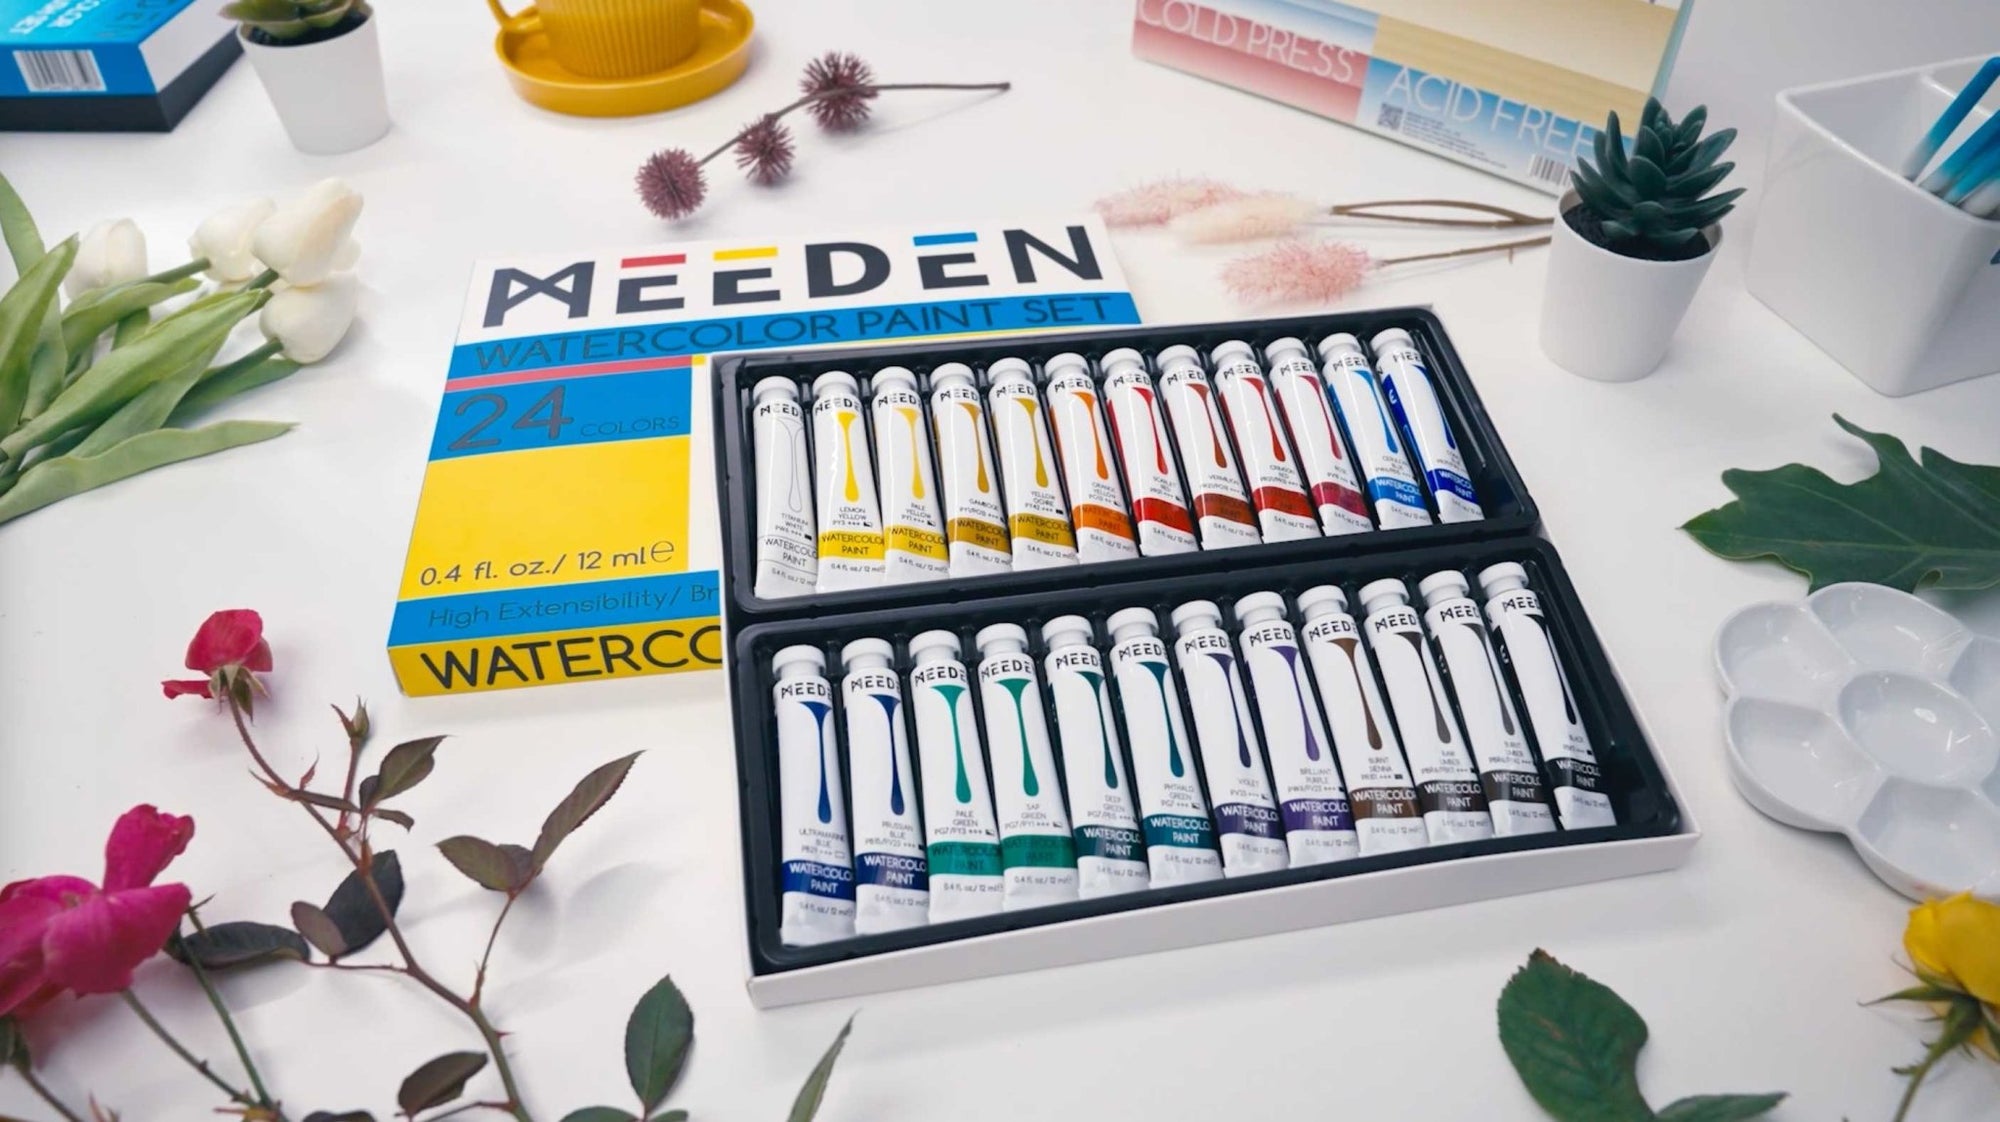
PAINTS: MEEDEN Watercolor Paint Set, 24 Tubes, 12ml / 0.41 oz
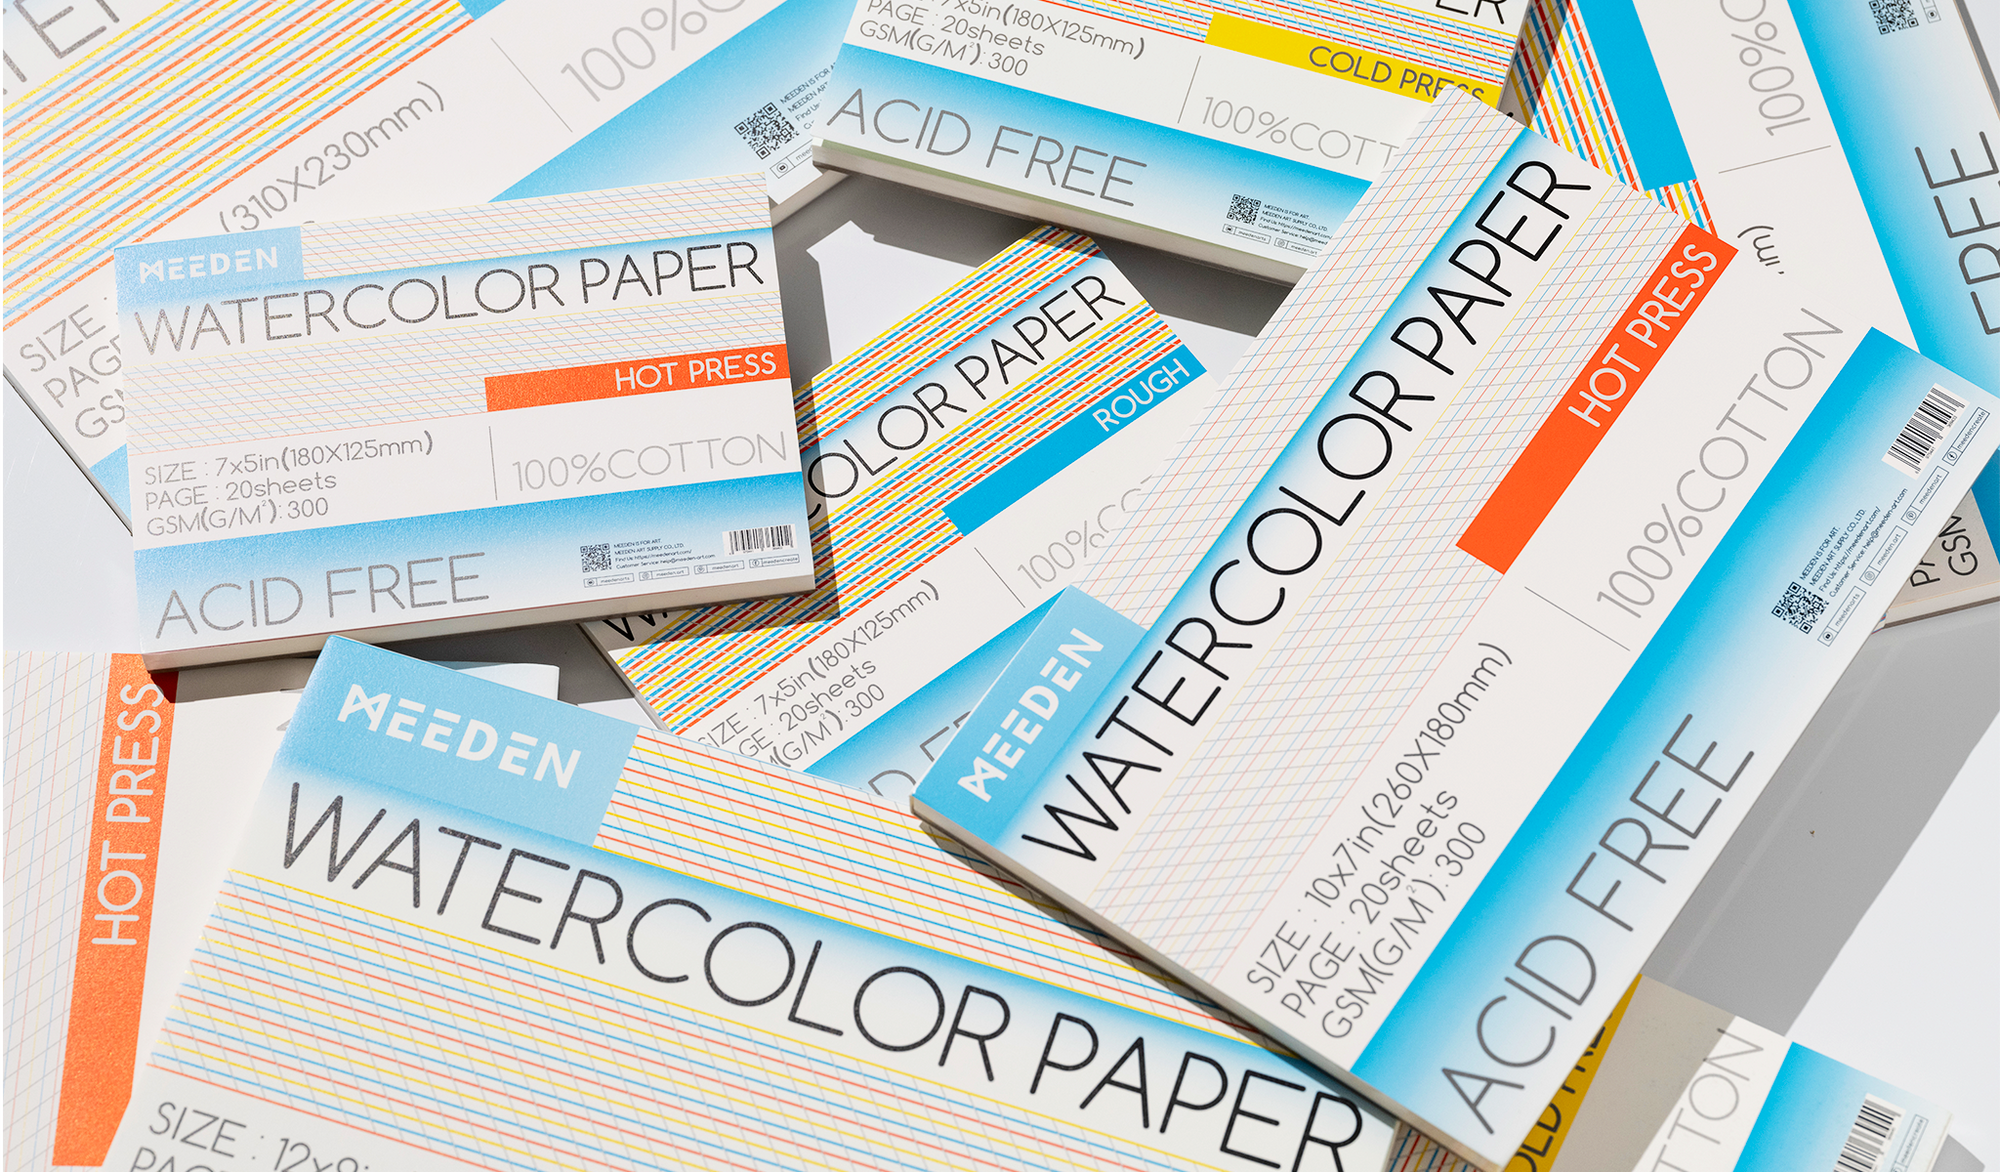
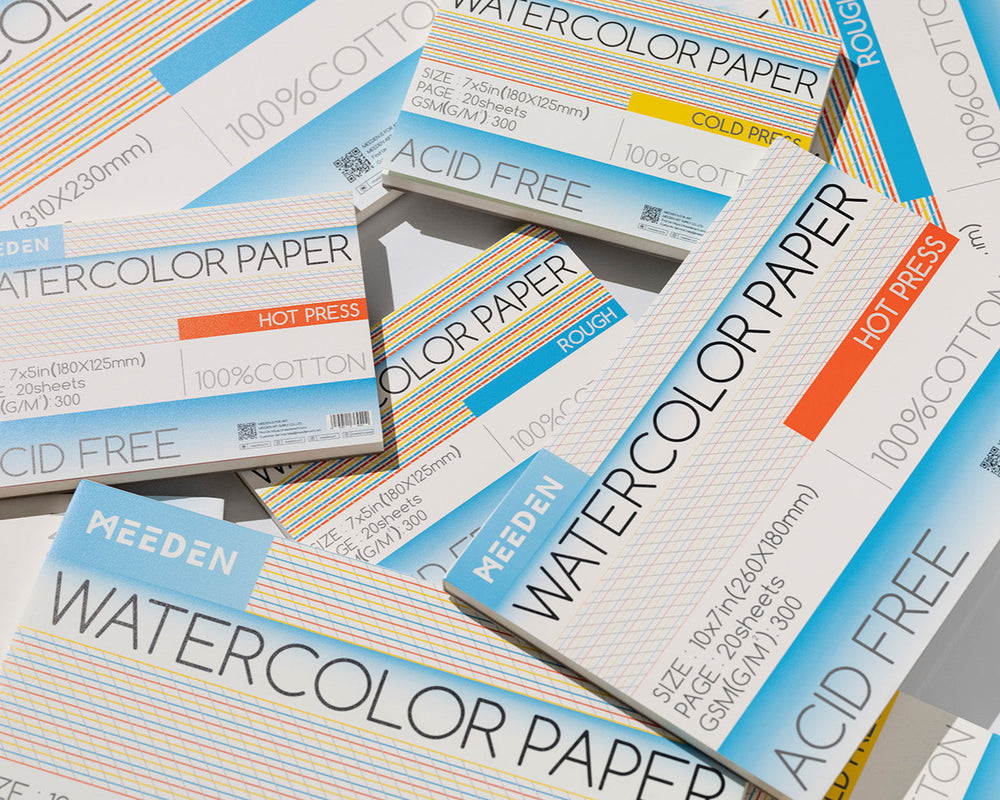
PAPER: MEEDEN Rough Watercolor Paper
PALETTE: MEEDEN 18-Well Porcelain Artist Paint Palette
BRUSH: MEEDEN Watercolor Paint Brushes Set
Step 1. Wet Your Paper
You don’t want it to be soaking wet but you should see a sheen when you look at it in the light. After fully wetting your paper, this is a great time to mix your colors while the water sets in!

Step 2. Painting the Sky
You will need to work rather quickly at this stage, as we’re painting wet on wet. You can use any color combinations you want, and place them in any order you want. Just remember, blues and (most) yellows make green, so it’s a bit easier if you add a pink or red in between to avoid a green sky.
Lay down a mix of cobalt blue and Ultramarine blue at the top of the page. Right under it, we’ll lay down a mix of crimson red and rose. Then we’ll blend up and down to get an even blend.
Add a line of gamboge under the pink, layer on some more pink, followed by another touch of gamboge, and blend the colors together seamlessly.

Step 3: Background Mountains
For the background mountains, use a mix of Prussian Blue and Raw Sienna, creating a very watery consistency, similar to the look of tea.
Since the mountains will be painted wet on dry, ensure the paper is fully dry at this stage. For those who prefer, the mountains can be sketched in advance, though holding the brush loosely and letting them naturally appear works well too. Perfection isn’t necessary—after all, it’s nature. Begin by using the watery mix to paint the top line of the mountain (the ridge line).

Next, dip your brush in water, pull it along the edge of your water cup (to remove excess) and use the damp brush to pull the color down. This works best if there’s still some paint left on your brush. If, when your mountain dries, there’s a line at the top, (and you don’t want that) that means you used too much water.

We’ll use the same watery mix, and the same process, for all of your background mountains. When you layer the same color over itself it will be slightly darker. You can do as many as you want. For this example, three layers were applied.

Step 4: Middle Ground Mountains
As things get closer to us, they become more saturated and detailed, creating depth. For the middle ground mountains, a bit more paint is added to the watery mix with each mountain painted.
Mountain placement is often determined by what needs to be covered from the previous layer. If using paint that has dried in a pan and richer pigment is desired, opt for fresh paint from the tube. This approach was used for the final mountain.

Step 5: Foreground Mountain
One or two foreground mountains are often added with a bit more detail; in this case, only one was added. Fresh paint from the tube was used to achieve a thick, rich consistency, and a bit of crimson red was mixed with Prussian blue and raw umber for the foreground mountain.
For this final mountain, the brush was wiggled up and down to create the impression of trees on the ridgeline. Instead of pulling the paint all the way down, more color was randomly added, leaving some spaces blank to mimic the appearance of trees.

Step 6: Finishing touches
Now that our mountains are done you can add some birds, or maybe a pine tree in the foreground, or whatever you want! And of course, don’t forget to sign it.

Here's the step-by-step video to guide you through the painting process. Watch as the landscape comes to life with each brushstroke, and feel free to follow along at your own pace. Enjoy the creative journey!
Thank you for being part of this tutorial! We’re thrilled you joined us on this creative journey. If you have any questions, suggestions for future tutorials, or simply want to share your own painting, we’d love to hear from you in the comments. Let us know what you'd like to see next—we’re excited to keep the inspiration flowing together!
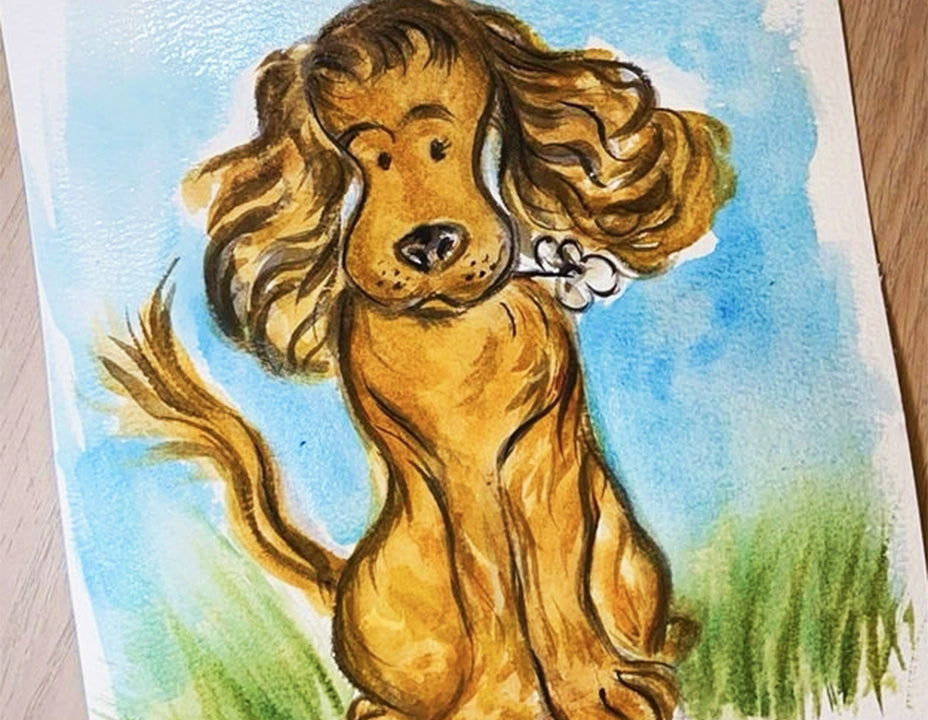
Other Posts You May Enjoy:
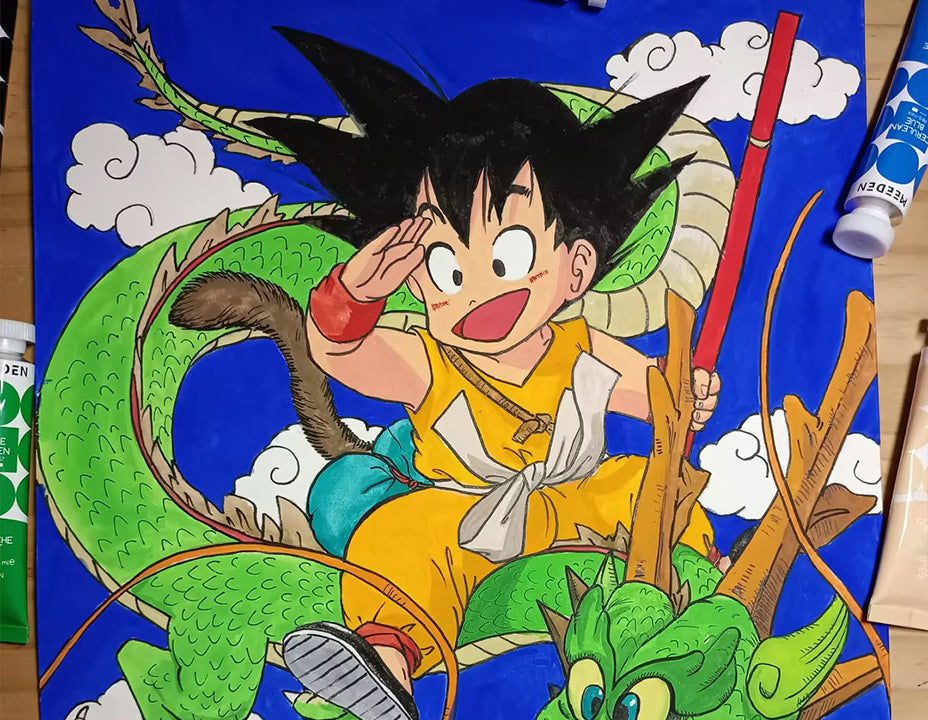
- How to Draw Goku and Bring Him to Life with Color from Dragon Ball: A Step-by-Step Gouache Painting Tutorial
- How to Draw Landscapes: A Step-by-Step Watercolor Painting Tutorial
- MEEDEN Art Easel Selection Guide - From Beginners to Professional Artists
- How to Choose the Best Watercolor Paper And Enhancing Your Artistic Journey