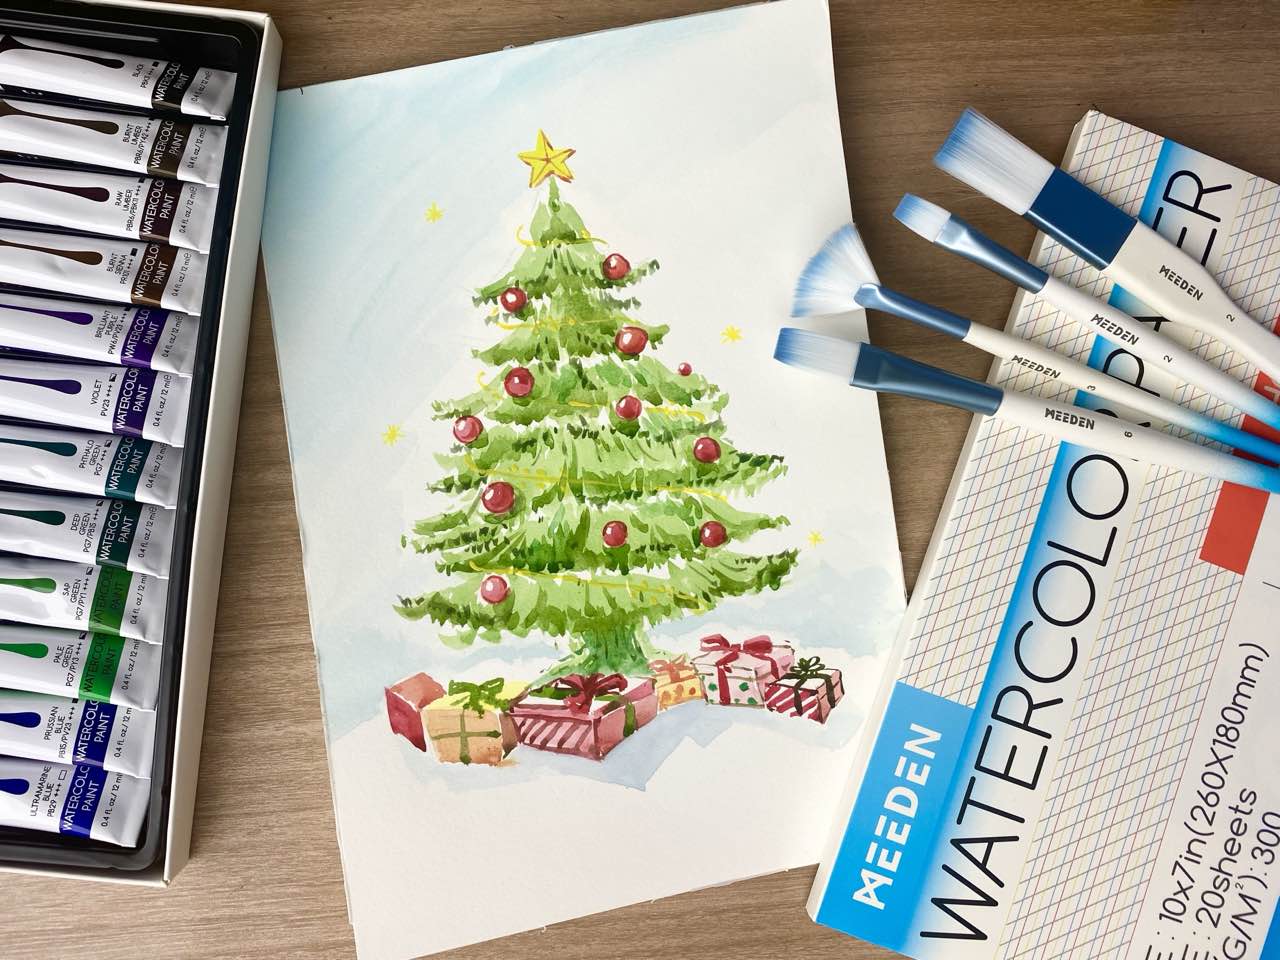
Have you put up the tree yet? If you’re feeling the Christmas vibe, follow this easy five-step tutorial and let’s paint a pretty Christmas tree together! It only takes 20 minutes, and you can also purpose it as a nice Christmas card for the one you love!
Let’s gather our materials:
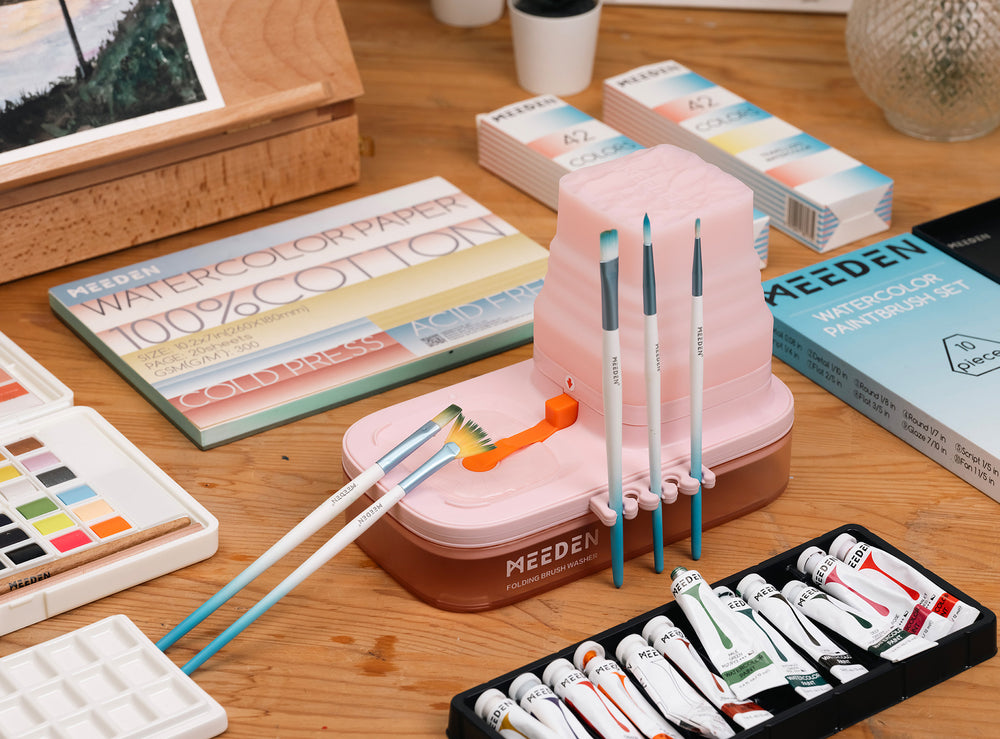
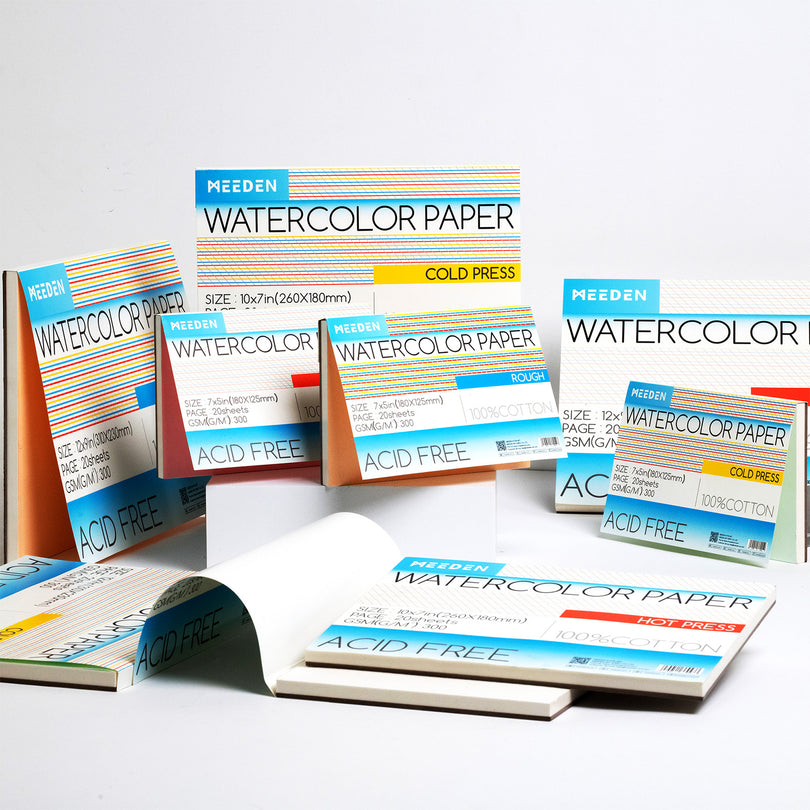
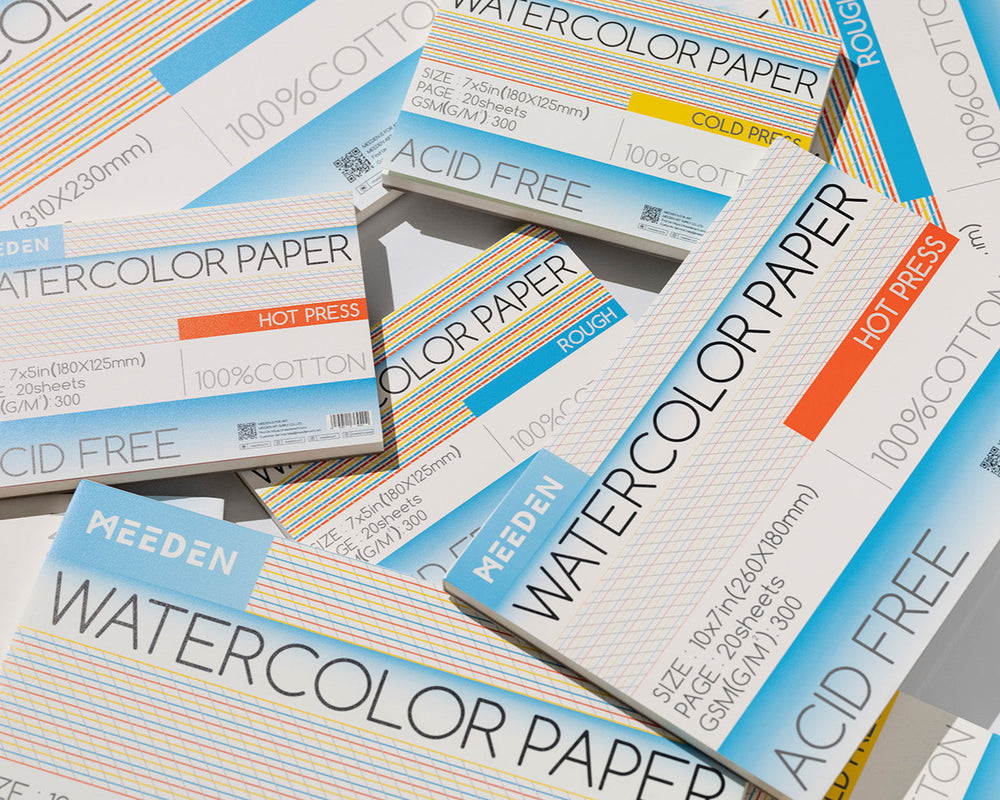
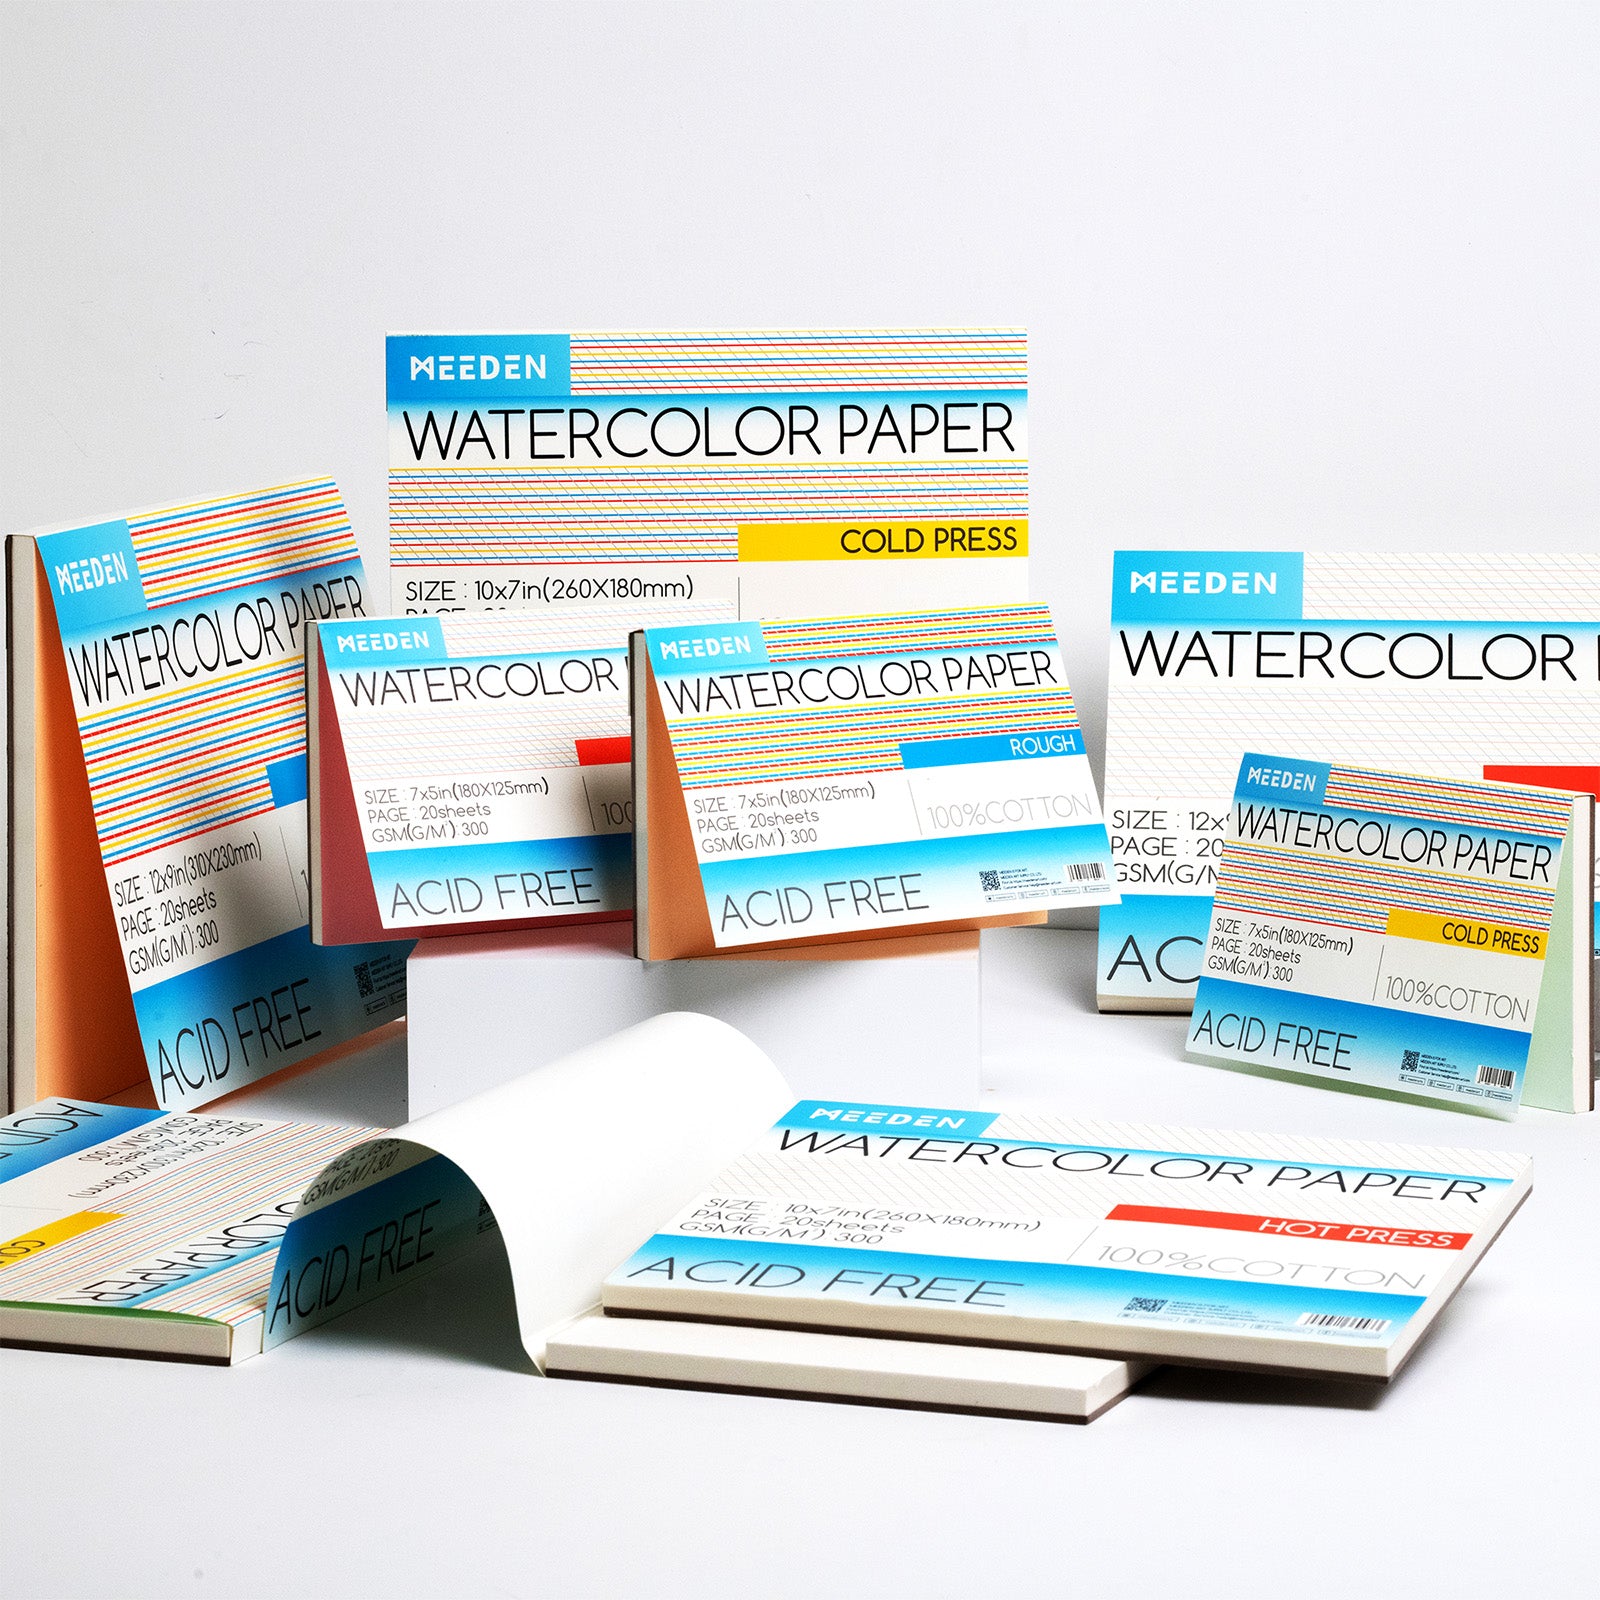
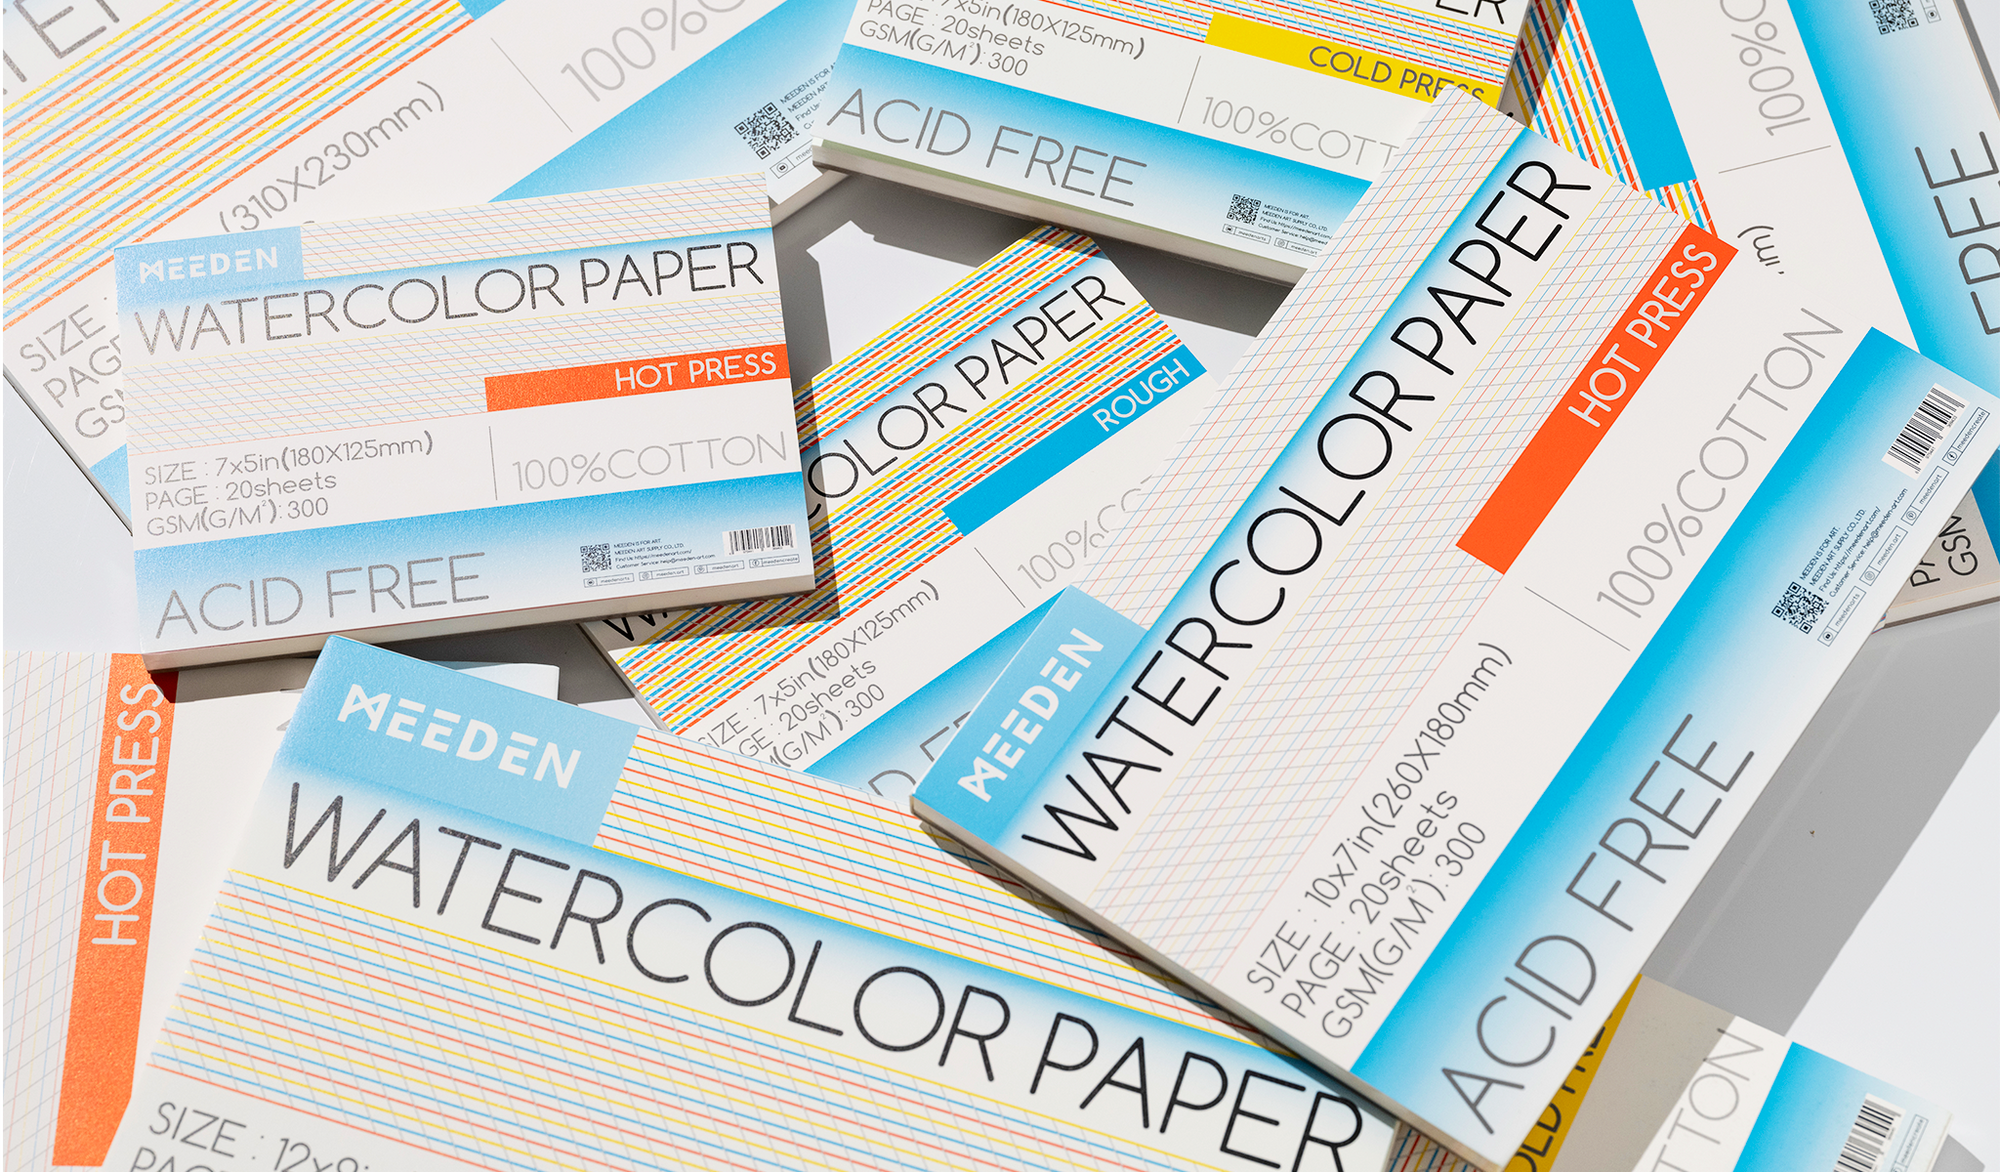
- MEEDEN 10x7" Hot Press Watercolor Paper Pad (20 sheets)
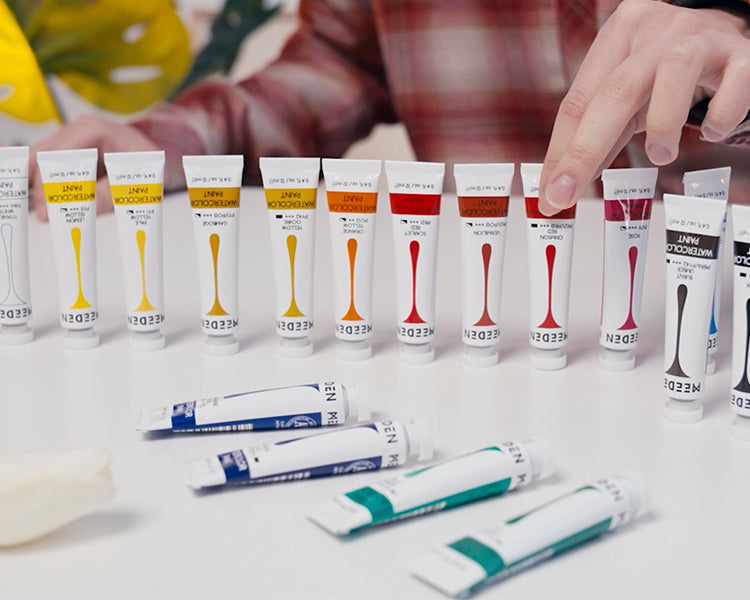
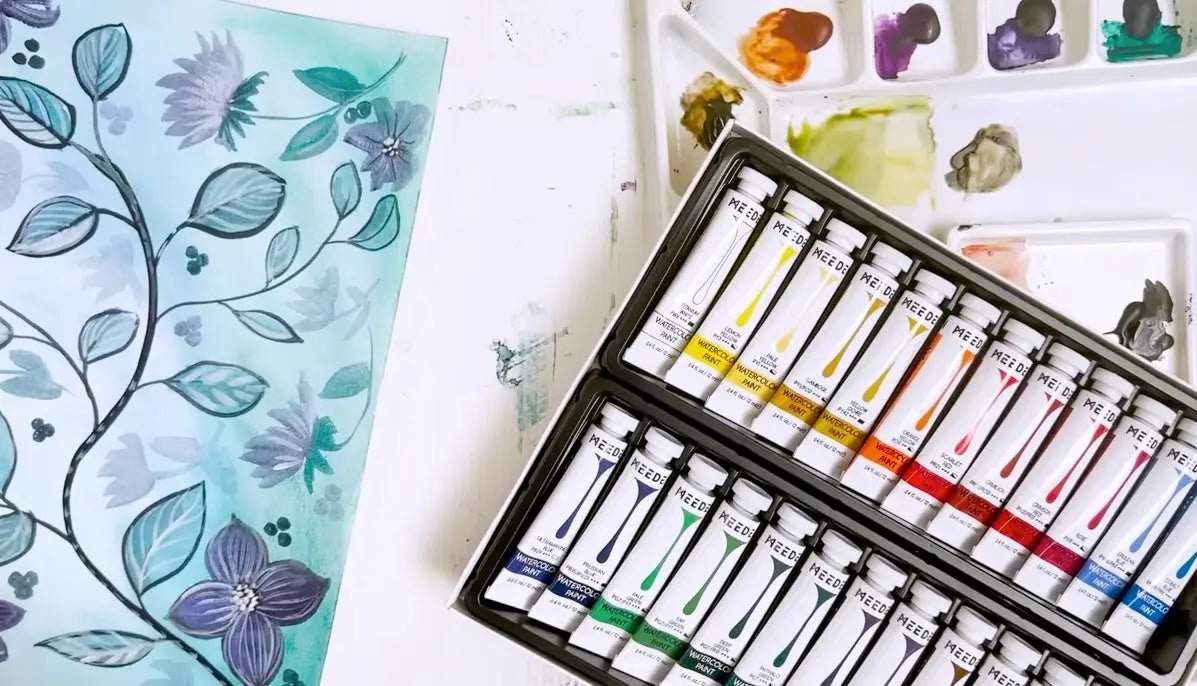
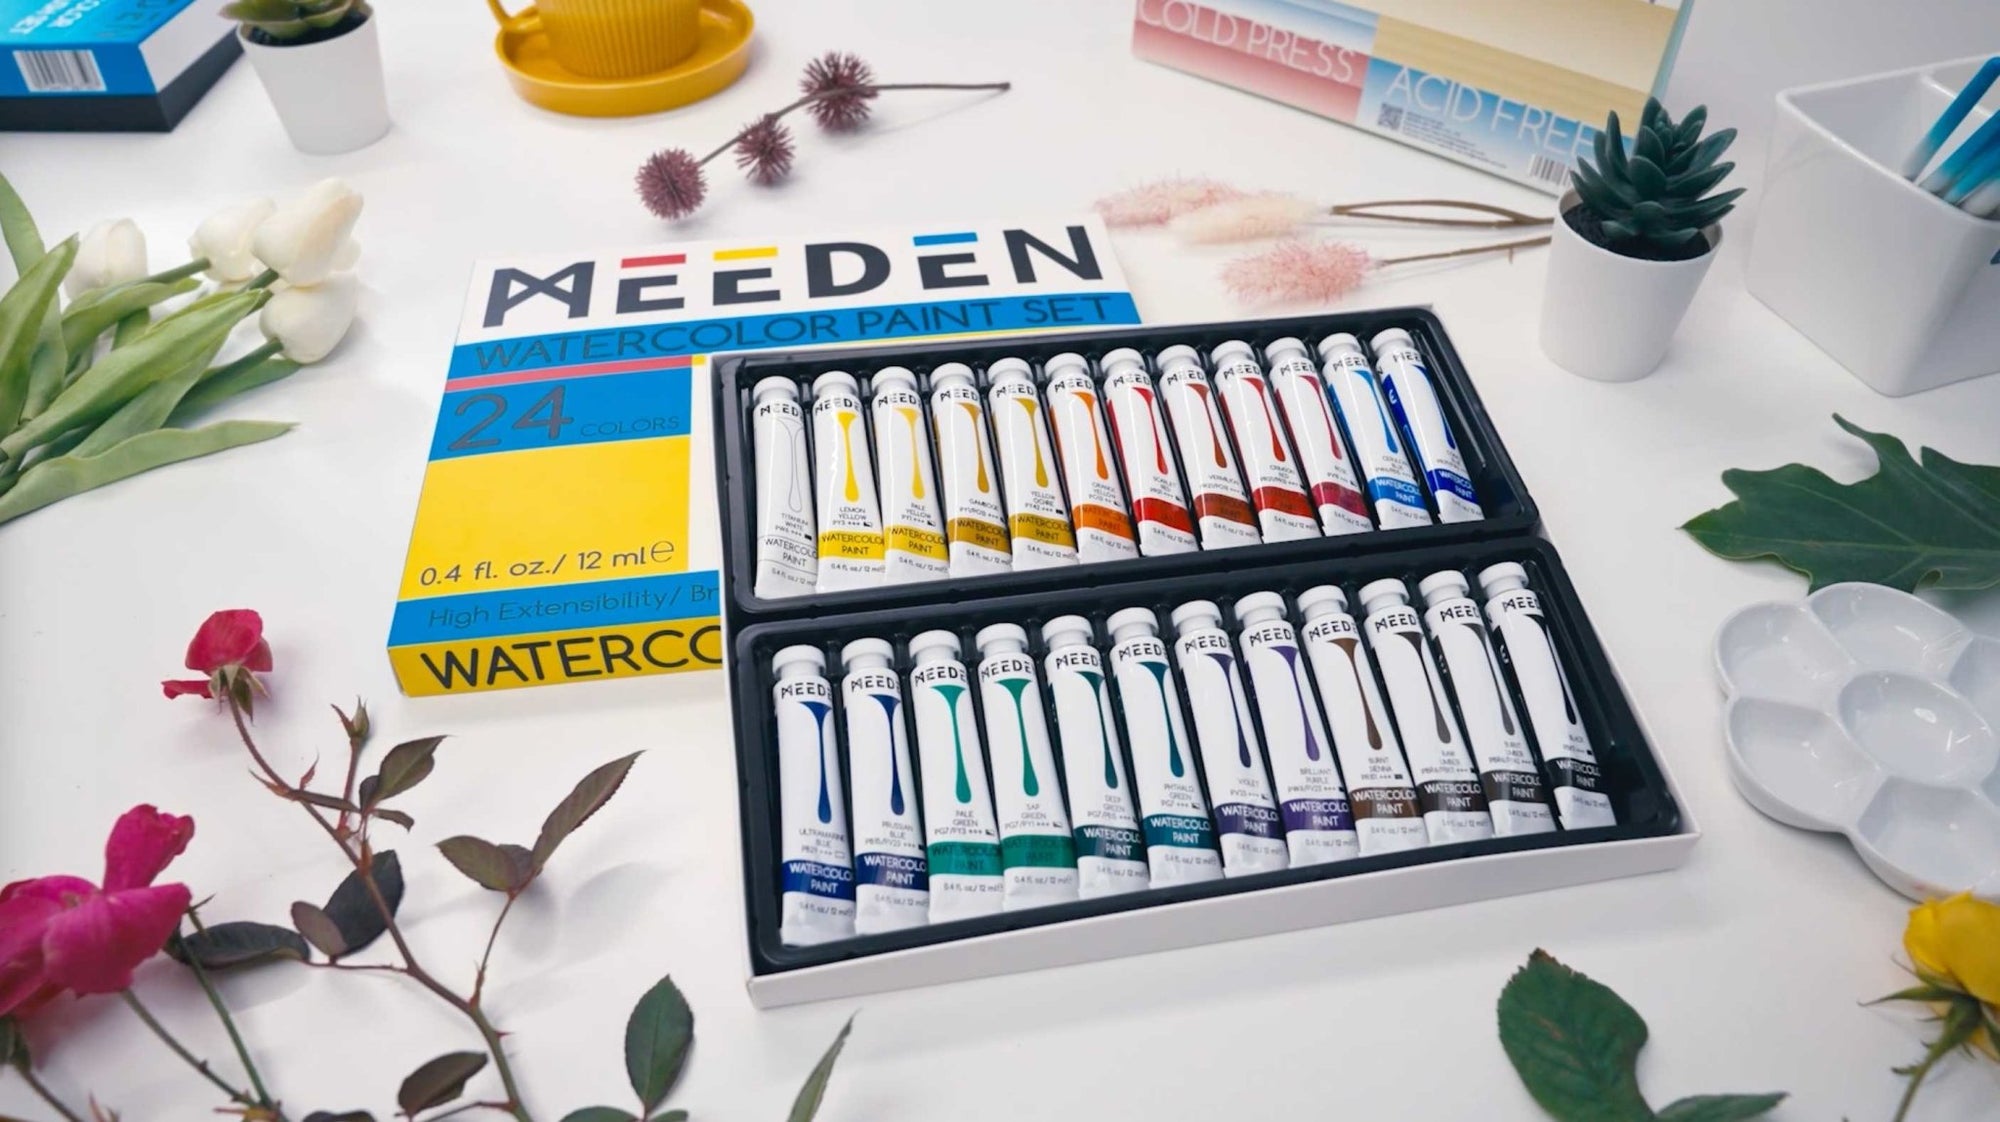
- MEEDEN Watercolor Paint Set (24 tubes, 12ml each)
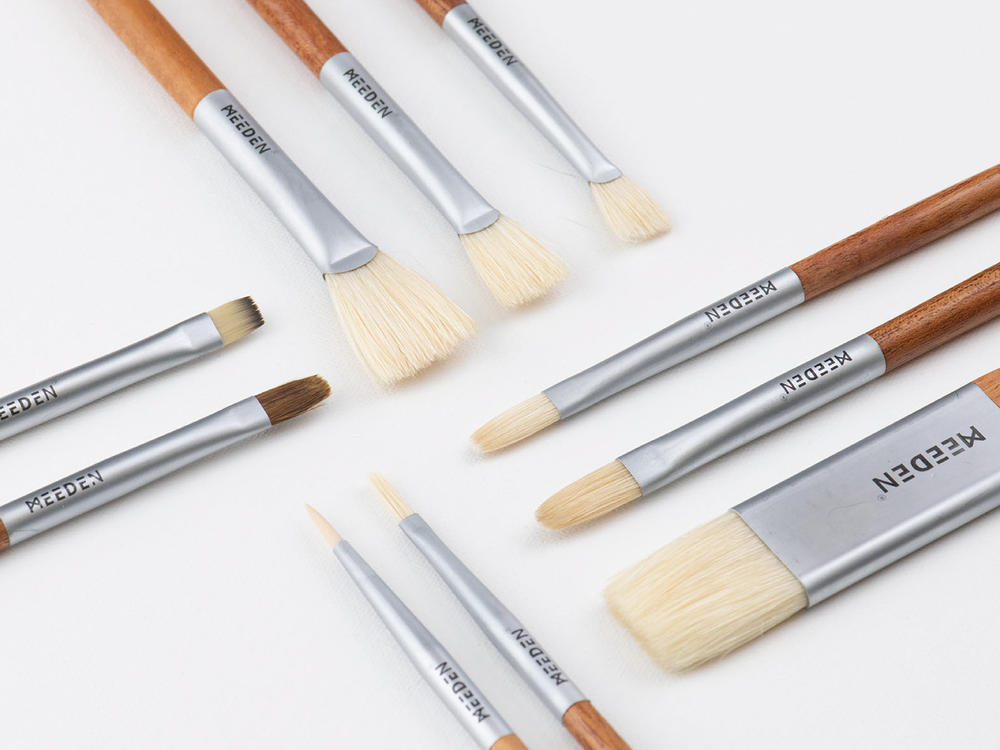
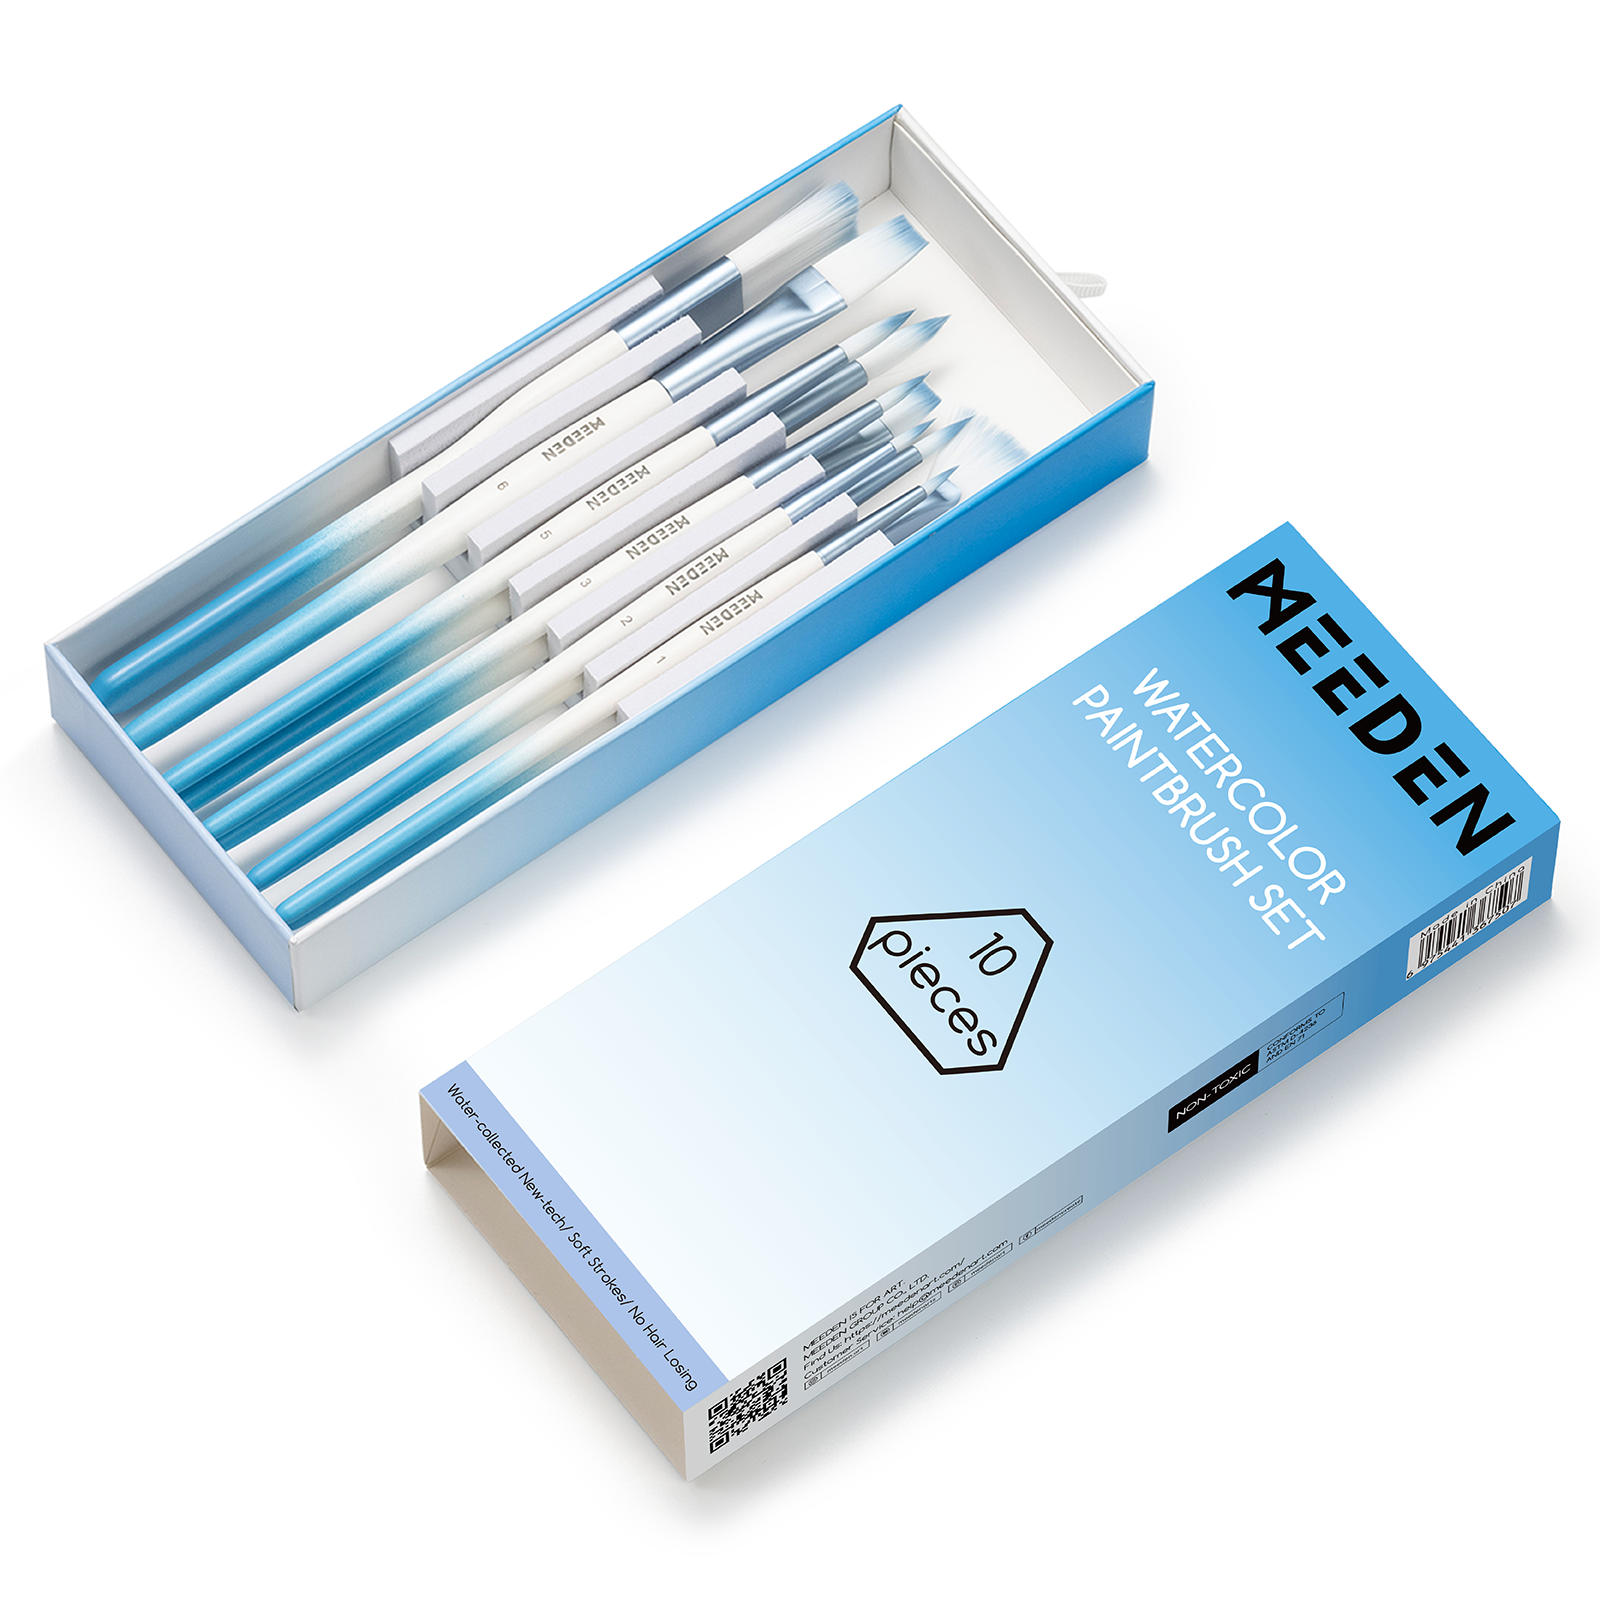
- MEEDEN Watercolor Paint Brushes Set (10 pieces)
- MEEDEN Ceramic Watercolor Wash Bowl
- MEEDEN Ceramic Watercolor Palette
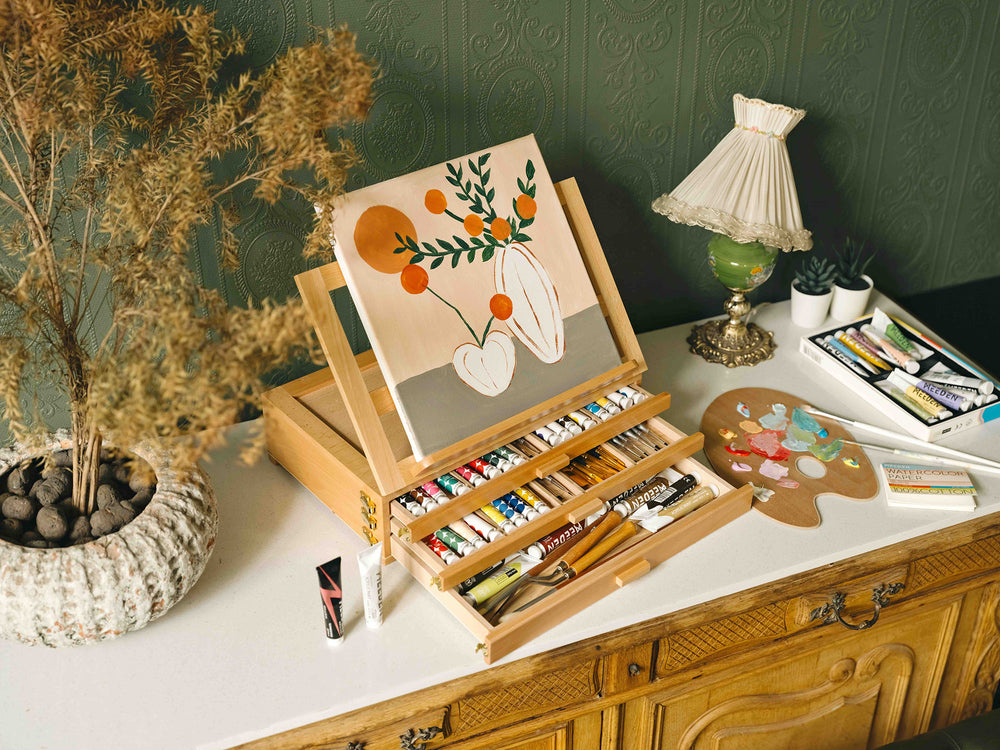
- MEEDEN Solid Beech Wood Tabletop Easel (optional)
- Pencil and eraser
- A jar of clean water
- Paper towel
Step-by-Step Tutorial
Step 1&2: Outline the Tree & Add the Red Ornaments

Lightly sketch the general shape of the Christmas tree with a pencil. Keep the outline simple, focusing on capturing the overall structure rather than tiny details. Once done, gently erase any dark or heavy pencil marks so they won’t show through the watercolor.
Using a fine-tipped brush and vibrant red paint, outline the tree's ornaments. Add just enough water to create smooth strokes, but avoid making the paint too runny, as this might cause it to bleed onto the paper. 🎄
Step 3: Paint the Tree

Using green watercolor, paint the tree with loose, sweeping strokes from side to side to mimic the texture of natural tree branches. Add more water to your paint to create soft gradients and a flowing, layered effect. Once the base is dry, use two deeper shades of green to add depth, giving the tree a rich, dimensional look.
Step 4: Paint the Gifts

Under the tree, paint colorful presents using festive colors like red, green, blue, and gold. Start with bold color blocks for the gift boxes and let them dry. Then, use a fine brush to add ribbons, patterns, or other details. Outline the shapes in darker shades, like brown, to give them a crisp finish. If desired, use light blue to create soft shadows or a subtle background to complete the scene.
Step 5: Add the Final Touches

Paint vibrant red decorations on the tree, and use thicker red paint to make them pop. Once dry, use white gouache to add highlights, making the ornaments appear shiny. At the top of the tree, paint a glowing golden star. Add a string of fairy lights in gold or yellow to bring your tree to life. Add any final details, adjust shading, and step back to admire your festive masterpiece!

---Tips & Precautions—-
1. Pencil Marks: Keep your initial lines light to avoid visibility through the paint.
2. Water Control: Balance water usage carefully to prevent bleeding or uneven colors.
3. Layering: Always allow one layer to dry fully before starting the next to avoid smudging.
4. Brush Care: Rinse your brushes thoroughly when changing colors to maintain vibrancy.
5. Paper Protection: Use paper towels to quickly fix any mistakes or excess water.
6. Creativity: Feel free to personalize your tree with glitter accents, unique ornaments, or extra details!
With these steps, you’ll create a watercolor Christmas tree that’s both festive and heartwarming. Happy painting!👋


