Spooky season is here, and it's time to bring those eerie ideas to life! Whether you’re crafting creepy creatures, haunted houses, or magical pumpkin patches, Halloween offers the perfect excuse to let your imagination run wild. There’s no better way to celebrate the spirit of the season than with a paintbrush in hand, creating art that’s as chilling as it is charming. So grab your favorite paints, turn on some spooky tunes, and let’s dive into a world of tricks, treats, and creative masterpieces!
List of Supplies
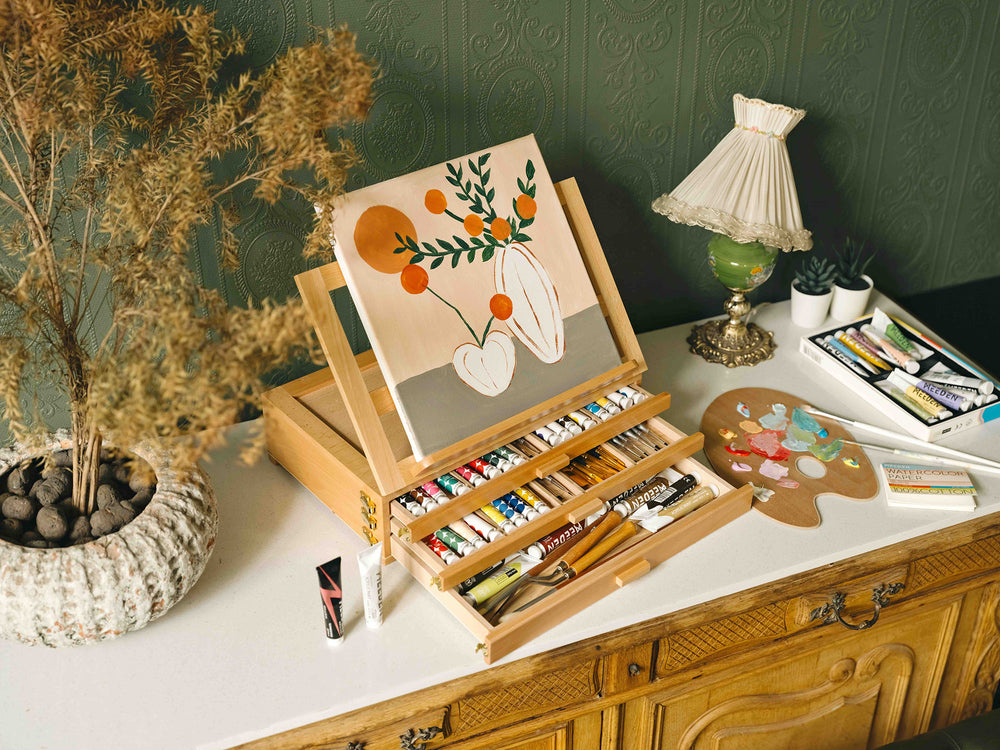
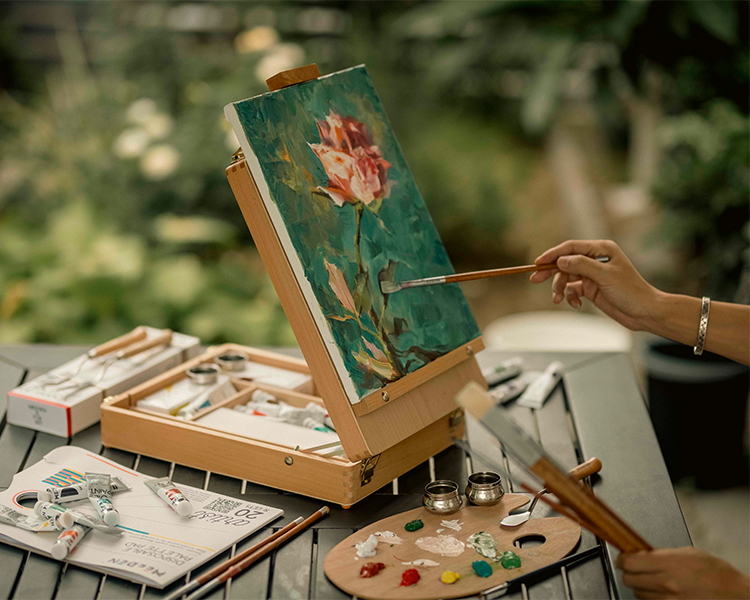
MEEDEN Tabletop Easel with Storage Drawer & Palette-XHC-1A
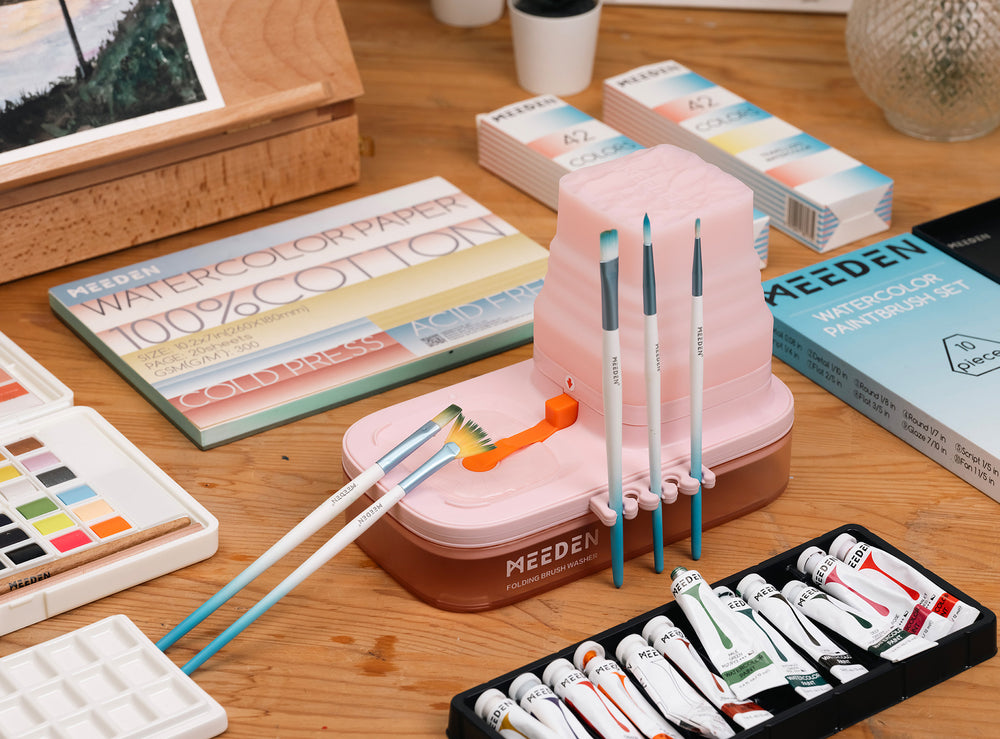
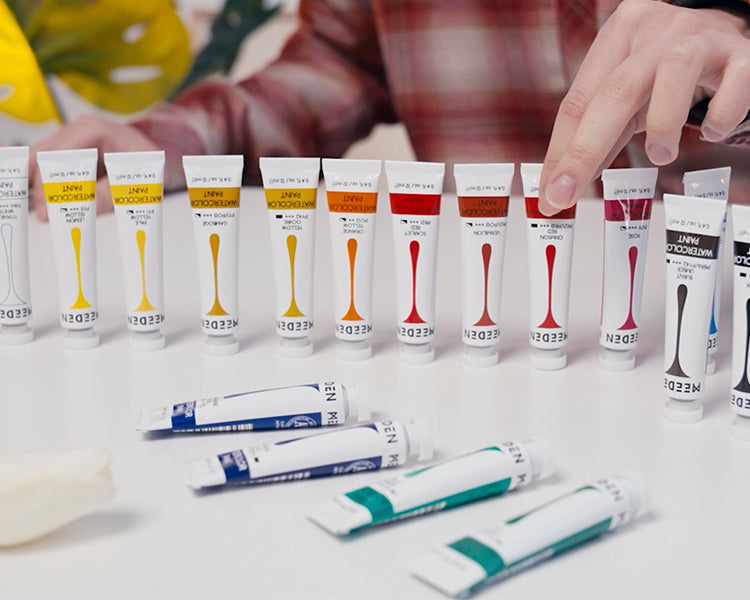
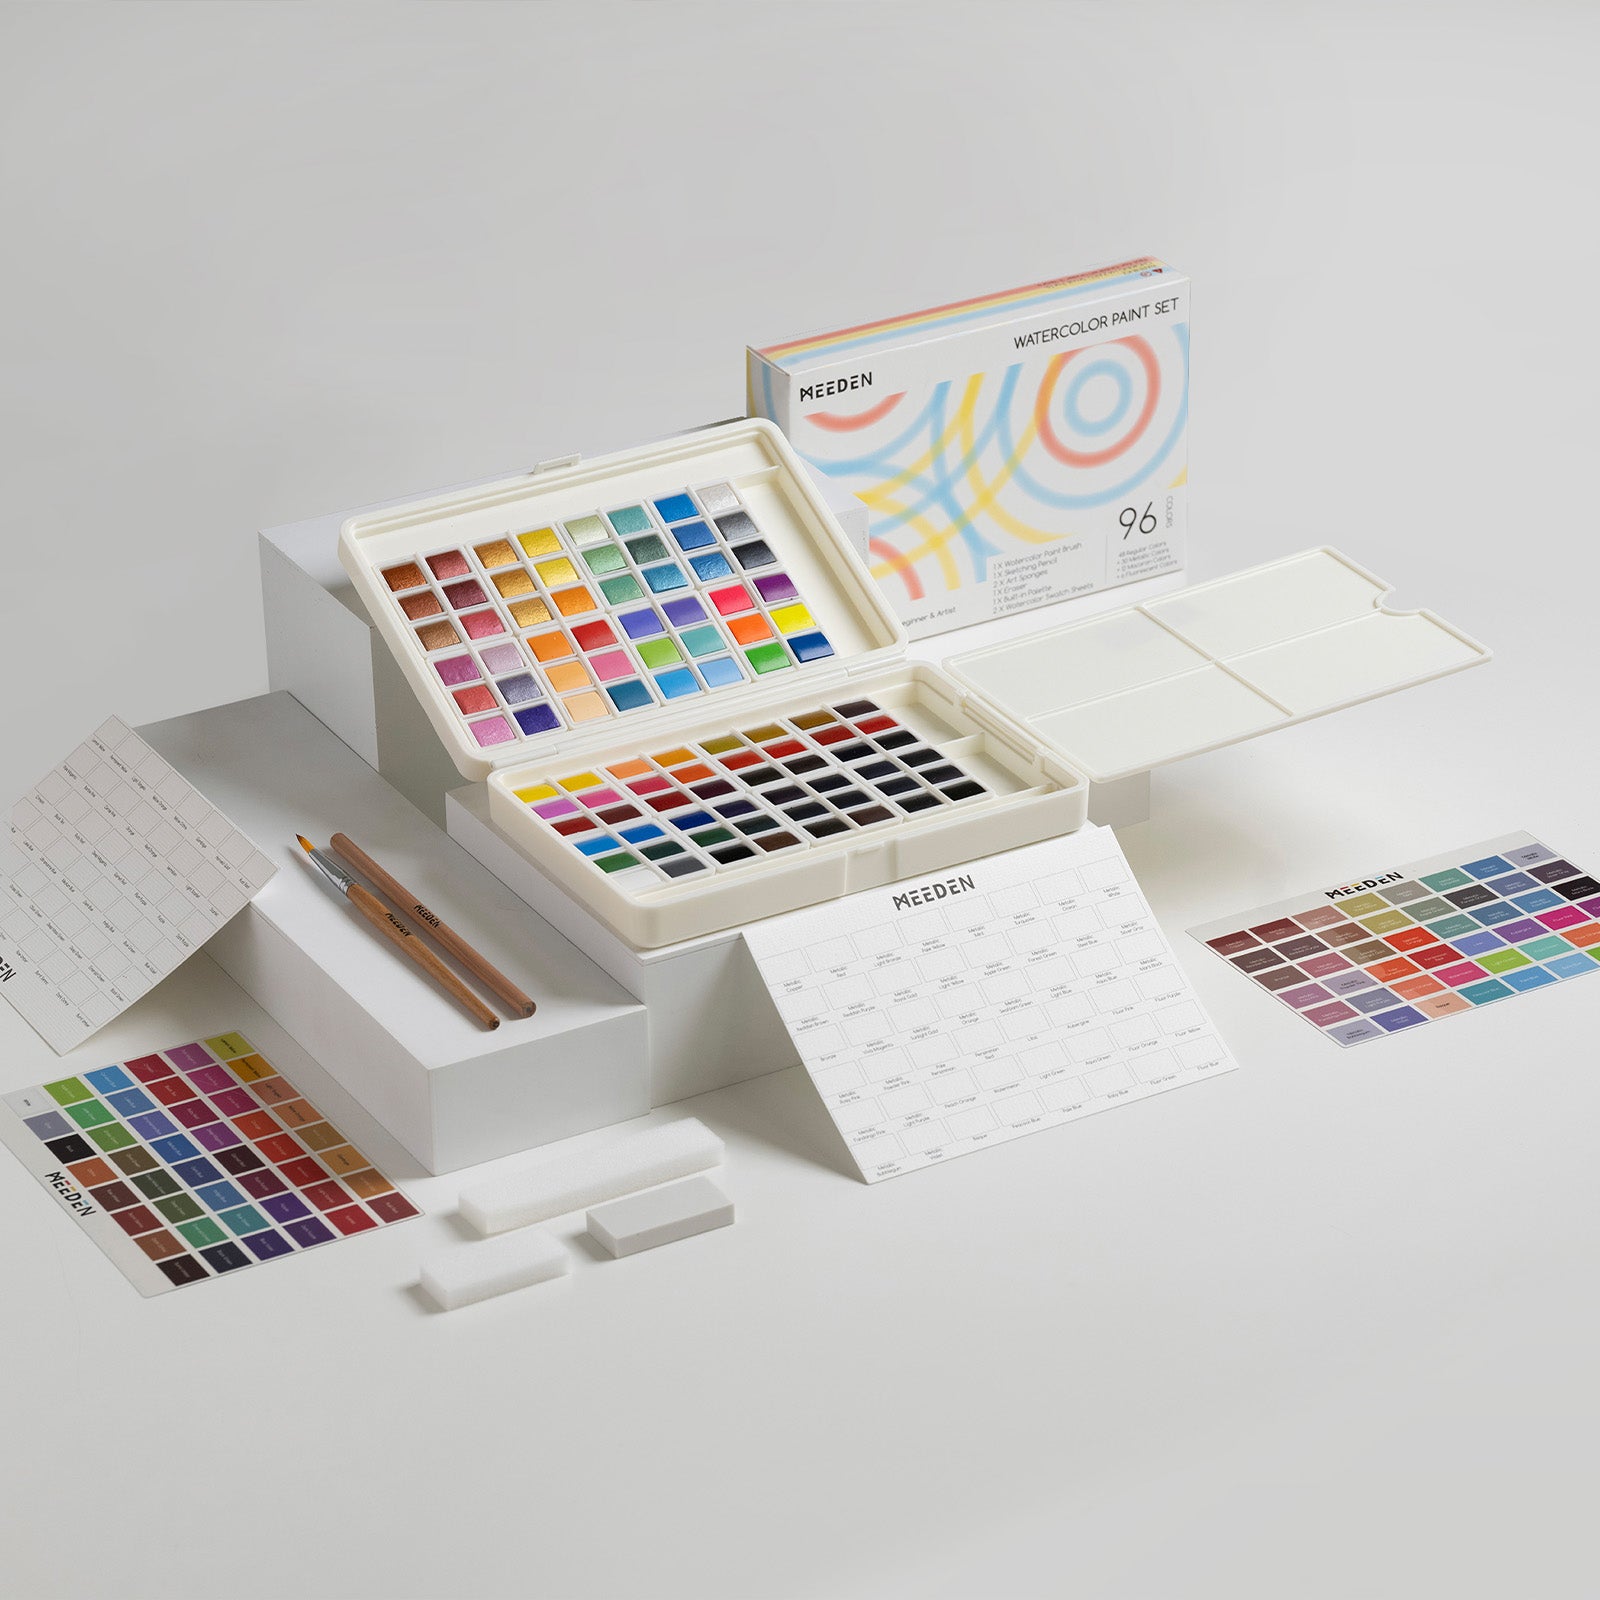
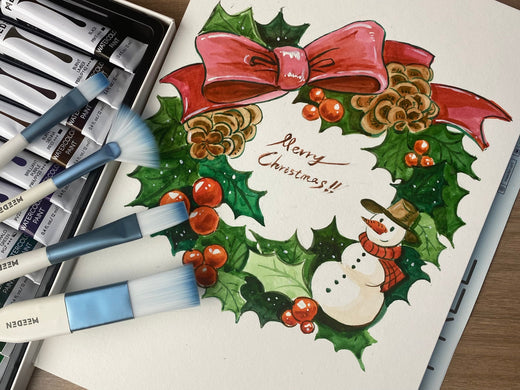
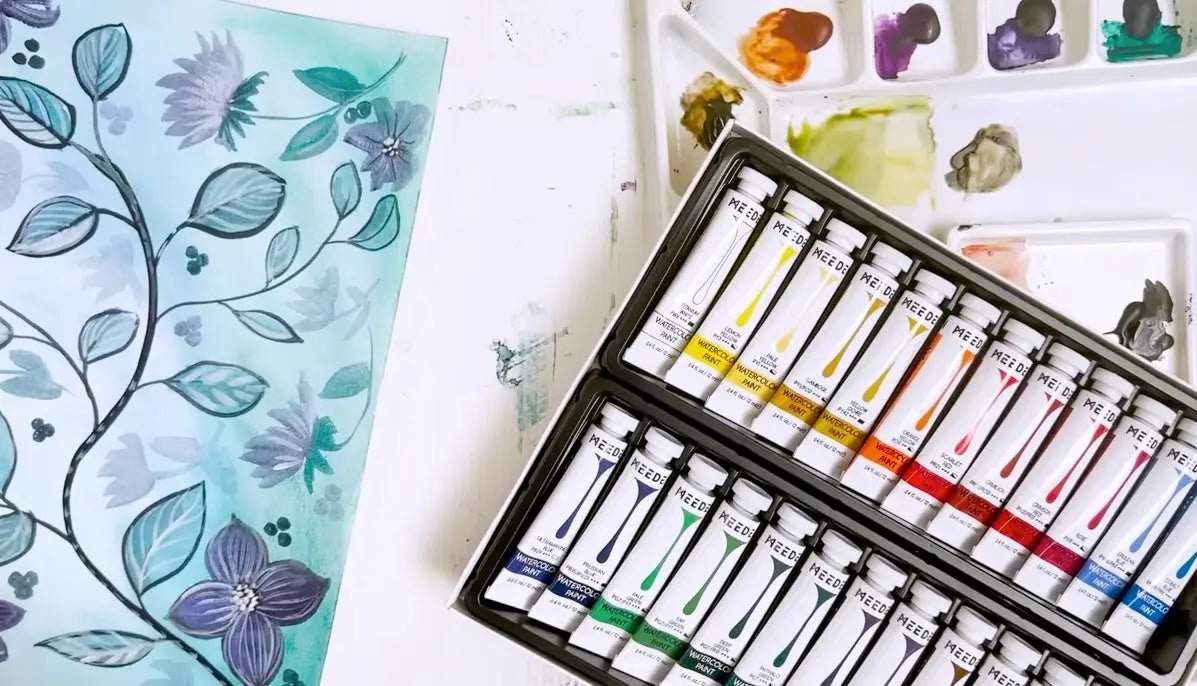
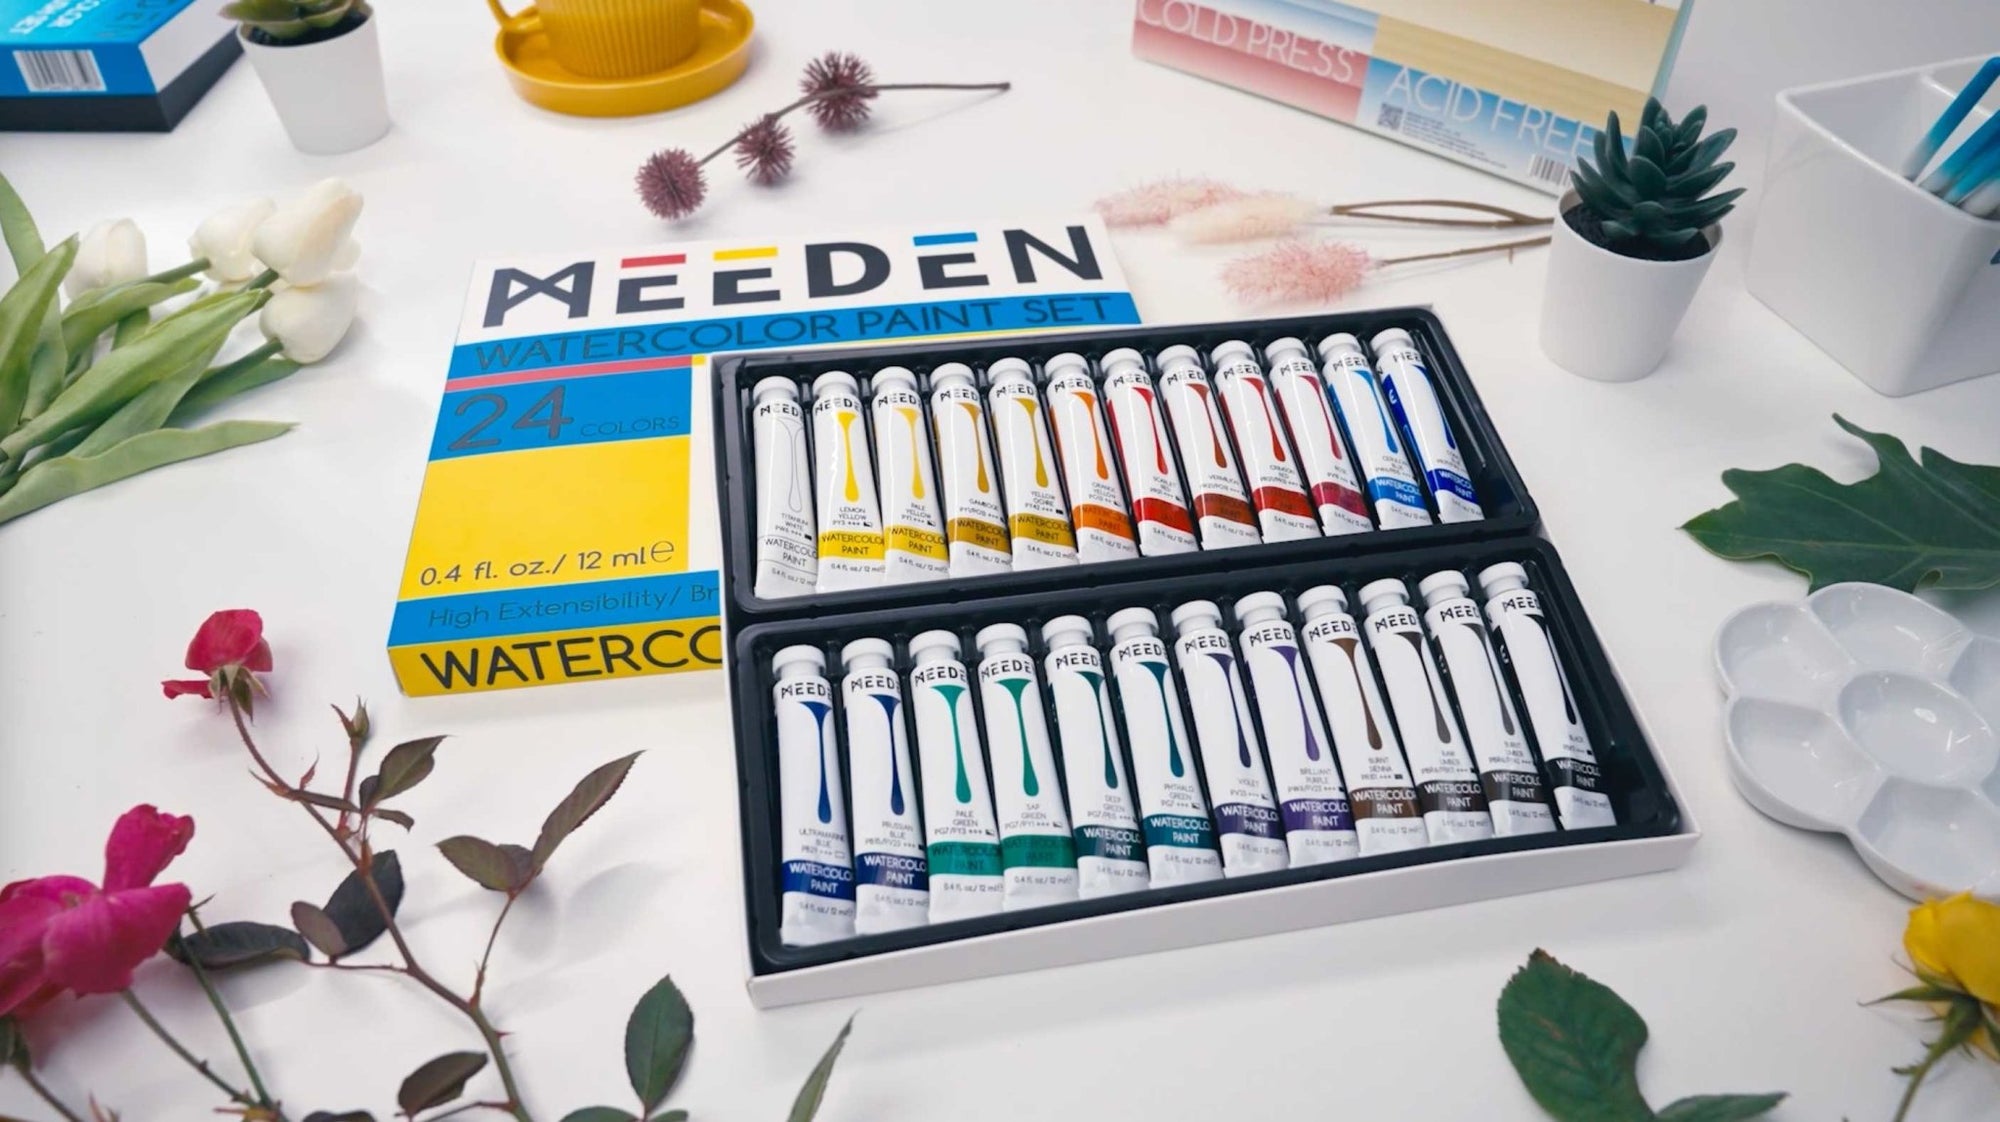
MEEDEN 96-Color Solid Watercolor Set
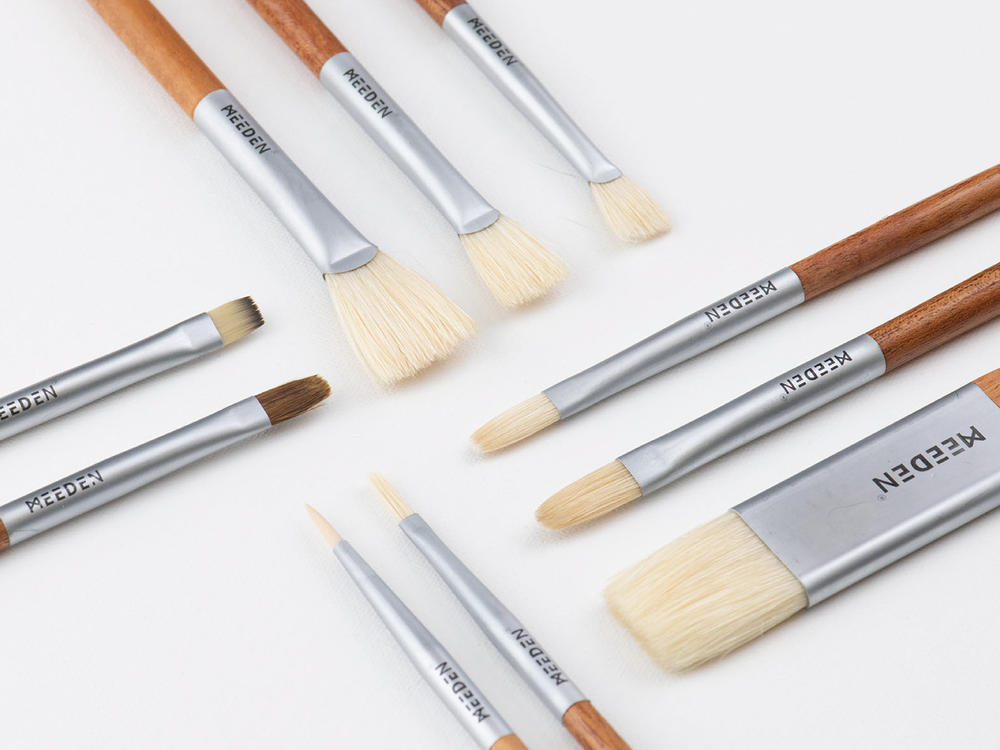
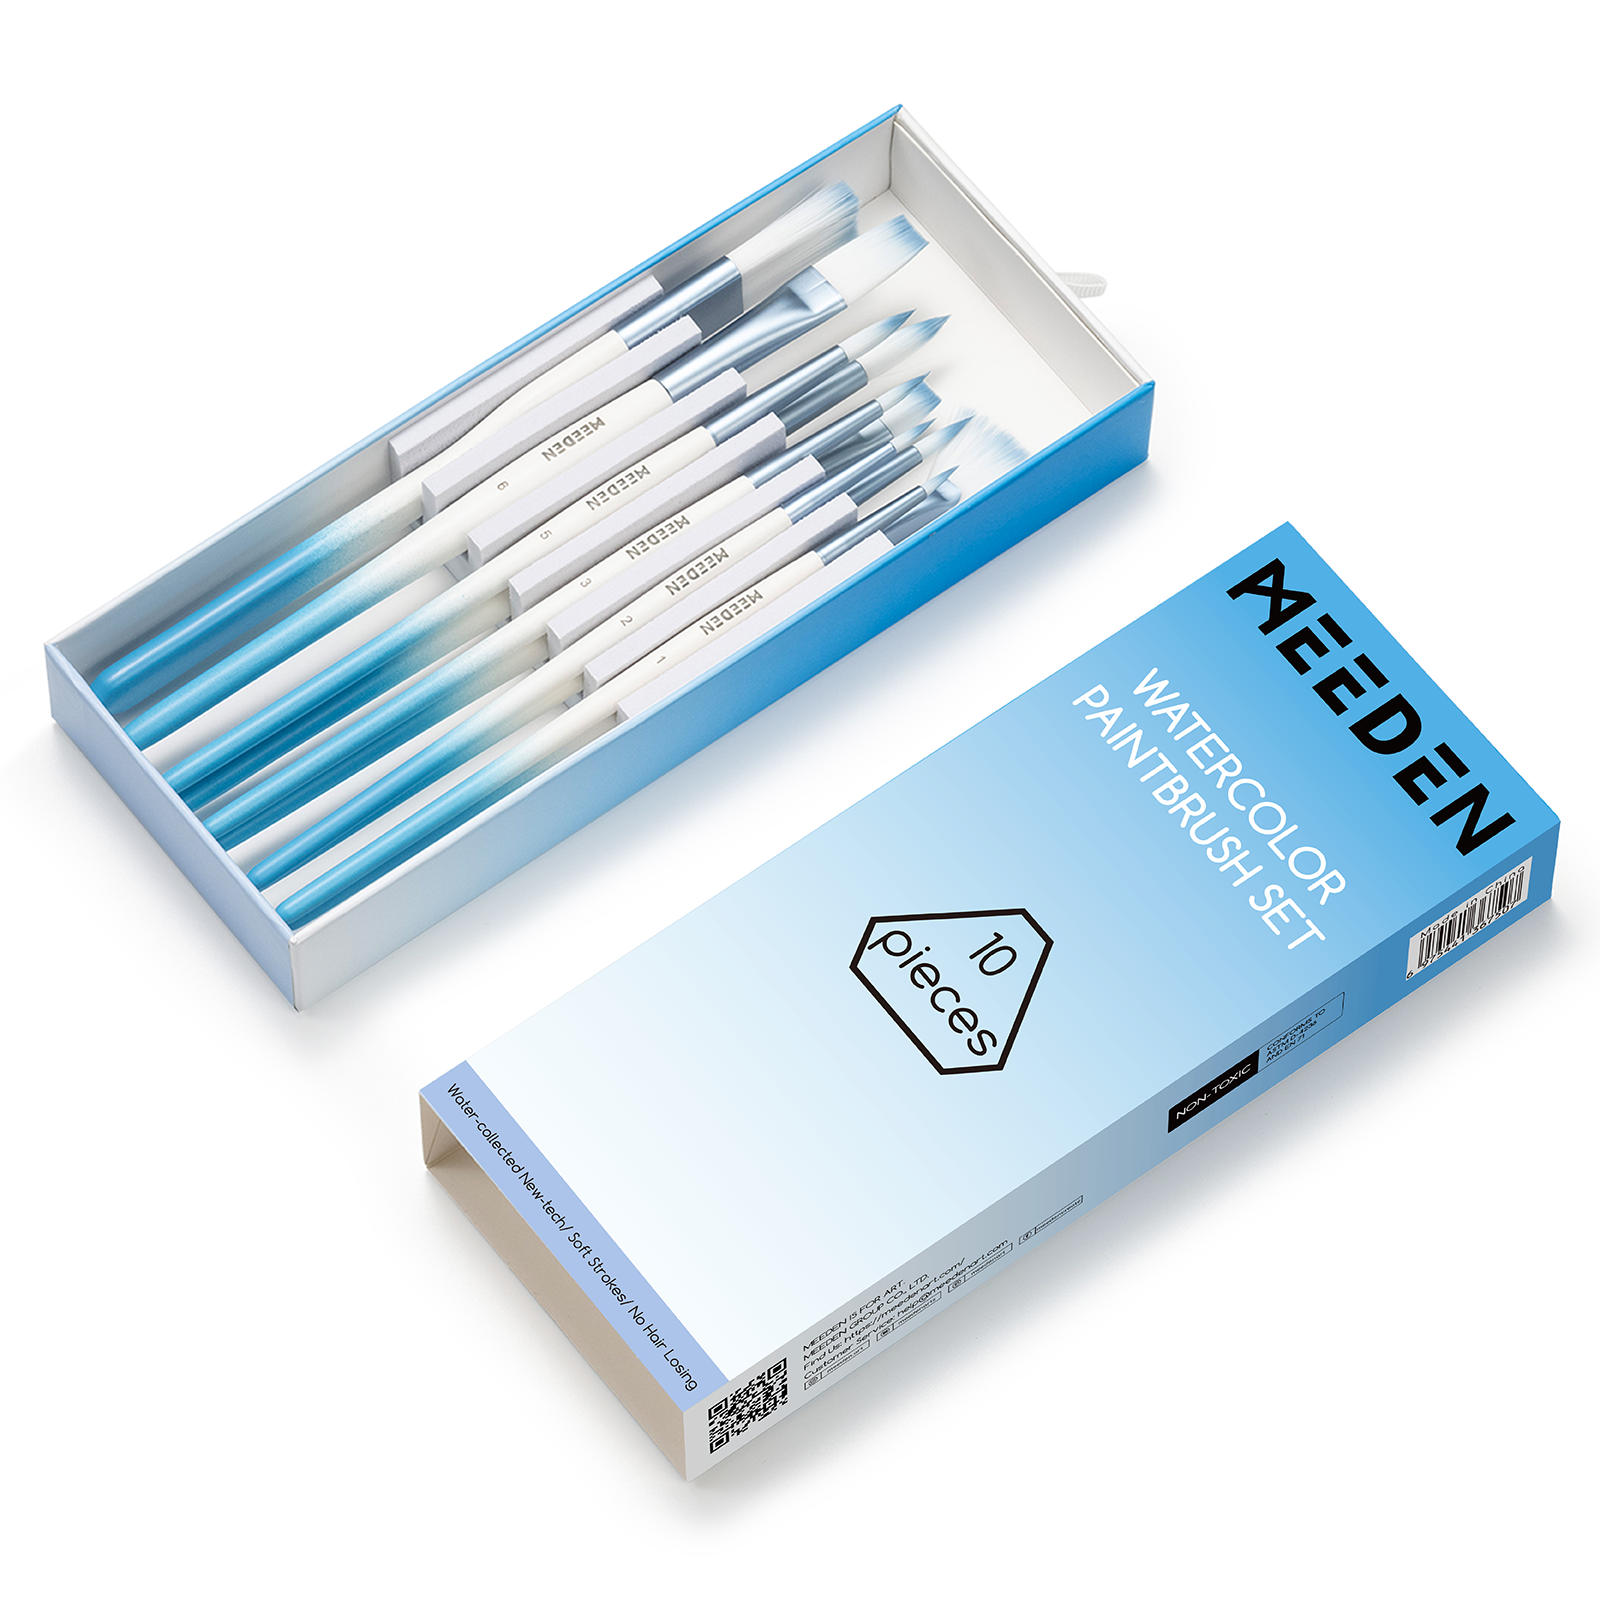
MEEDEN 15 Pcs Micro Detail Paint Brush Set
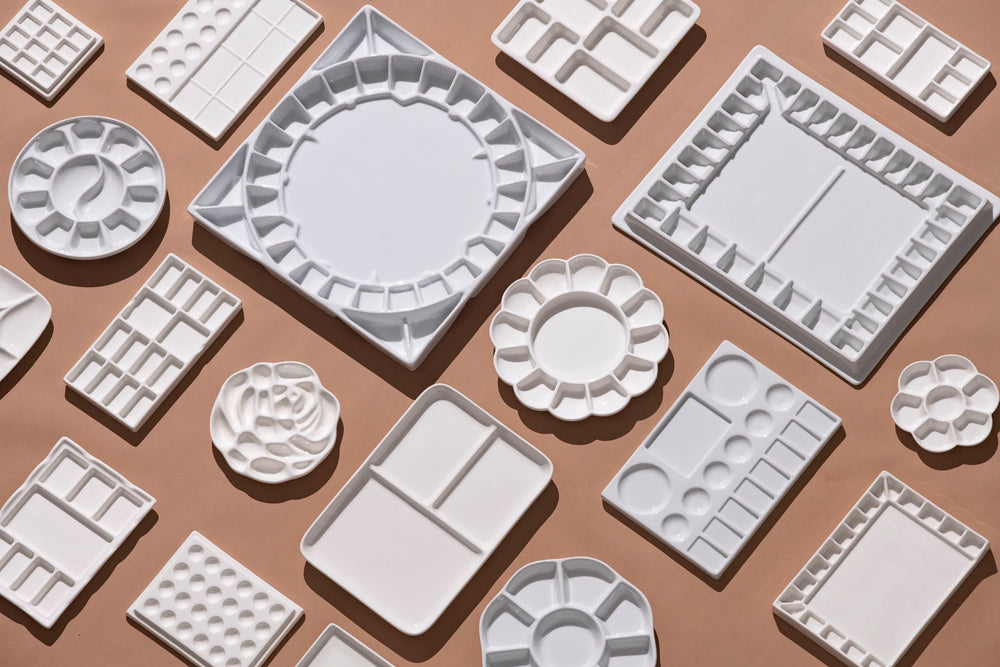
MEEDEN 18-Well Porcelain Artist Paint Palette
Step 1. Sketch The Outlines
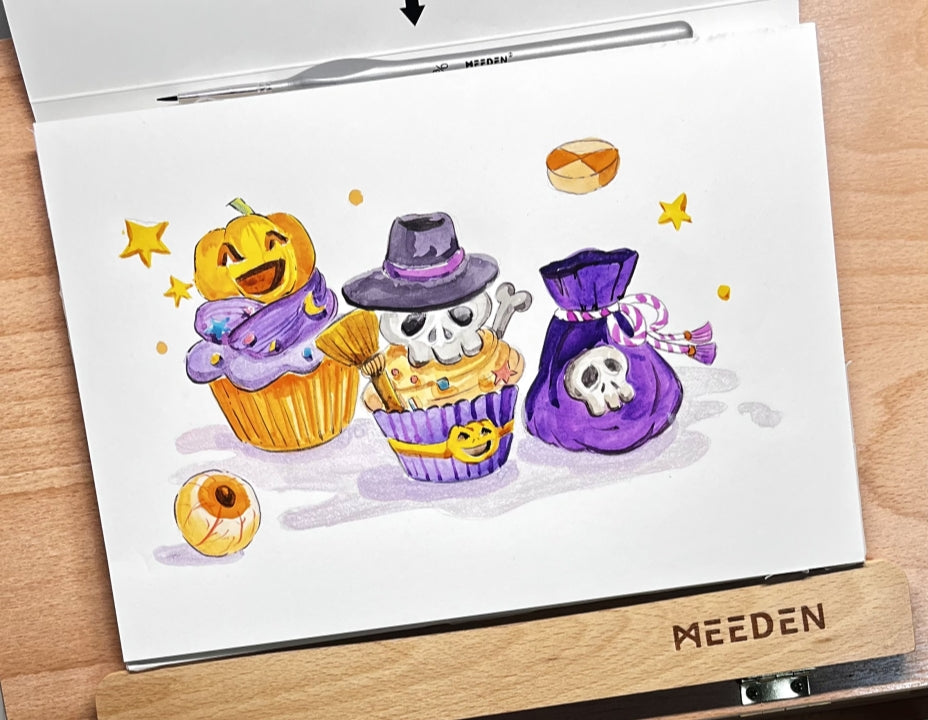
Using the pencil included in your watercolor set, begin by lightly drawing the outlines of a pumpkin cupcake, a skull cupcake, and a candy bag. Focus on getting the basic shapes in place—no need for perfection at this stage. This step lays the foundation for the watercolor work to come.

Step 2. Apply The First Layer Of Watercolor
Begin by laying down a light wash of color across all areas, keeping the tones soft and translucent. Due to the nature of watercolor, it's important to build up the colors gradually. At this stage, group similar shades for smoother blending—yellows and purples, for example, can be applied uniformly. This initial layer will serve as the base for deeper tones and shading in the following steps.

Step 3: Deepen The Colors For Dimension
In this step, add a deeper layer of color to enhance the objects and bring a sense of depth to the composition, making the elements appear more three-dimensional and complete. Use a slightly darker shade than the one applied in the first layer to build contrast. Watercolor’s versatility allows for subtle variations, making it a great medium for beginners to experiment with layering and shading.

Step 4: Outline The Details
Use a fine brush to carefully trace the outlines of the objects, adding precision and definition to the entire composition. This step enhances the overall structure, making the artwork look more polished and complete. Clean, delicate lines will highlight the details and bring a refined finish to the piece.

Step 5: Add Small Decorative Details
Finish the watercolor painting by adding subtle touches—like highlights, shadows, or tiny accents—that enhance the atmosphere and character of the artwork. These small details, such as light reflections or texture strokes, will bring the composition to life and add a touch of charm to the final piece.

And with that, your Halloween painting is complete! Each layer, outline, and detail has come together to create something uniquely yours. We hope this project sparked some inspiration and gave you the chance to enjoy the creative process.
We’d love to hear from you! Feel free to share your thoughts or post your own Halloween artwork in the comments. Let’s keep the creativity flowing!
Other Posts You May Enjoy:
- Unlock Your Creativity with Halloween Art: Spooky Pencil Drawing Ideas
- How to Draw Landscapes: A Step-by-Step Watercolor Painting Tutorial
- MEEDEN Art Easel Selection Guide - From Beginners to Professional Artists
- How to Choose the Best Watercolor Paper And Enhancing Your Artistic Journey


