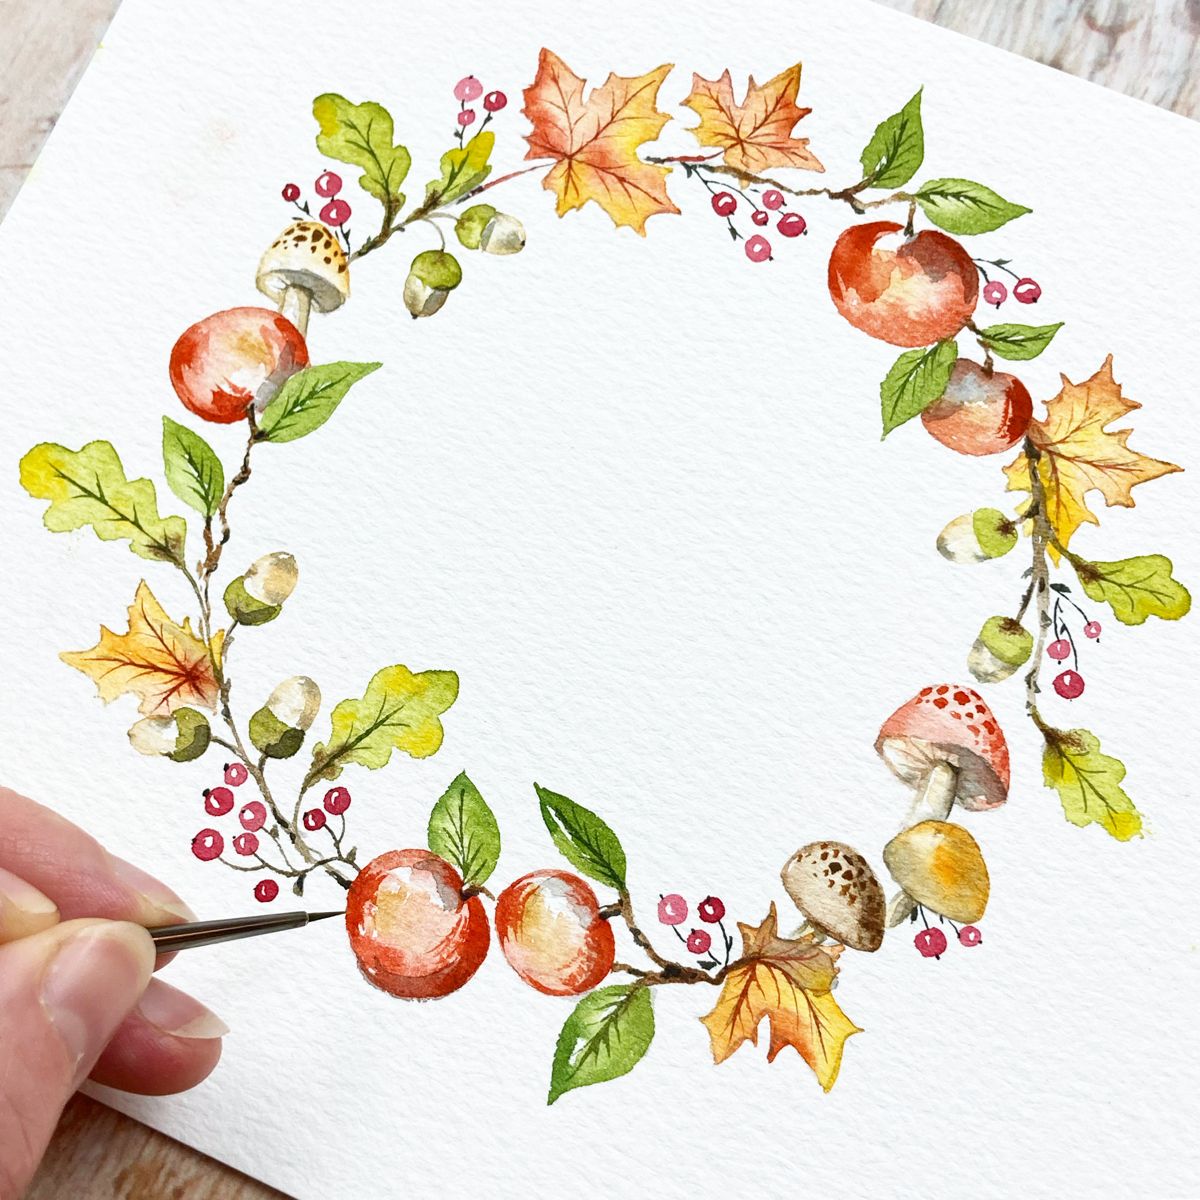
Celebrate the holiday season with a vibrant watercolor Thanksgiving wreath featuring autumn foliage, red berries, mushrooms, apples, and other seasonal treasures. Follow this five-step tutorial to create your masterpiece.
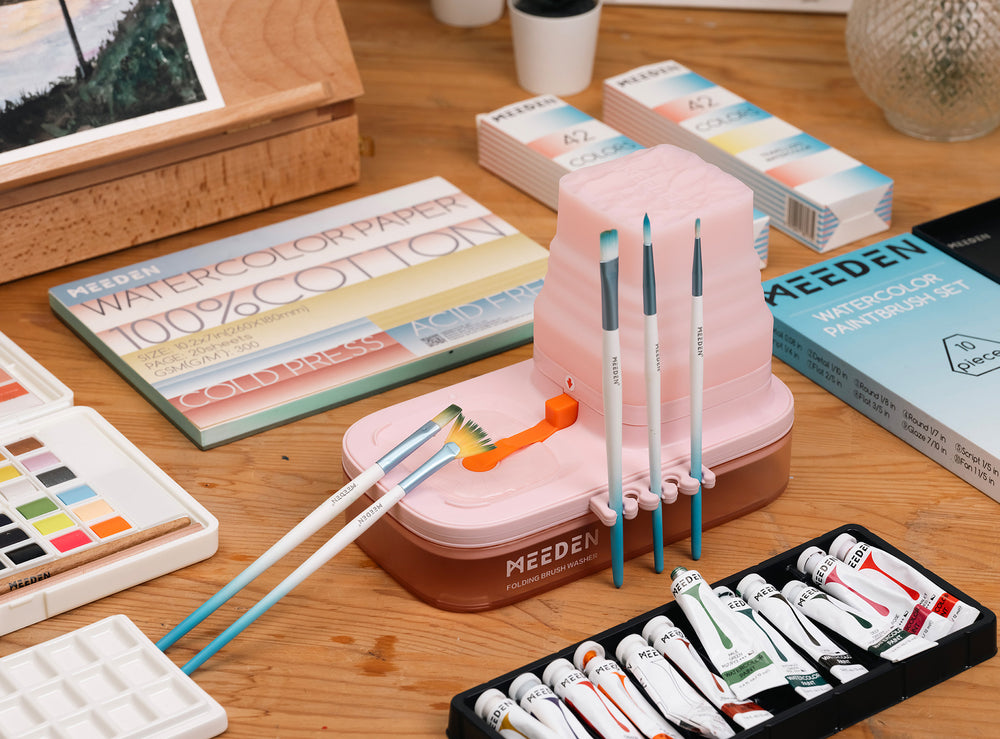
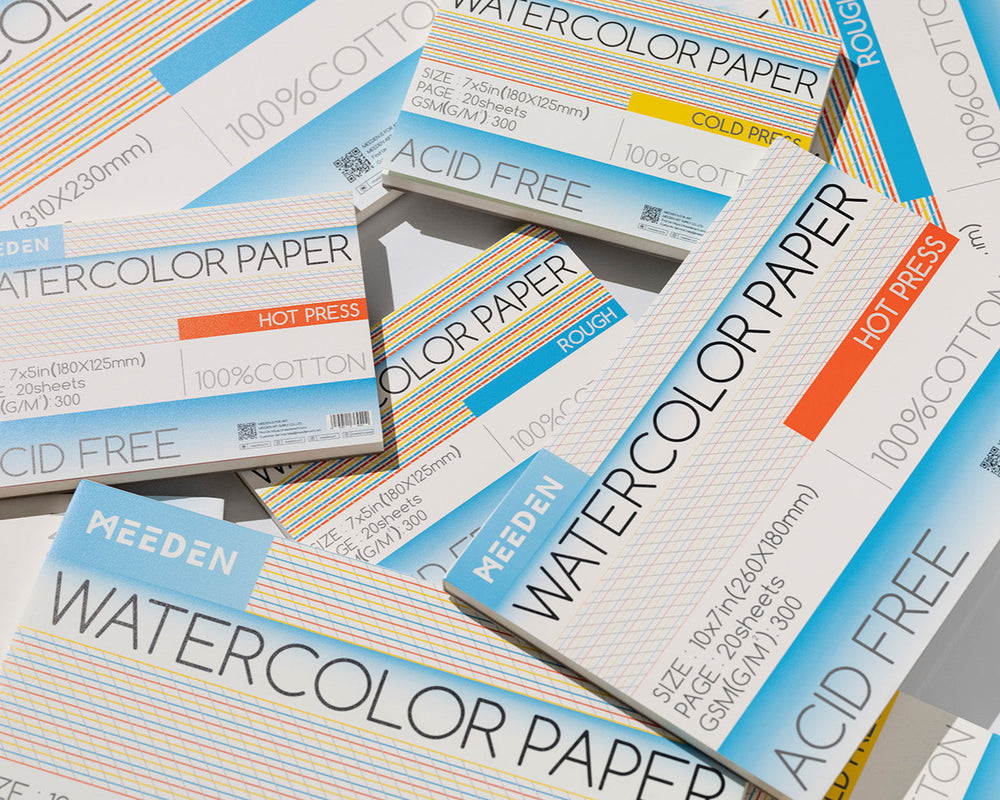
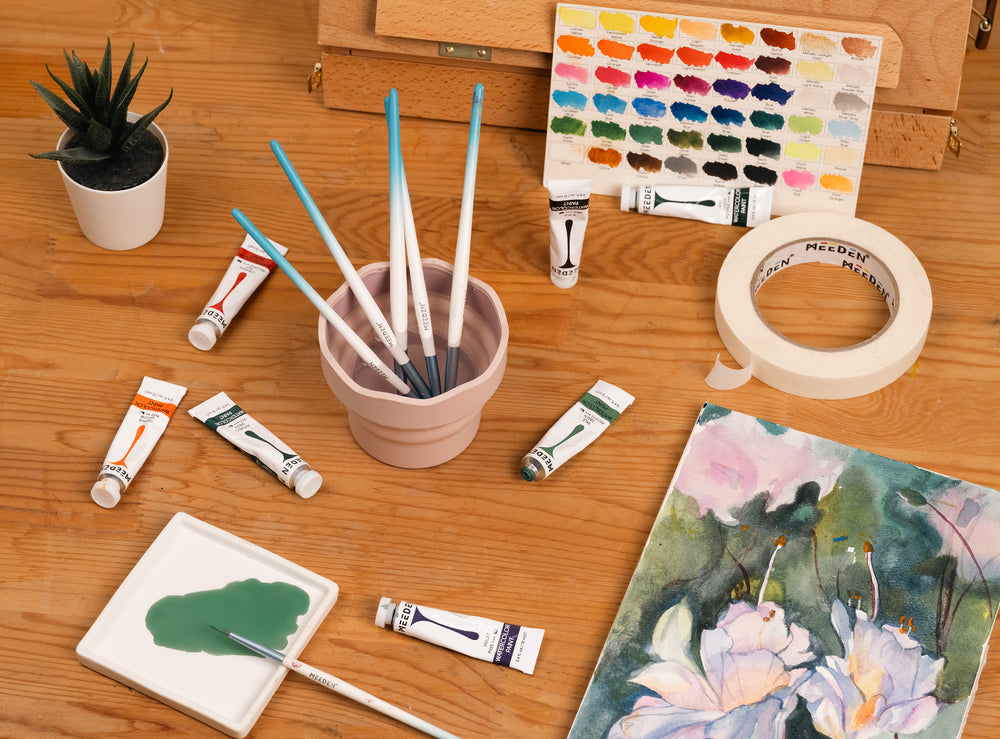
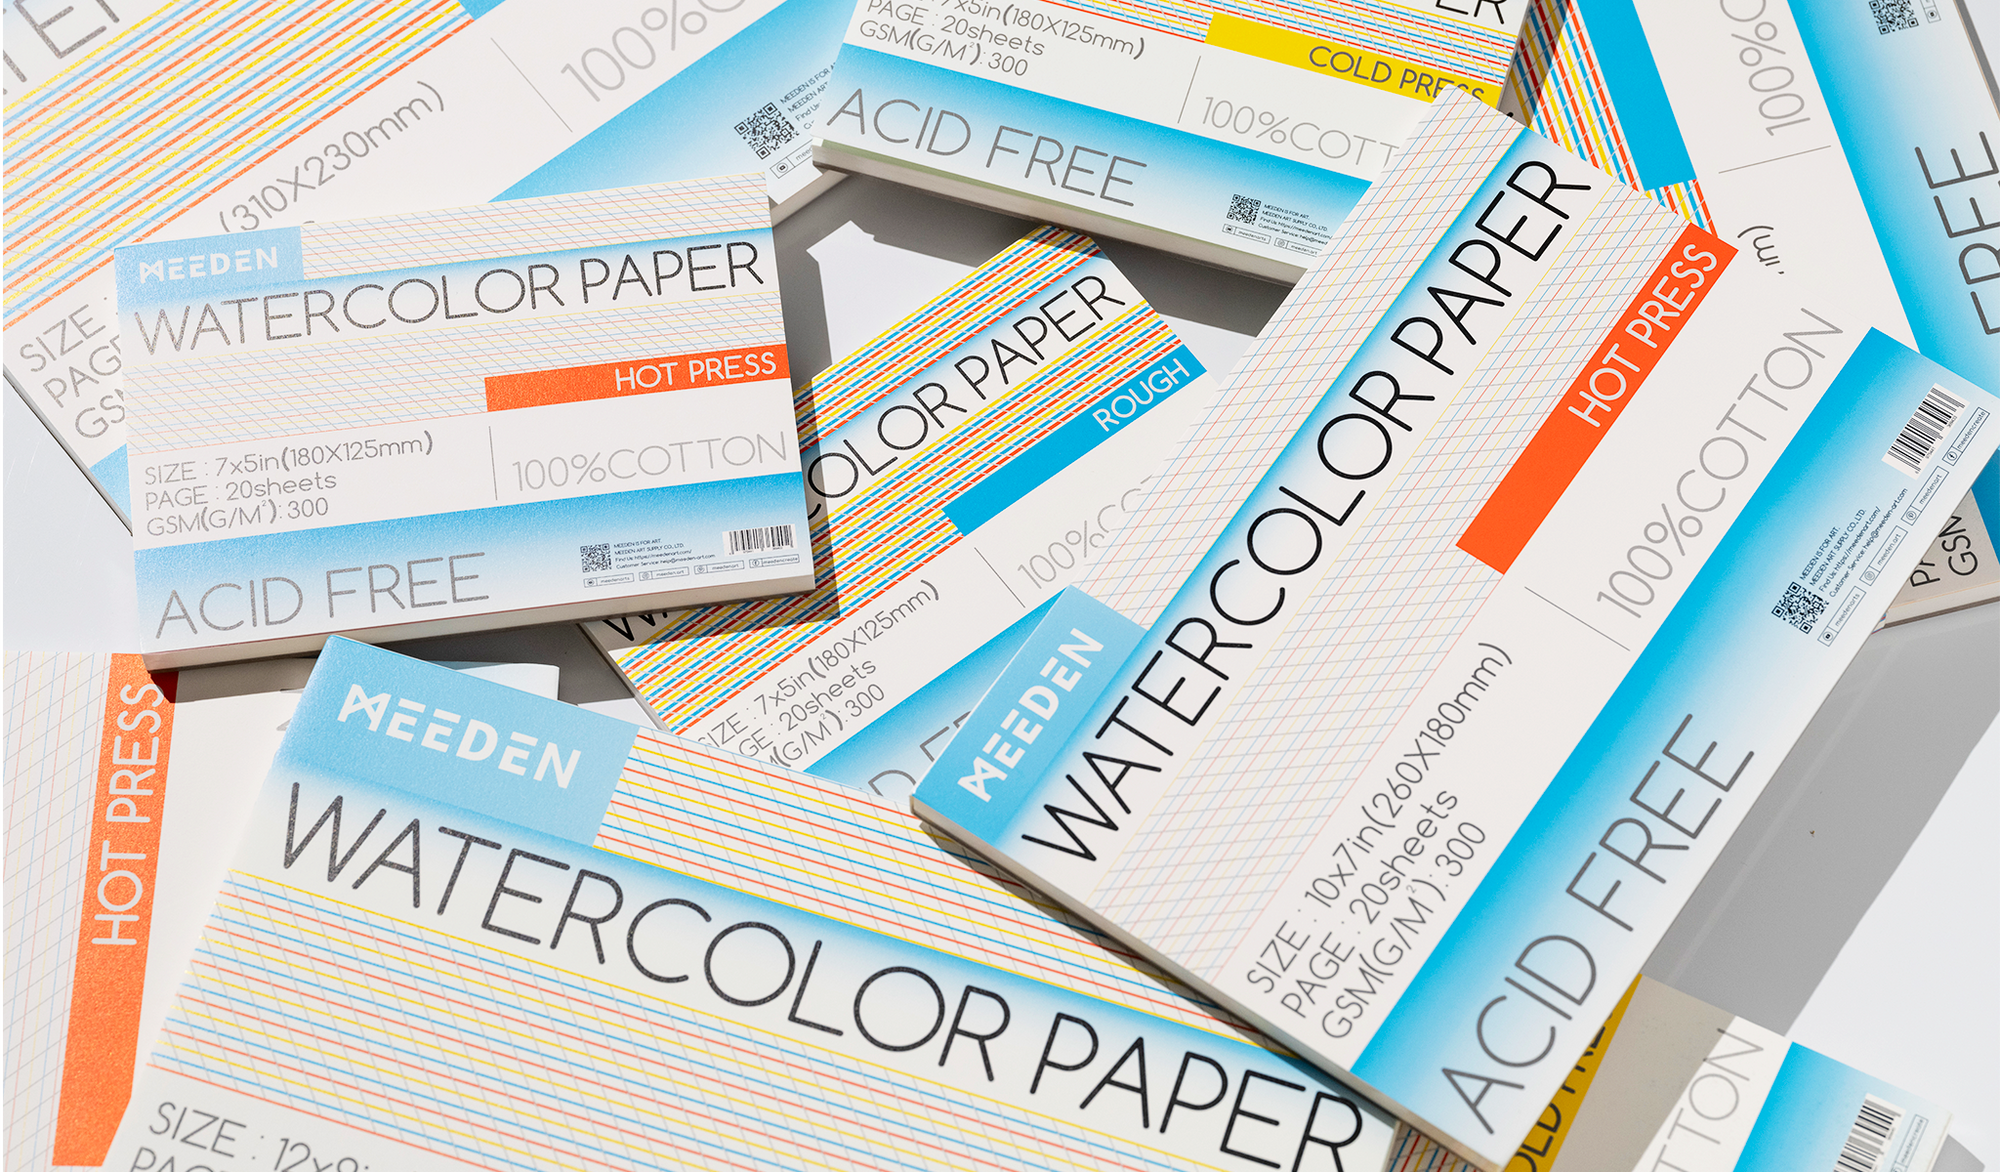
Materials Needed:- MEEDEN 10x7" Hot Press Watercolor Paper Pad (20 sheets)
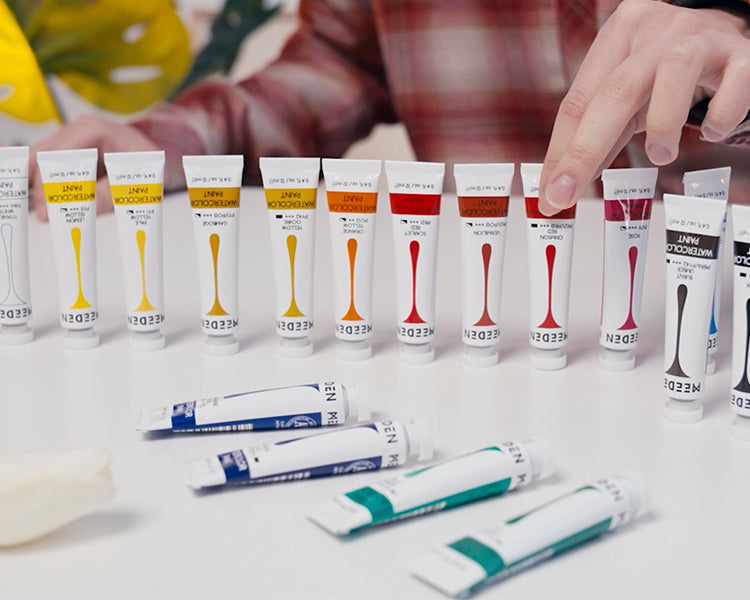
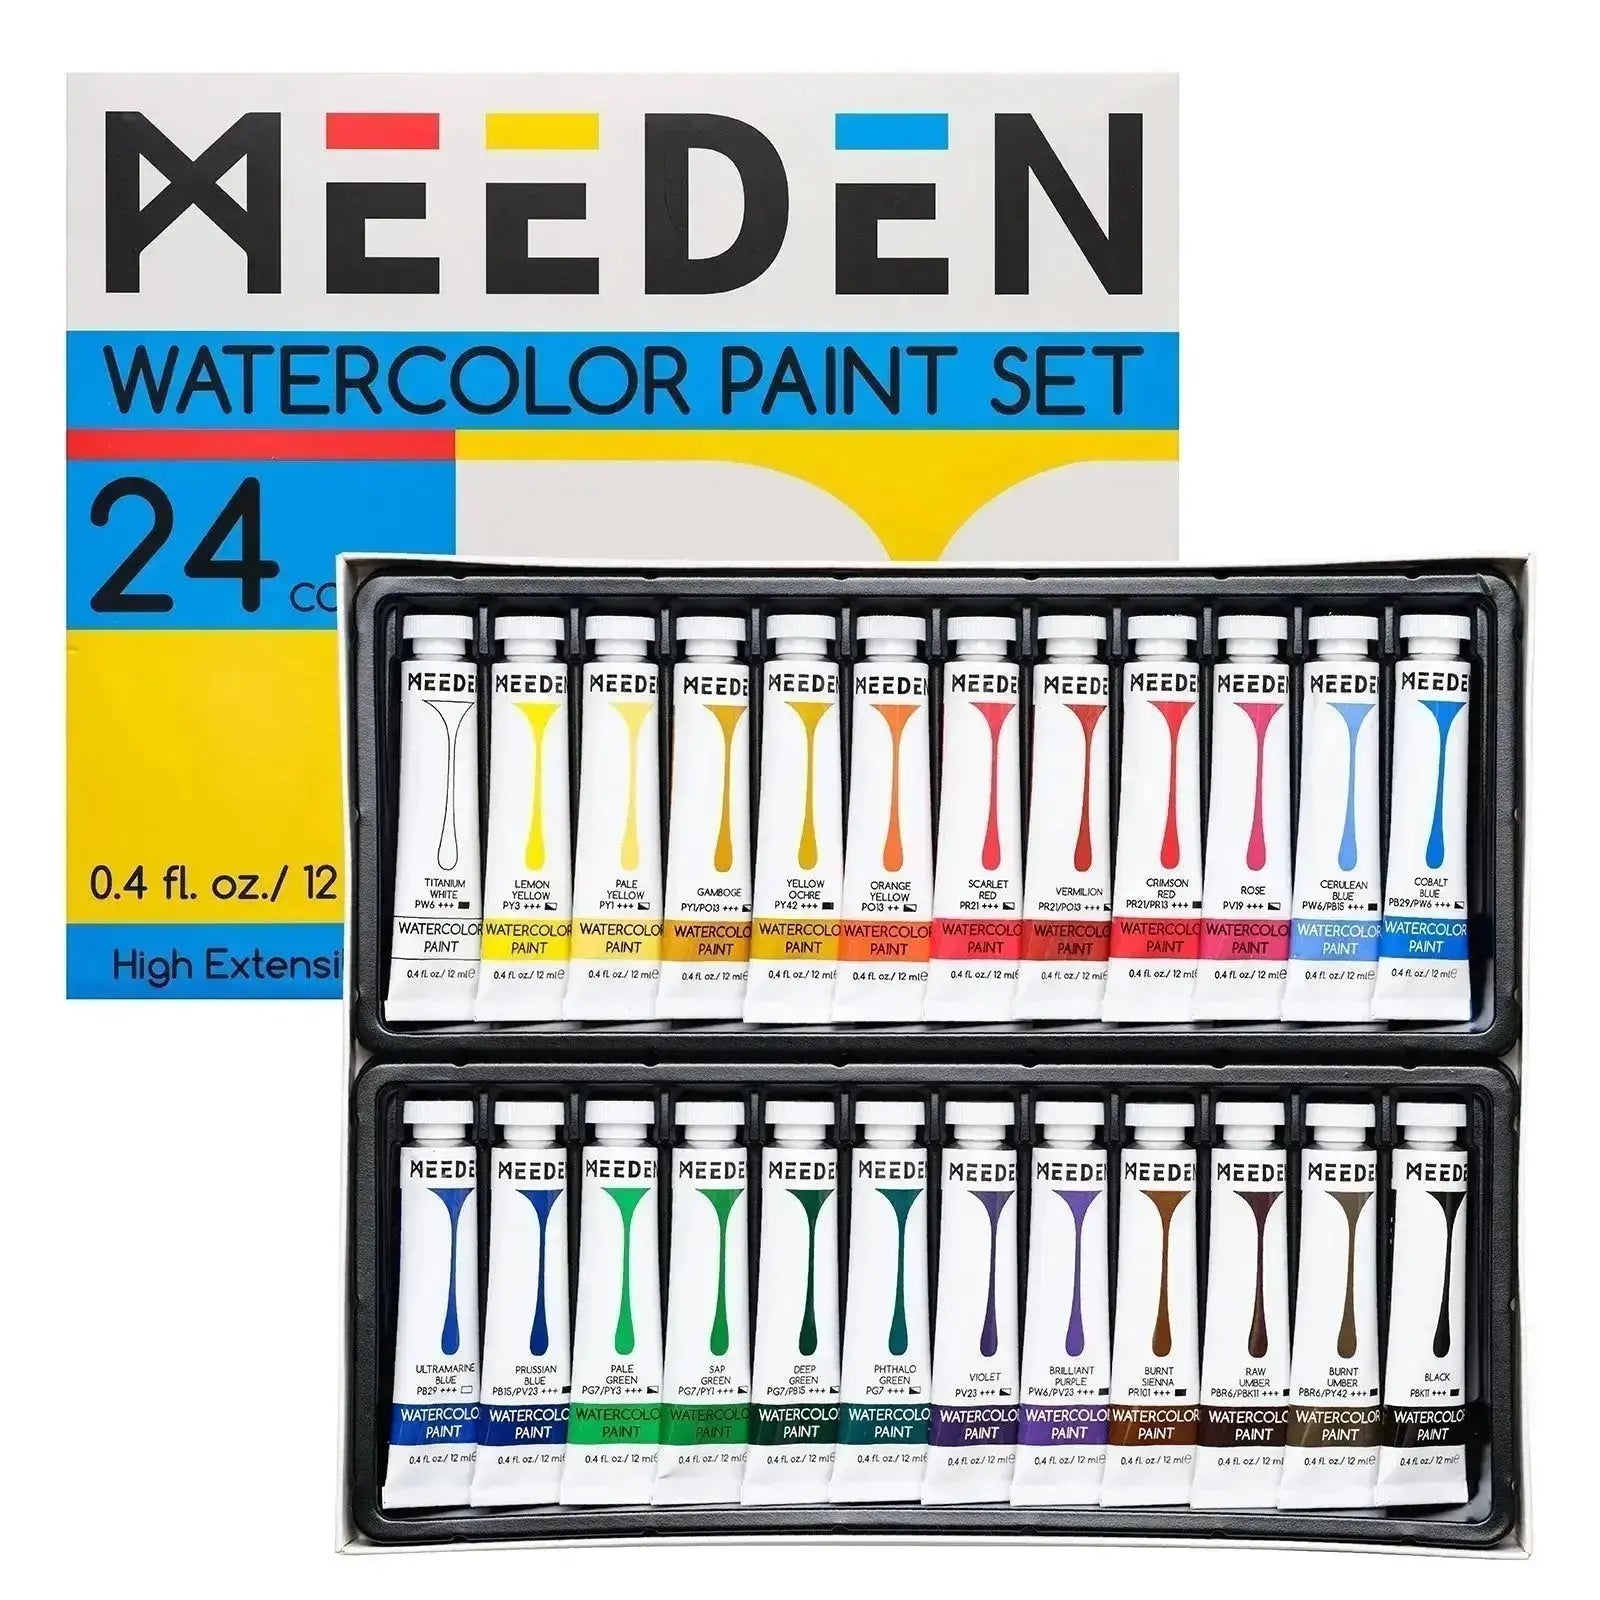
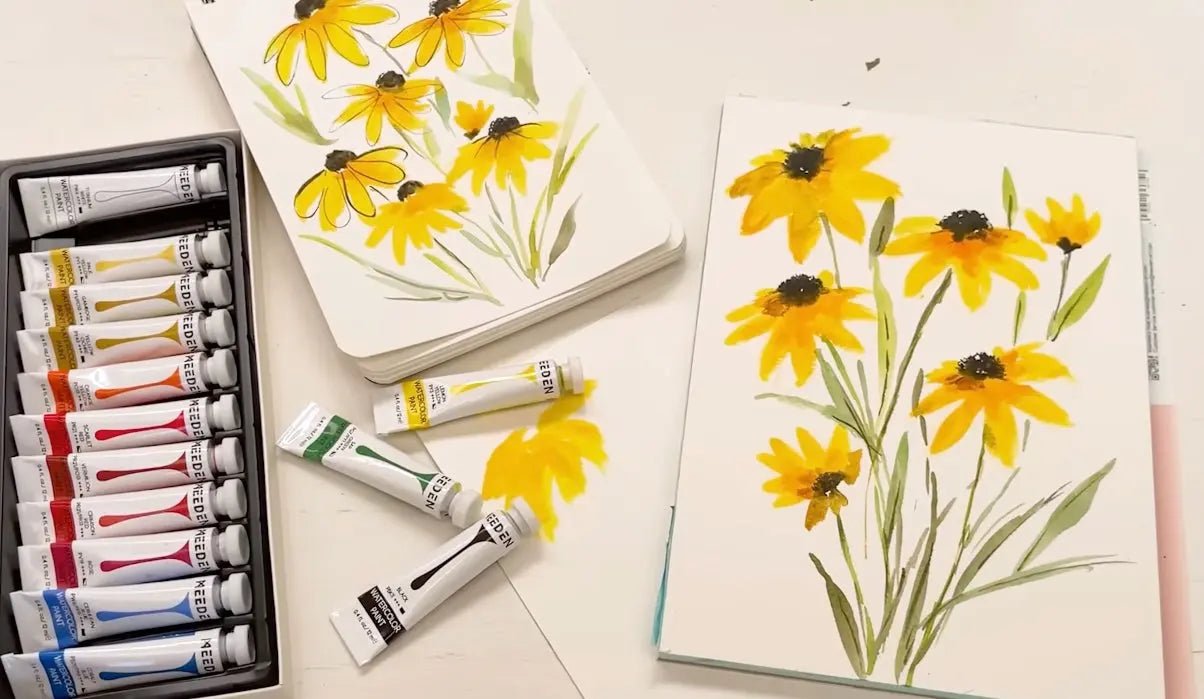
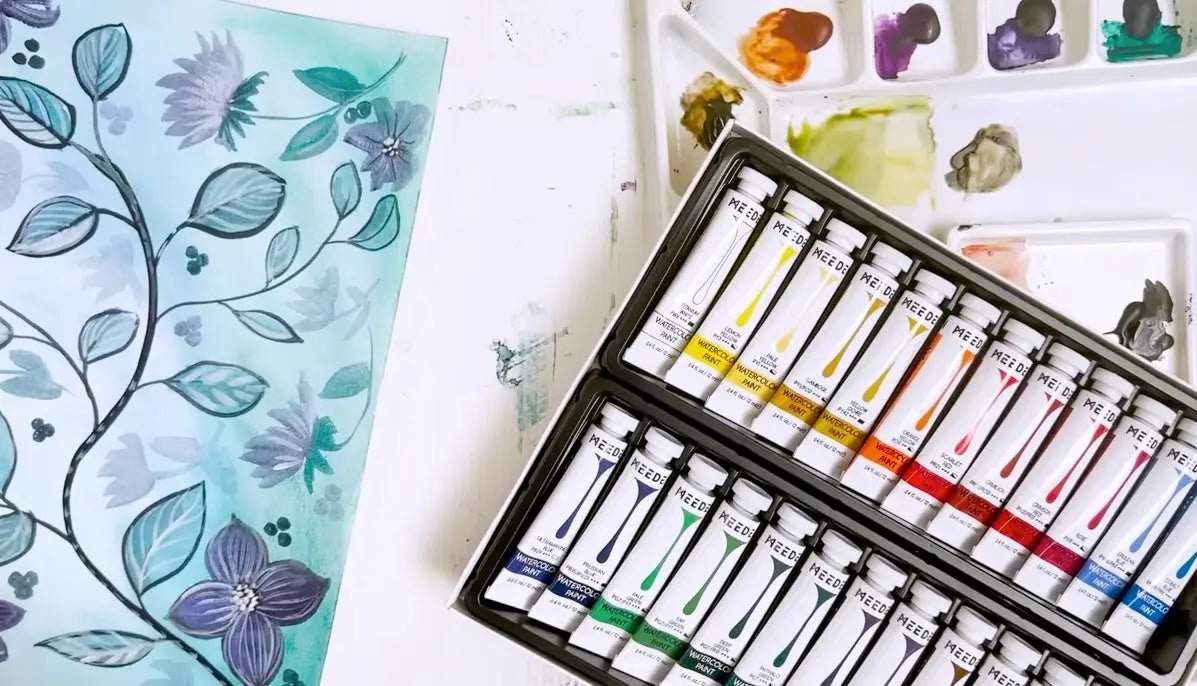
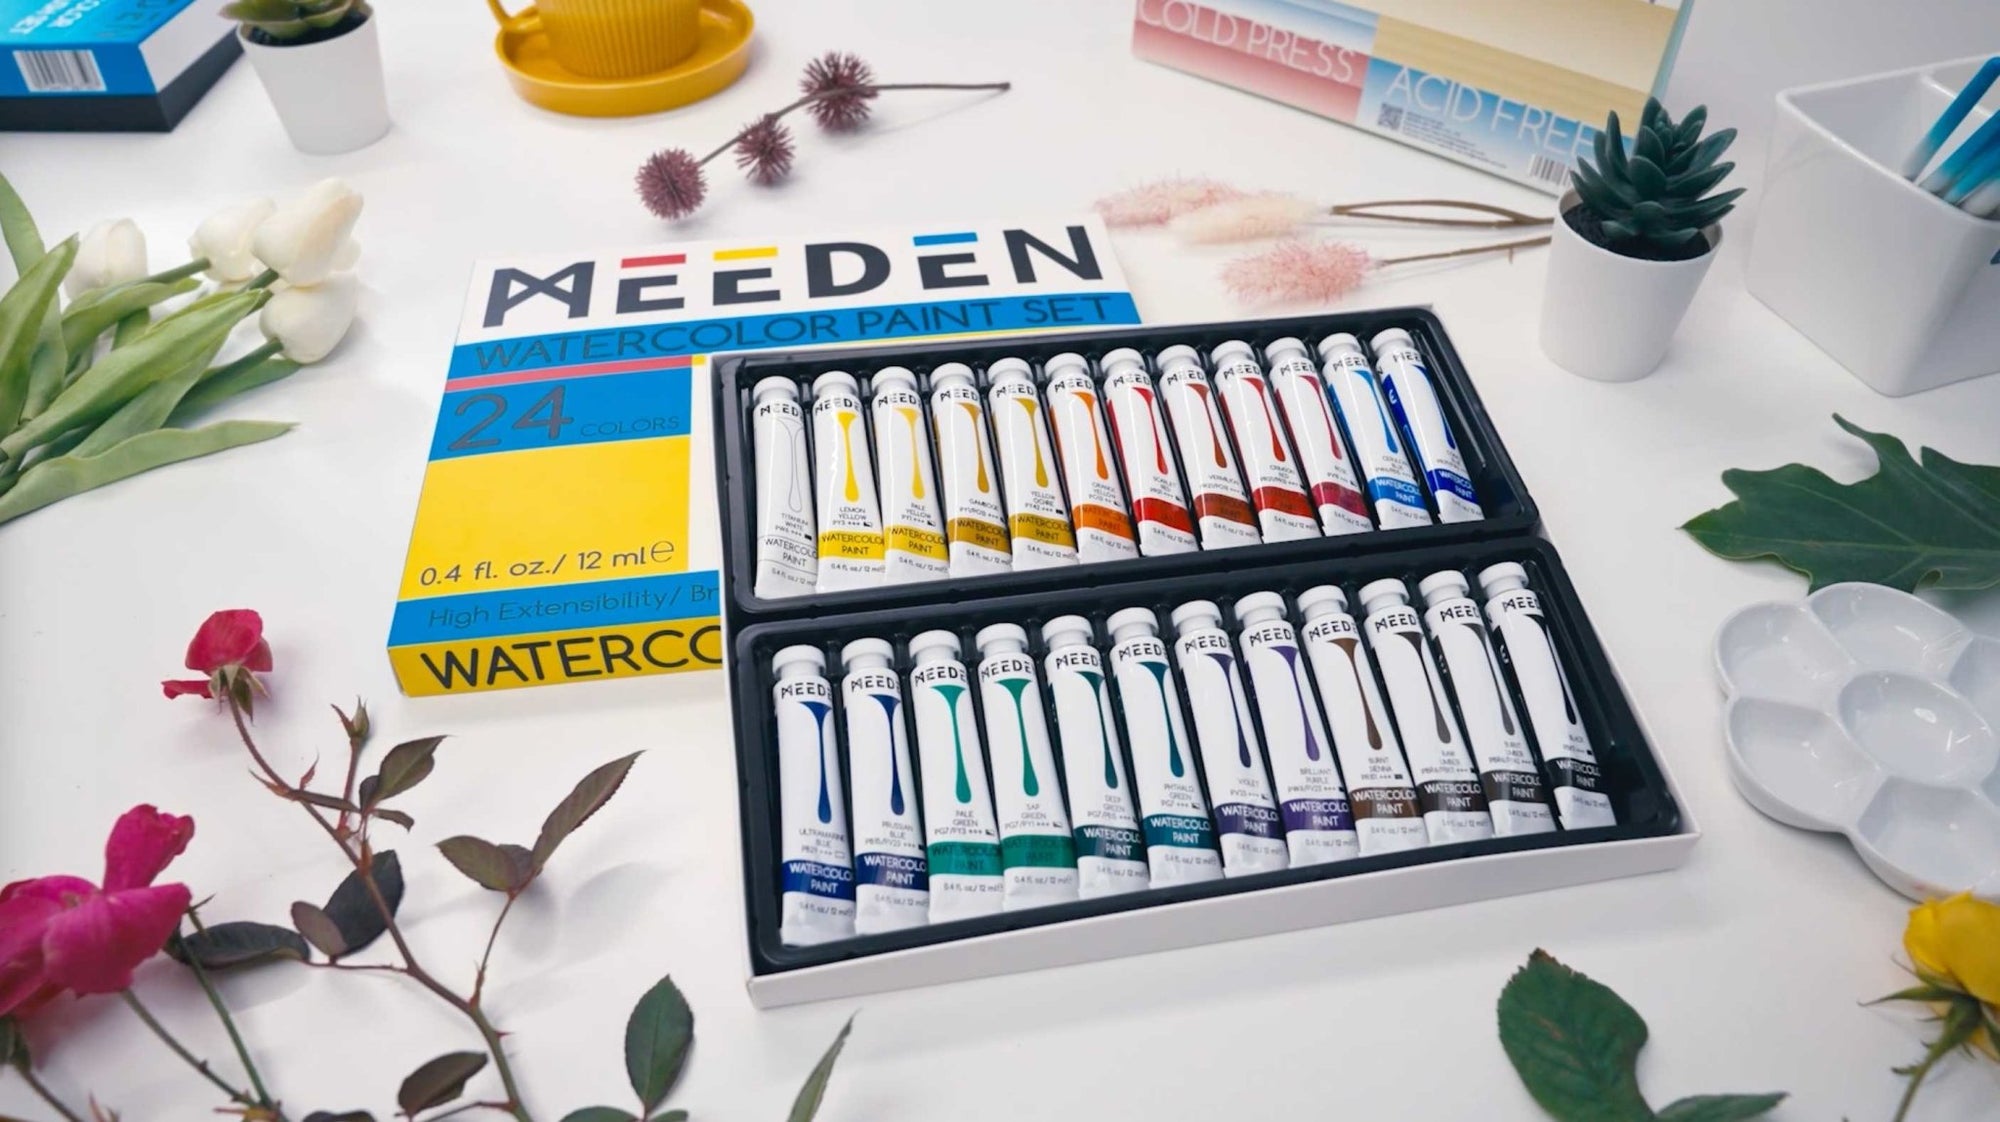
- MEEDEN Watercolor Paint Set (24 tubes, 12ml each)
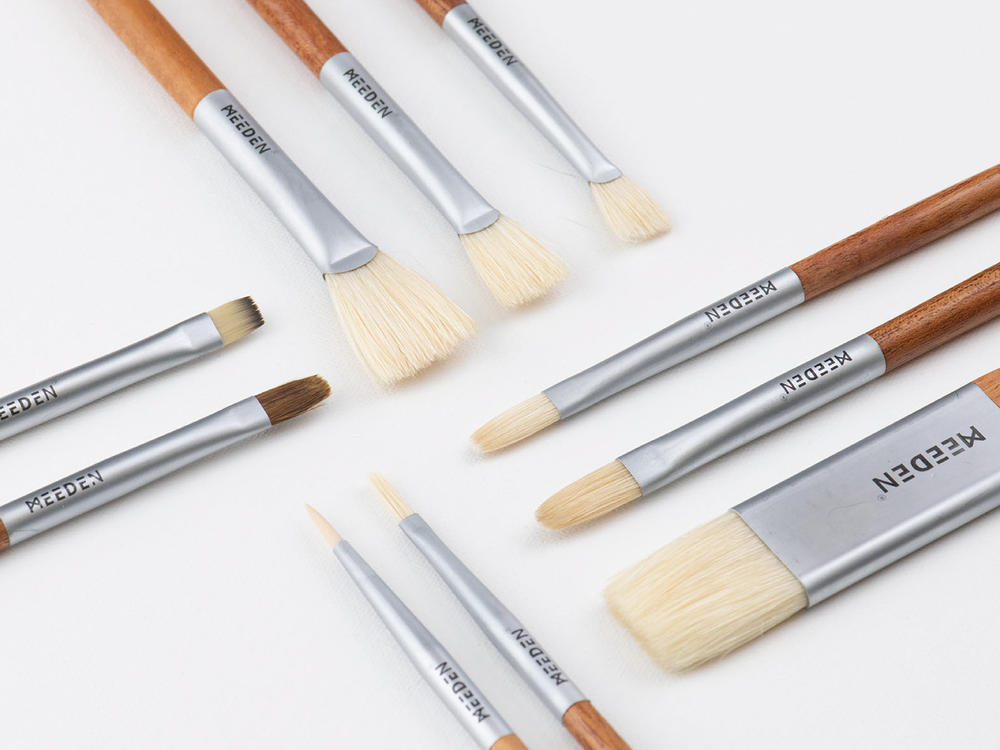
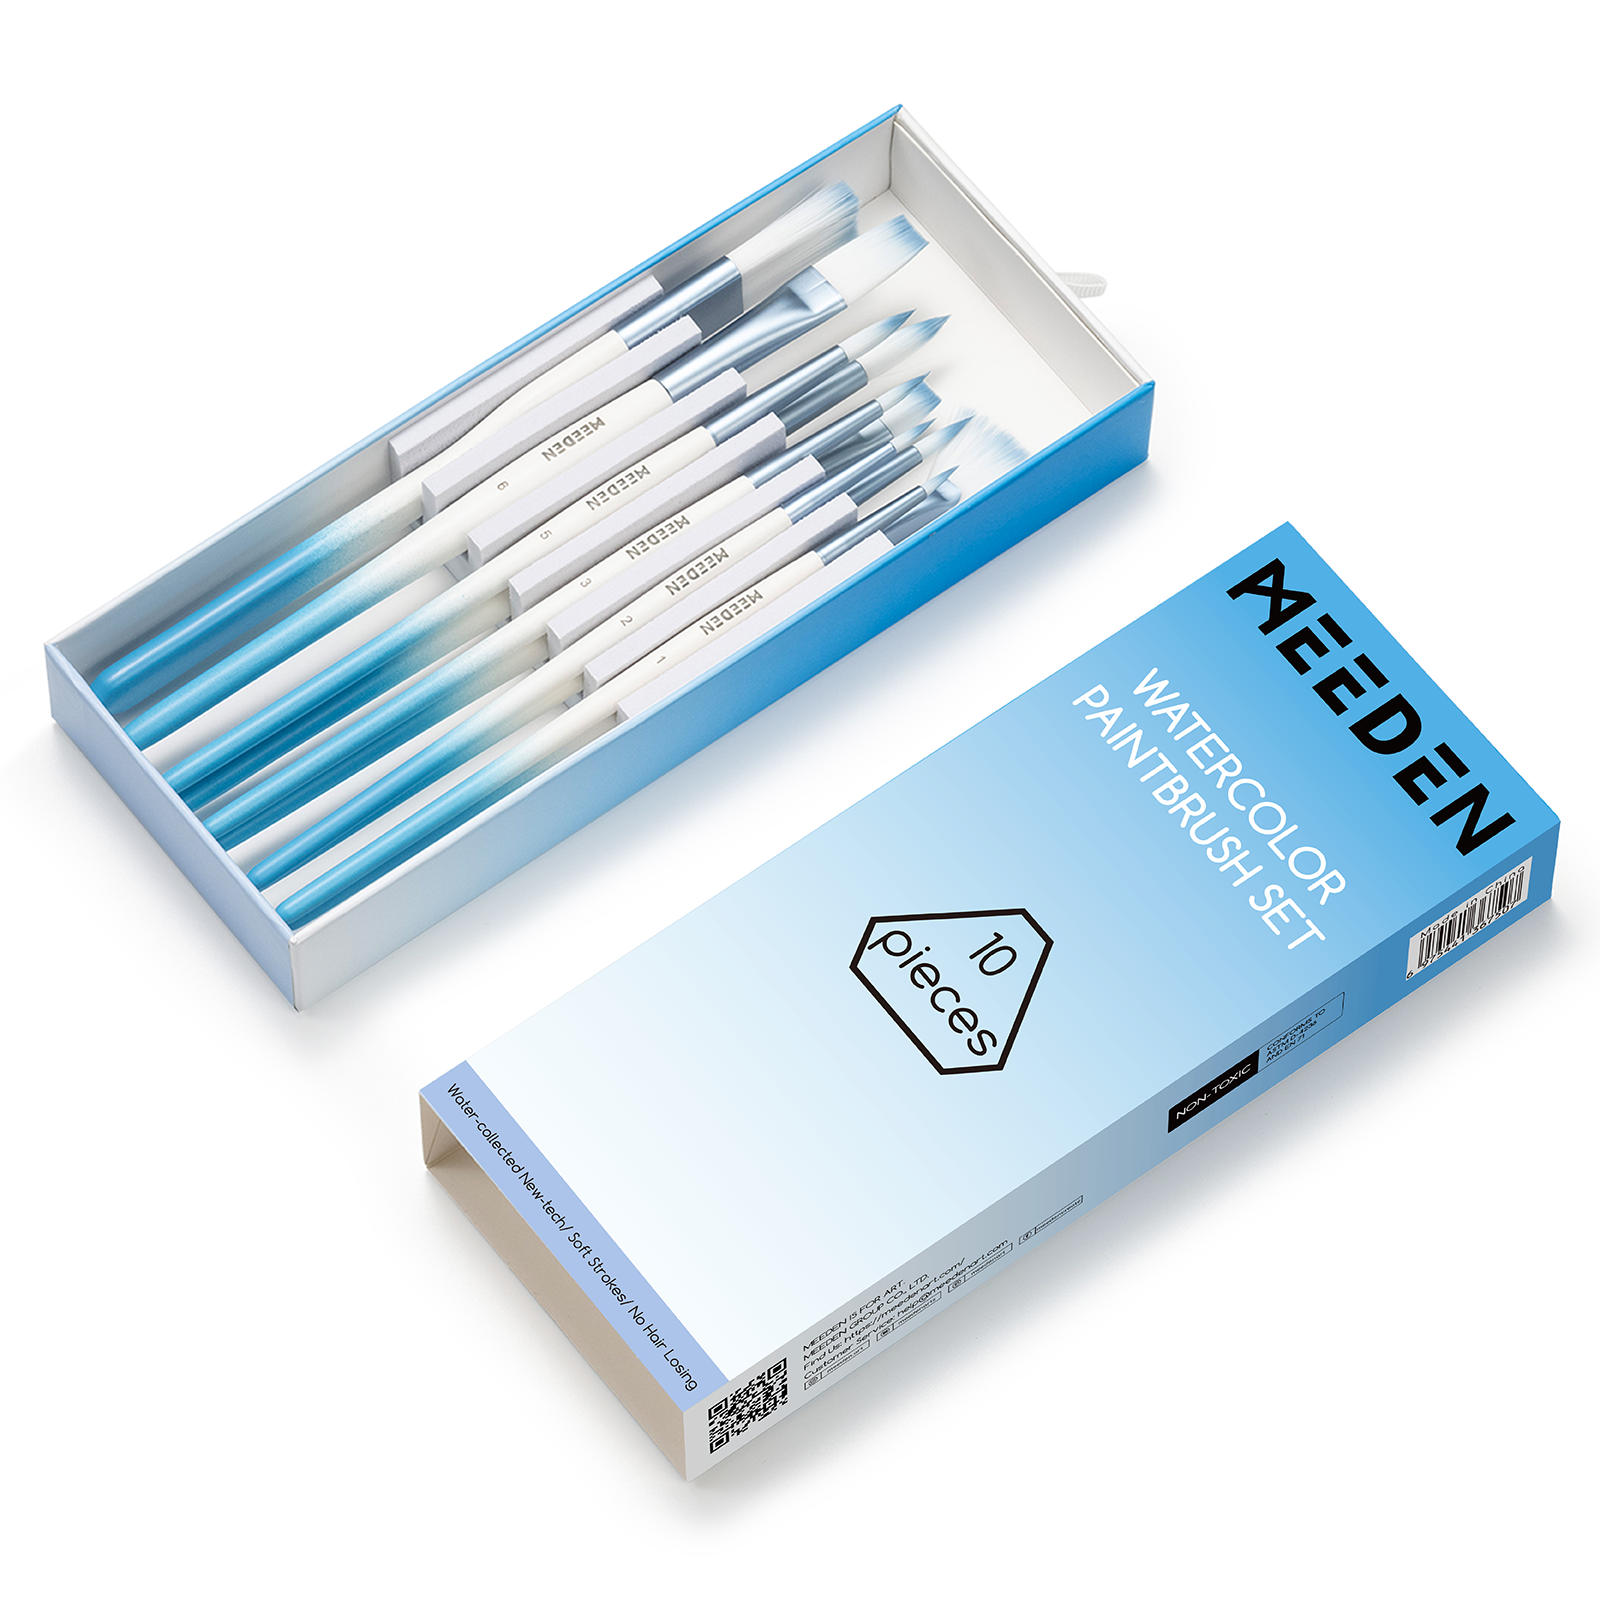
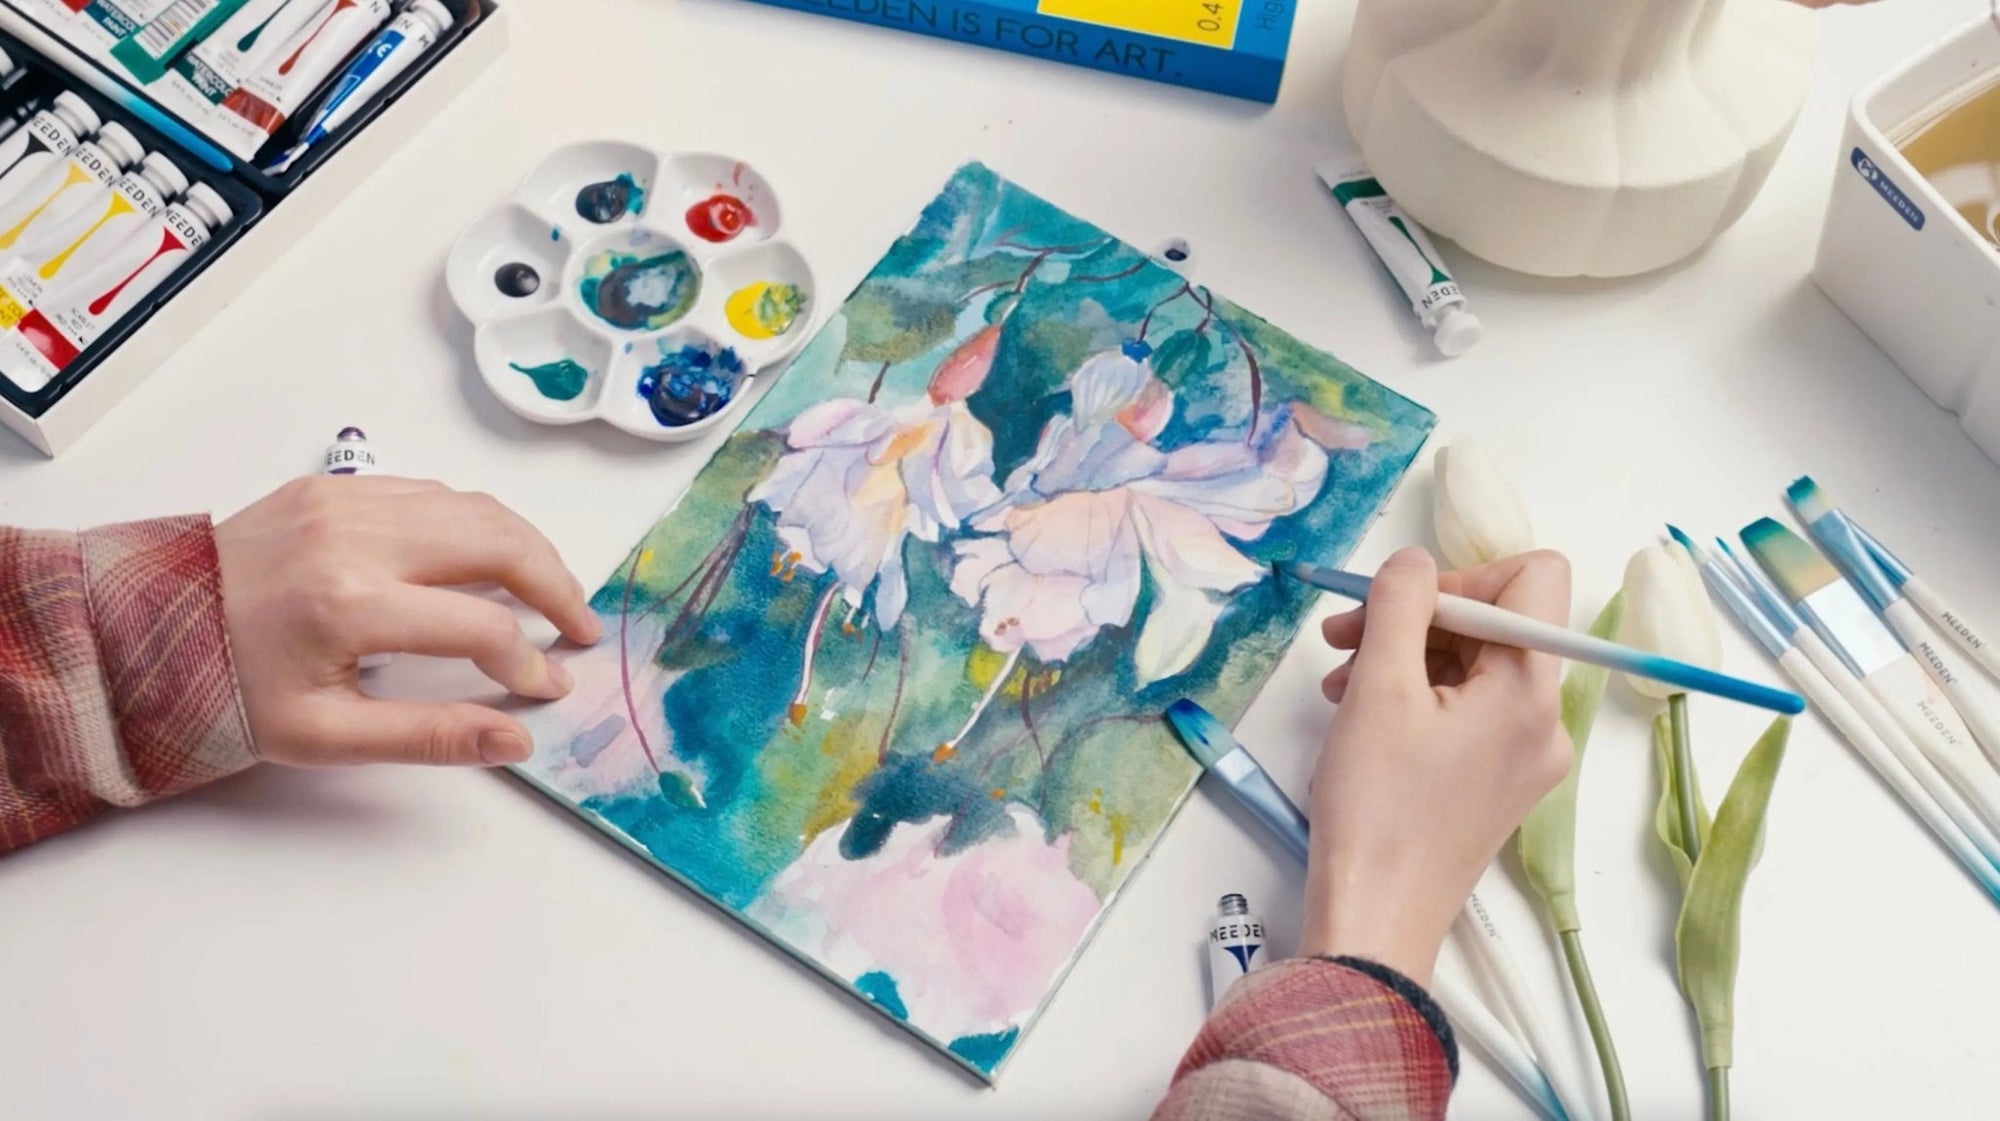
- MEEDEN Watercolor Paint Brushes Set (10 pieces)
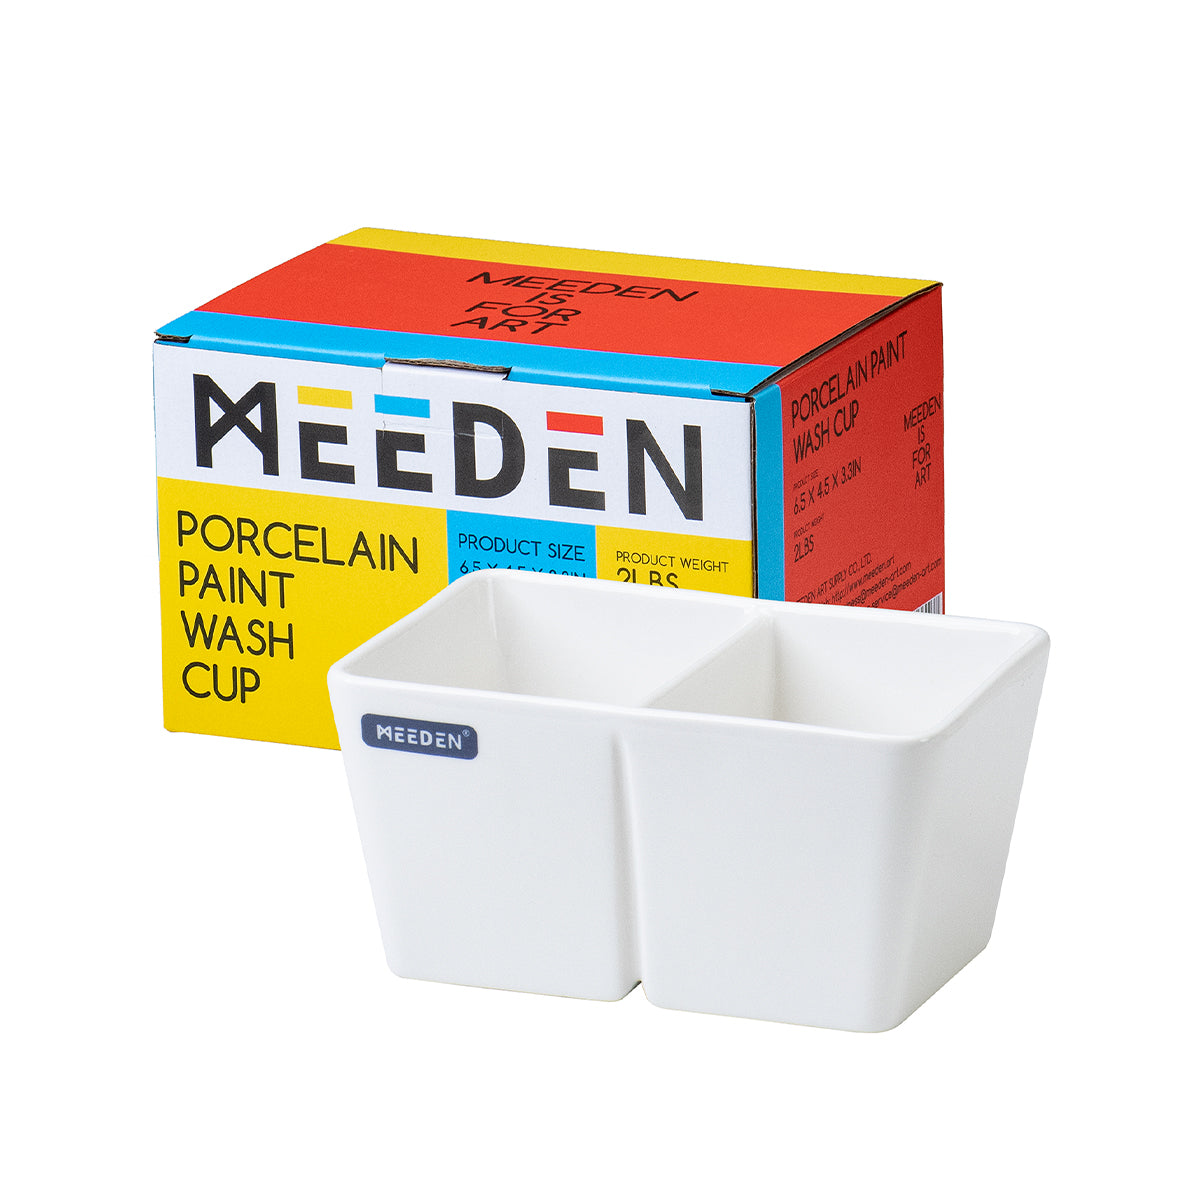
- MEEDEN Ceramic Watercolor Wash Bowl
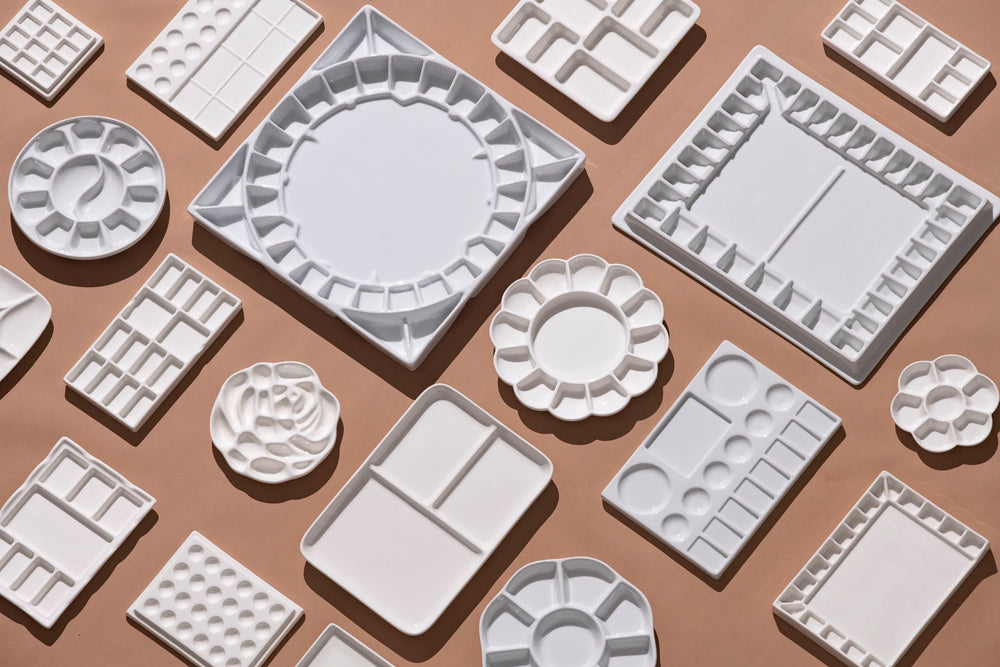
- MEEDEN Ceramic Watercolor Palette
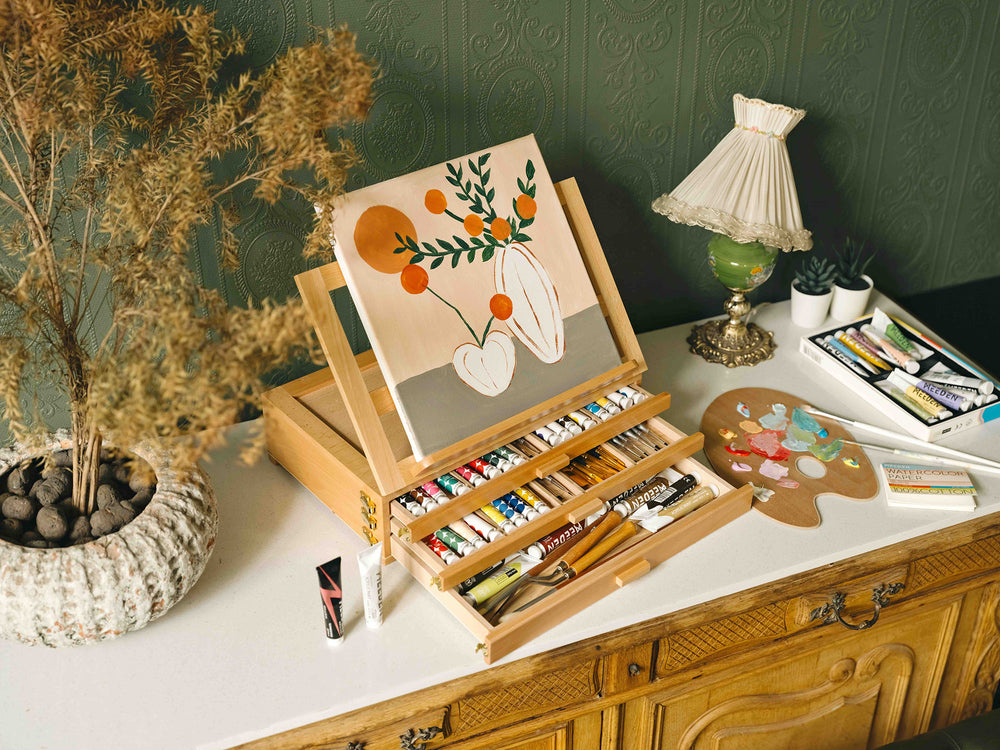
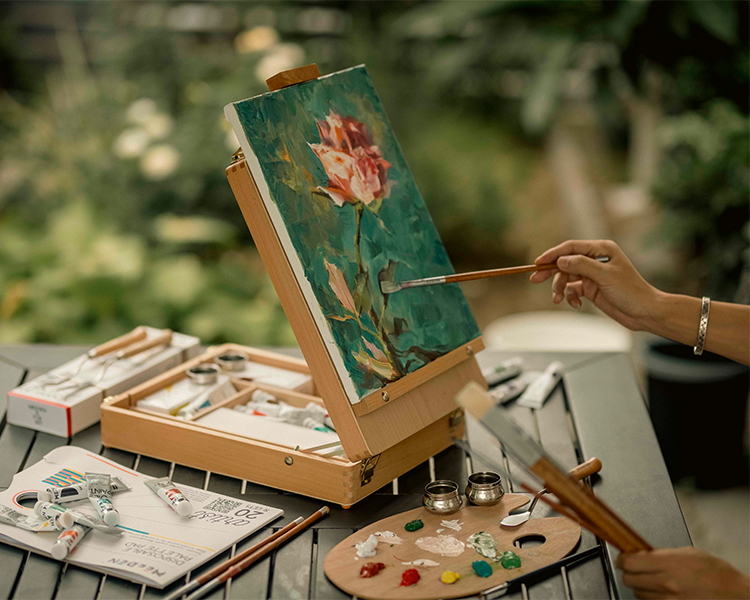
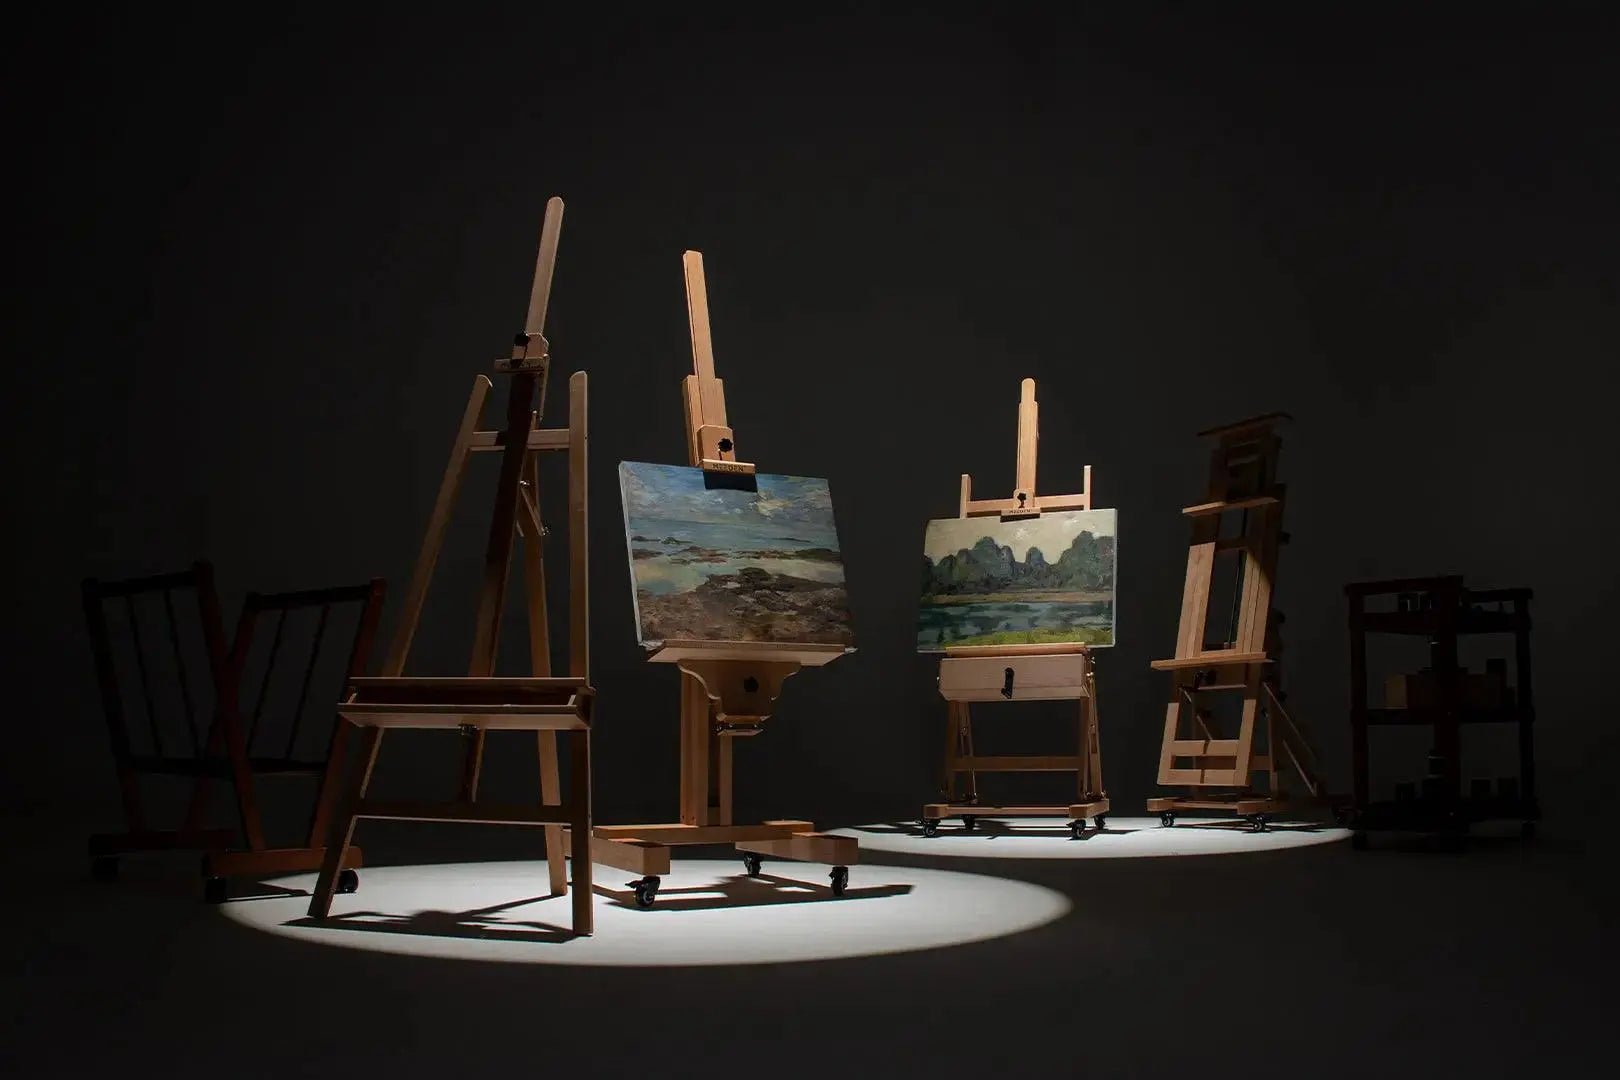
- MEEDEN Solid Beech Wood Tabletop Easel (optional)
- Pencil and eraser
- A jar of clean water
- Paper towel
Step-by-Step Tutorial
Step 1: Sketch the Wreath Outline

Lightly sketch a circle on your watercolor paper with a pencil. This will be the base of your wreath. Inside the circle, draw maple leaves, berries, mushrooms, apples, grapes, and other autumn plants. Keep the design loose and asymmetrical for a natural look. Once complete, gently erase most of the lines so they are barely visible.
Step 2: Paint the Maple Leaves

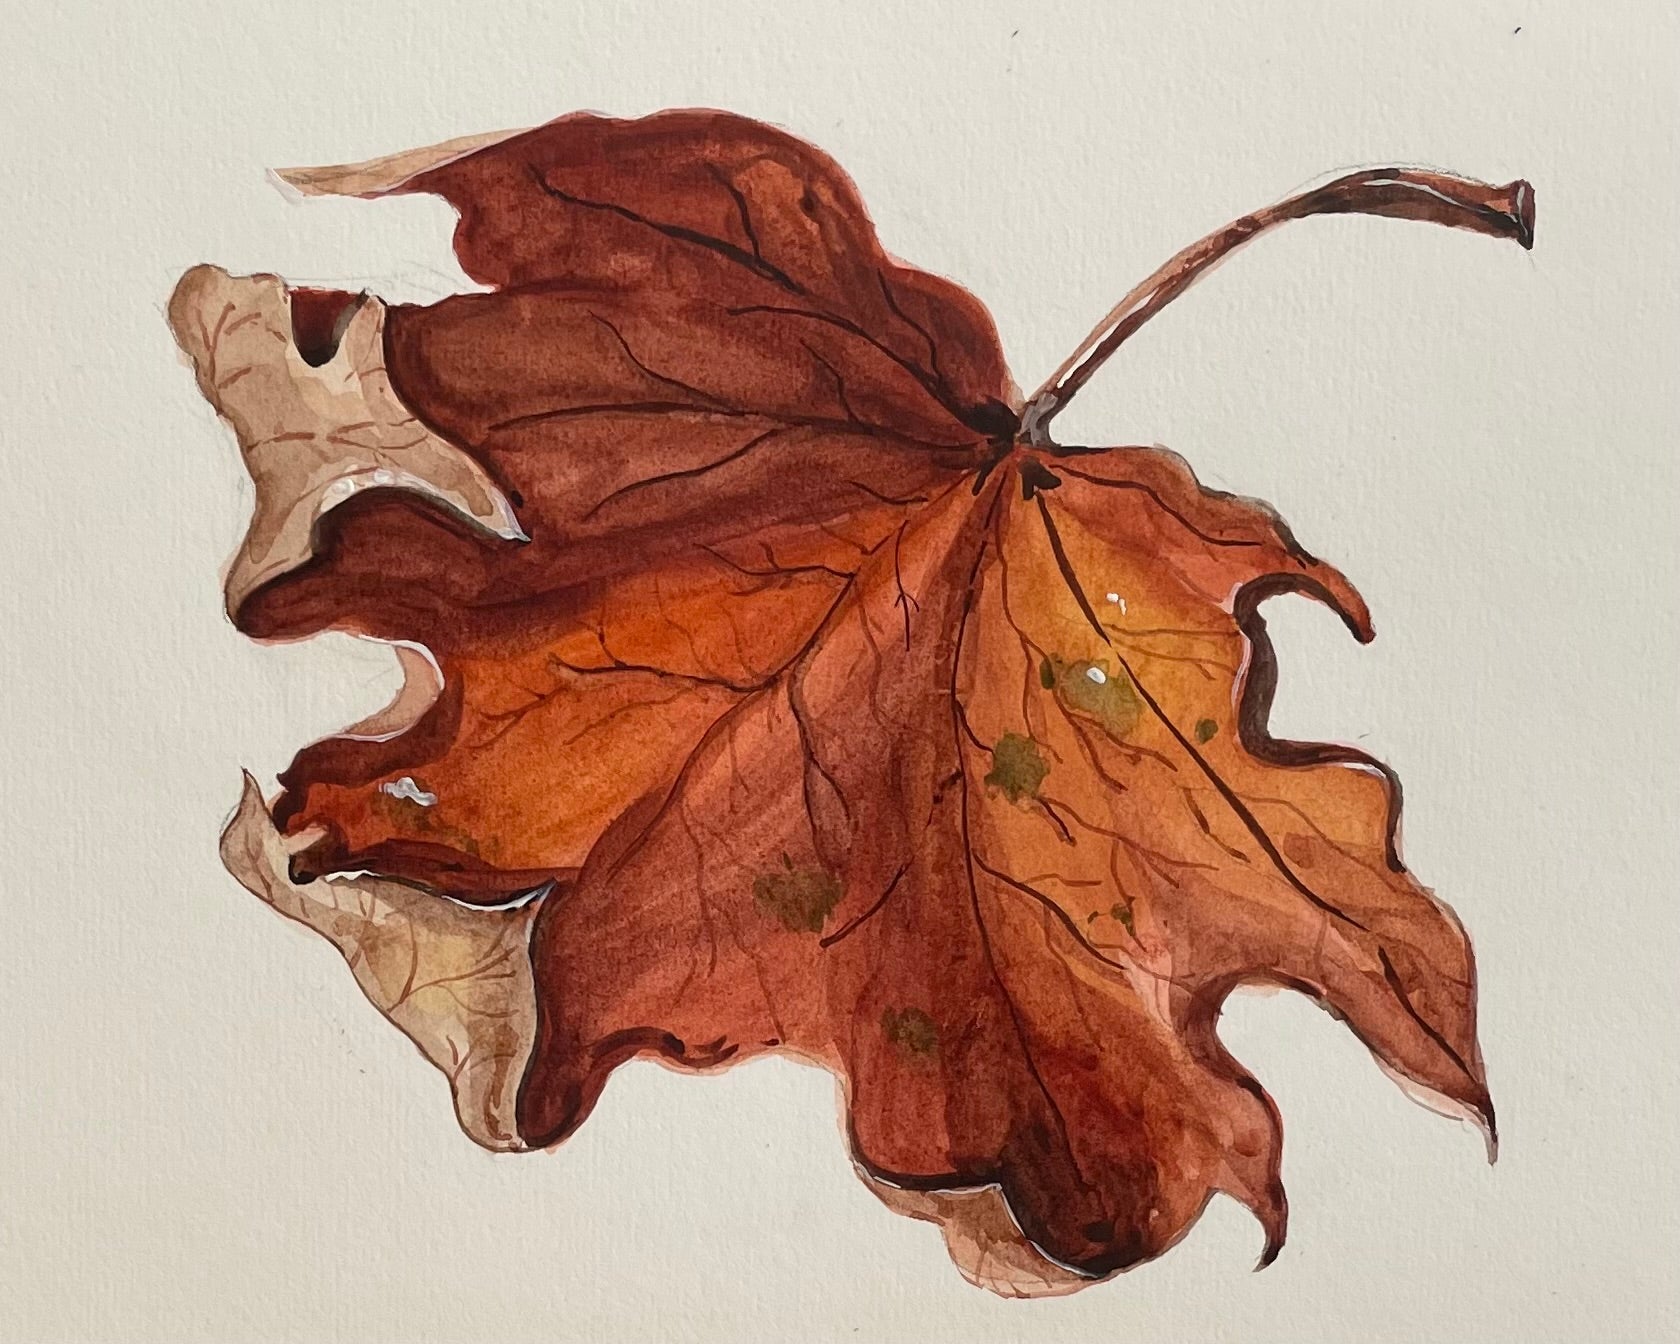
Mix a warm red-orange for the base of the maple leaves. Use a medium round brush to paint broad sections of the leaves, leaving thin lines unpainted for veins. While the paint is wet, drop in yellow or brown to create gradients. Let the colors flow naturally.
Step 3: Create Berries and Branches

For berries, use a vibrant red and paint small clusters of circles. Leave tiny white highlights for a glossy effect. Use a fine brush to connect the berries with thin brown stems. To paint branches, mix a diluted brown and use a fine brush to create thin, intertwining lines. Overlap these with leaves and berries for depth and cohesion.
Step 4: Add Autumn Fruits and Small Details

Incorporate red apples, grapes, or seedpods to enrich the composition. Apples can be painted with a bright red and shaded with darker tones for dimension. For grapes, use purple hues and paint clustered circles. Add small details like leaf veins, texture on seedpods, or sparkles for an elevated finish.
Step 5: Paint the Mushrooms and Build Layers for Depth

For mushrooms, use beige for the stems and red or brown for the caps. Add white dots to the caps for a whimsical touch. Outline the gills under the caps using soft gray or brown tones.
Once the base layer is dry, build depth by adding darker outlines, shadows, and finer details to leaves, fruits, and mushrooms. This layering technique enhances the wreath’s three-dimensional effect.
Final Touches

Use white gouache or paint to highlight berries and mushrooms. Deepen shadows where elements overlap to anchor the composition. Sprinkle tiny splashes of orange or red for scattered seeds or petals to fill any gaps.
Tips for Success
- Work in Layers: Allow each layer to dry fully before proceeding to avoid muddy colors.
- Use References: Real foliage and wreaths can inspire accurate shapes and tones.
- Practice Blending: Test your blending techniques on scrap paper to master soft transitions.
- Leave Space: Embrace white spaces for a light, airy feel.
By following these steps, you’ll create a Thanksgiving wreath that captures the spirit of the season. Use it to decorate your home, gift a loved one, or share your artwork online. Enjoy the process, and happy painting, happy Thanksgiving to y'all! 🍂
Other Posts You May Enjoy:
- Halloween Painting Ideas: A Step-by-Step Guide To Spooky Drawings
- How to Draw Landscapes: A Step-by-Step Watercolor Painting Tutorial
- MEEDEN Art Easel Selection Guide - From Beginners to Professional Artists
- How to Choose the Best Watercolor Paper And Enhancing Your Artistic Journey


