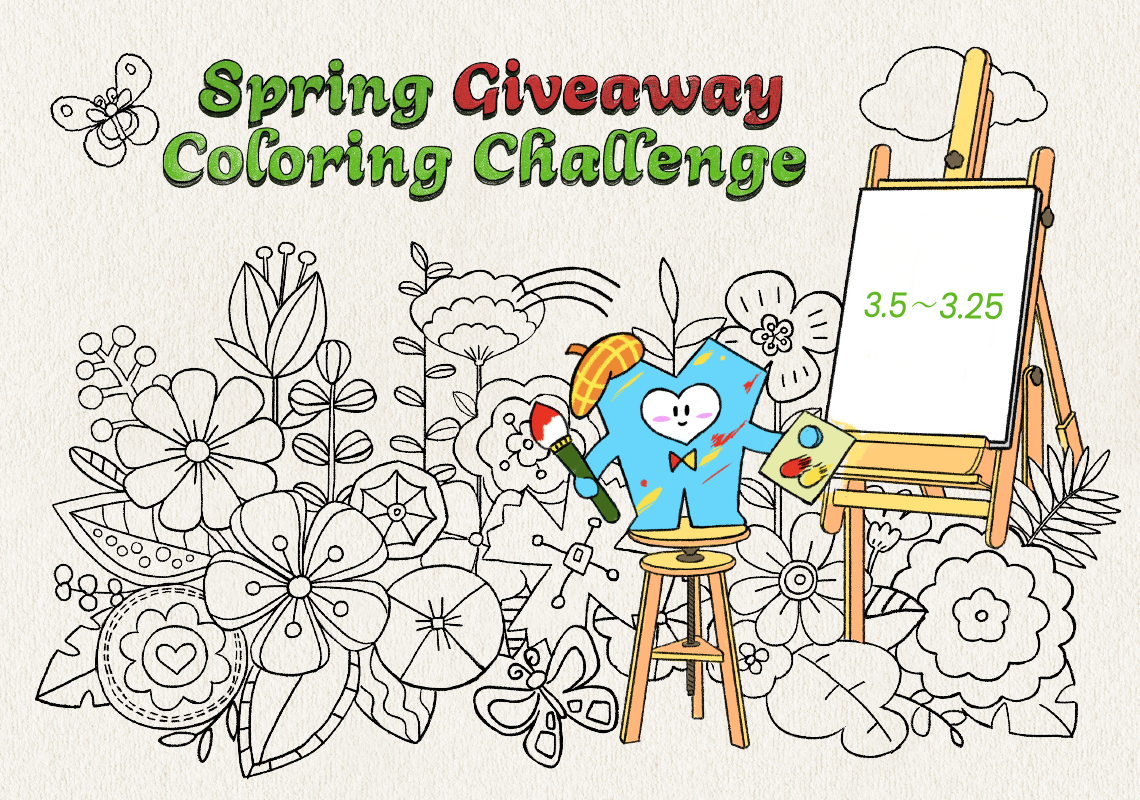
 Skip to content


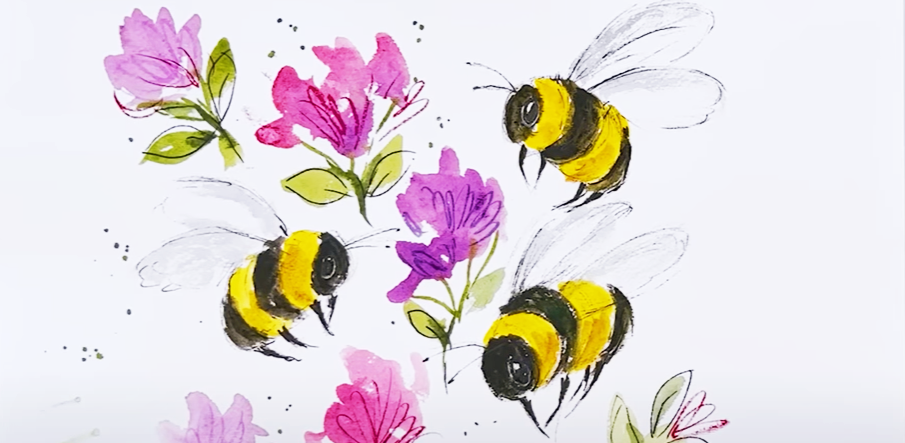
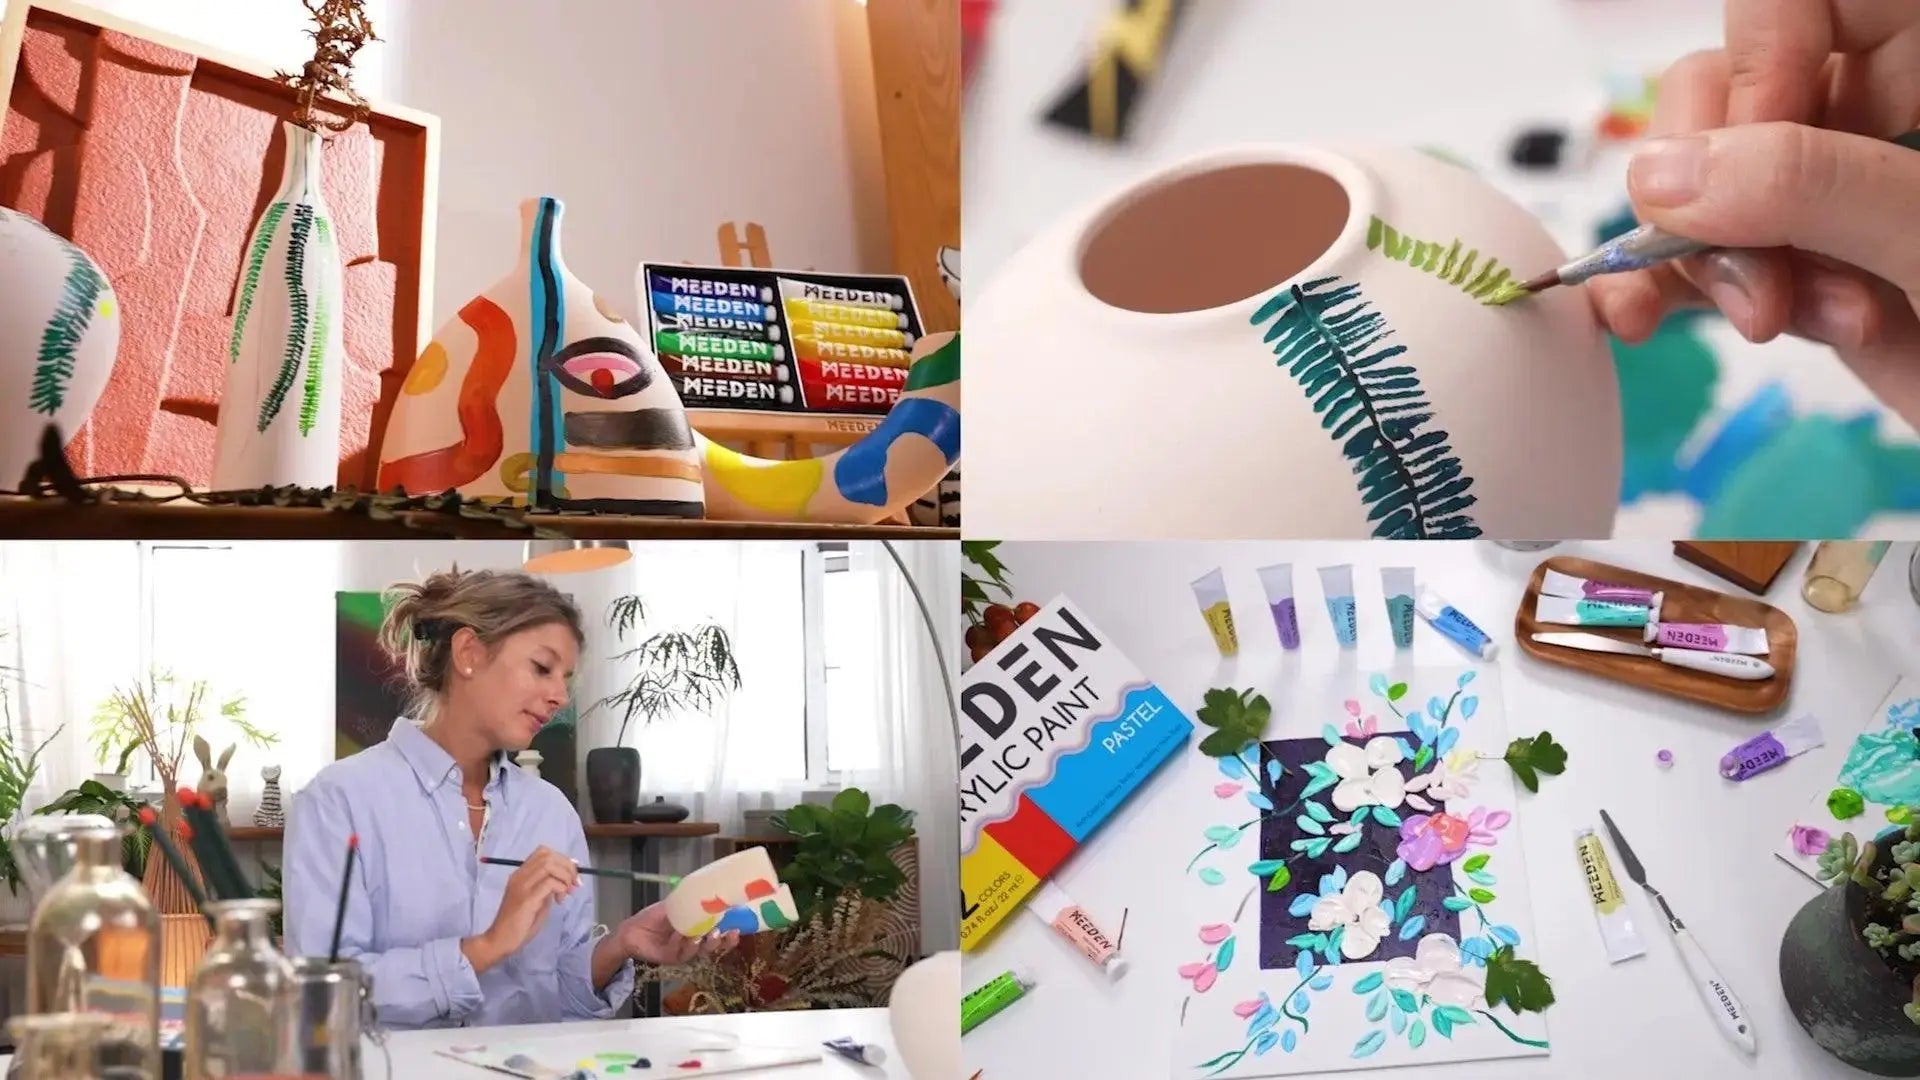
Easy Watercolor Painting For Beginners-Drawing Lovely Bumblebee
Bumblebees are chubby and furry little creatures, known for their adorable appearance. Today, we will be joining Diane in learning how to draw a bumblebee and add vibrant watercolor painting idea to bring it to life. This easy step-by-step tutorial will guide you through each detail, ensuring a satisfying and enjoyable artistic journey. So, grab your brushes and let's get started with Diane's expert guidance!
Supplies Needed:
- 2B Pencil or Sketching Pen
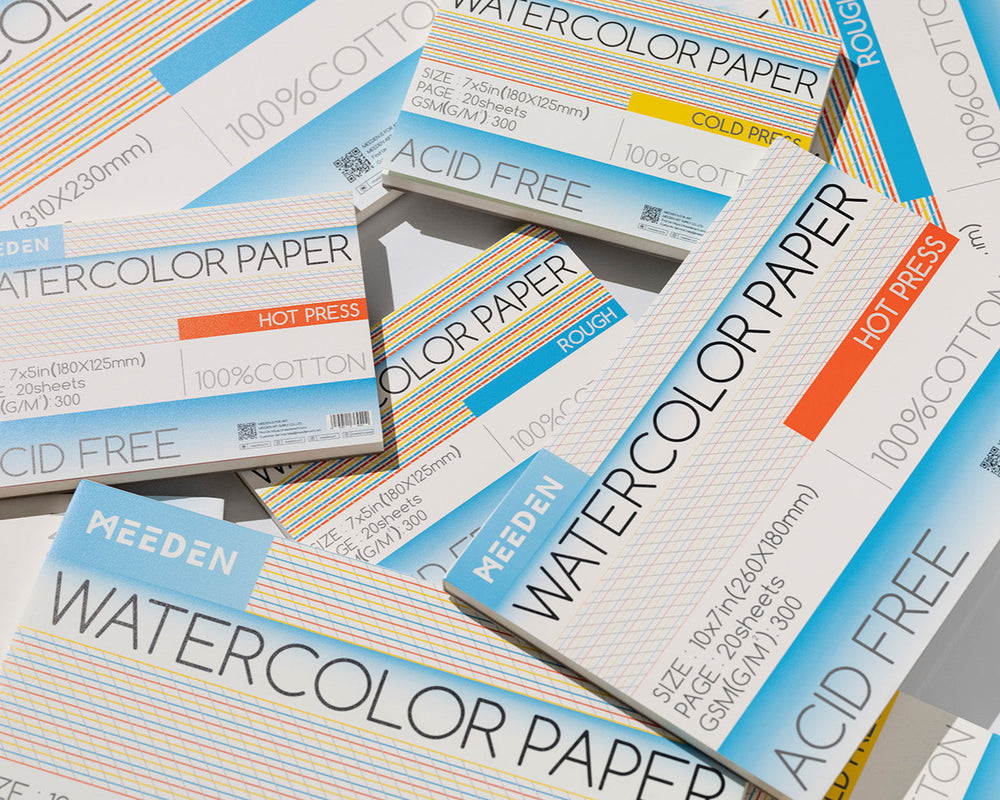
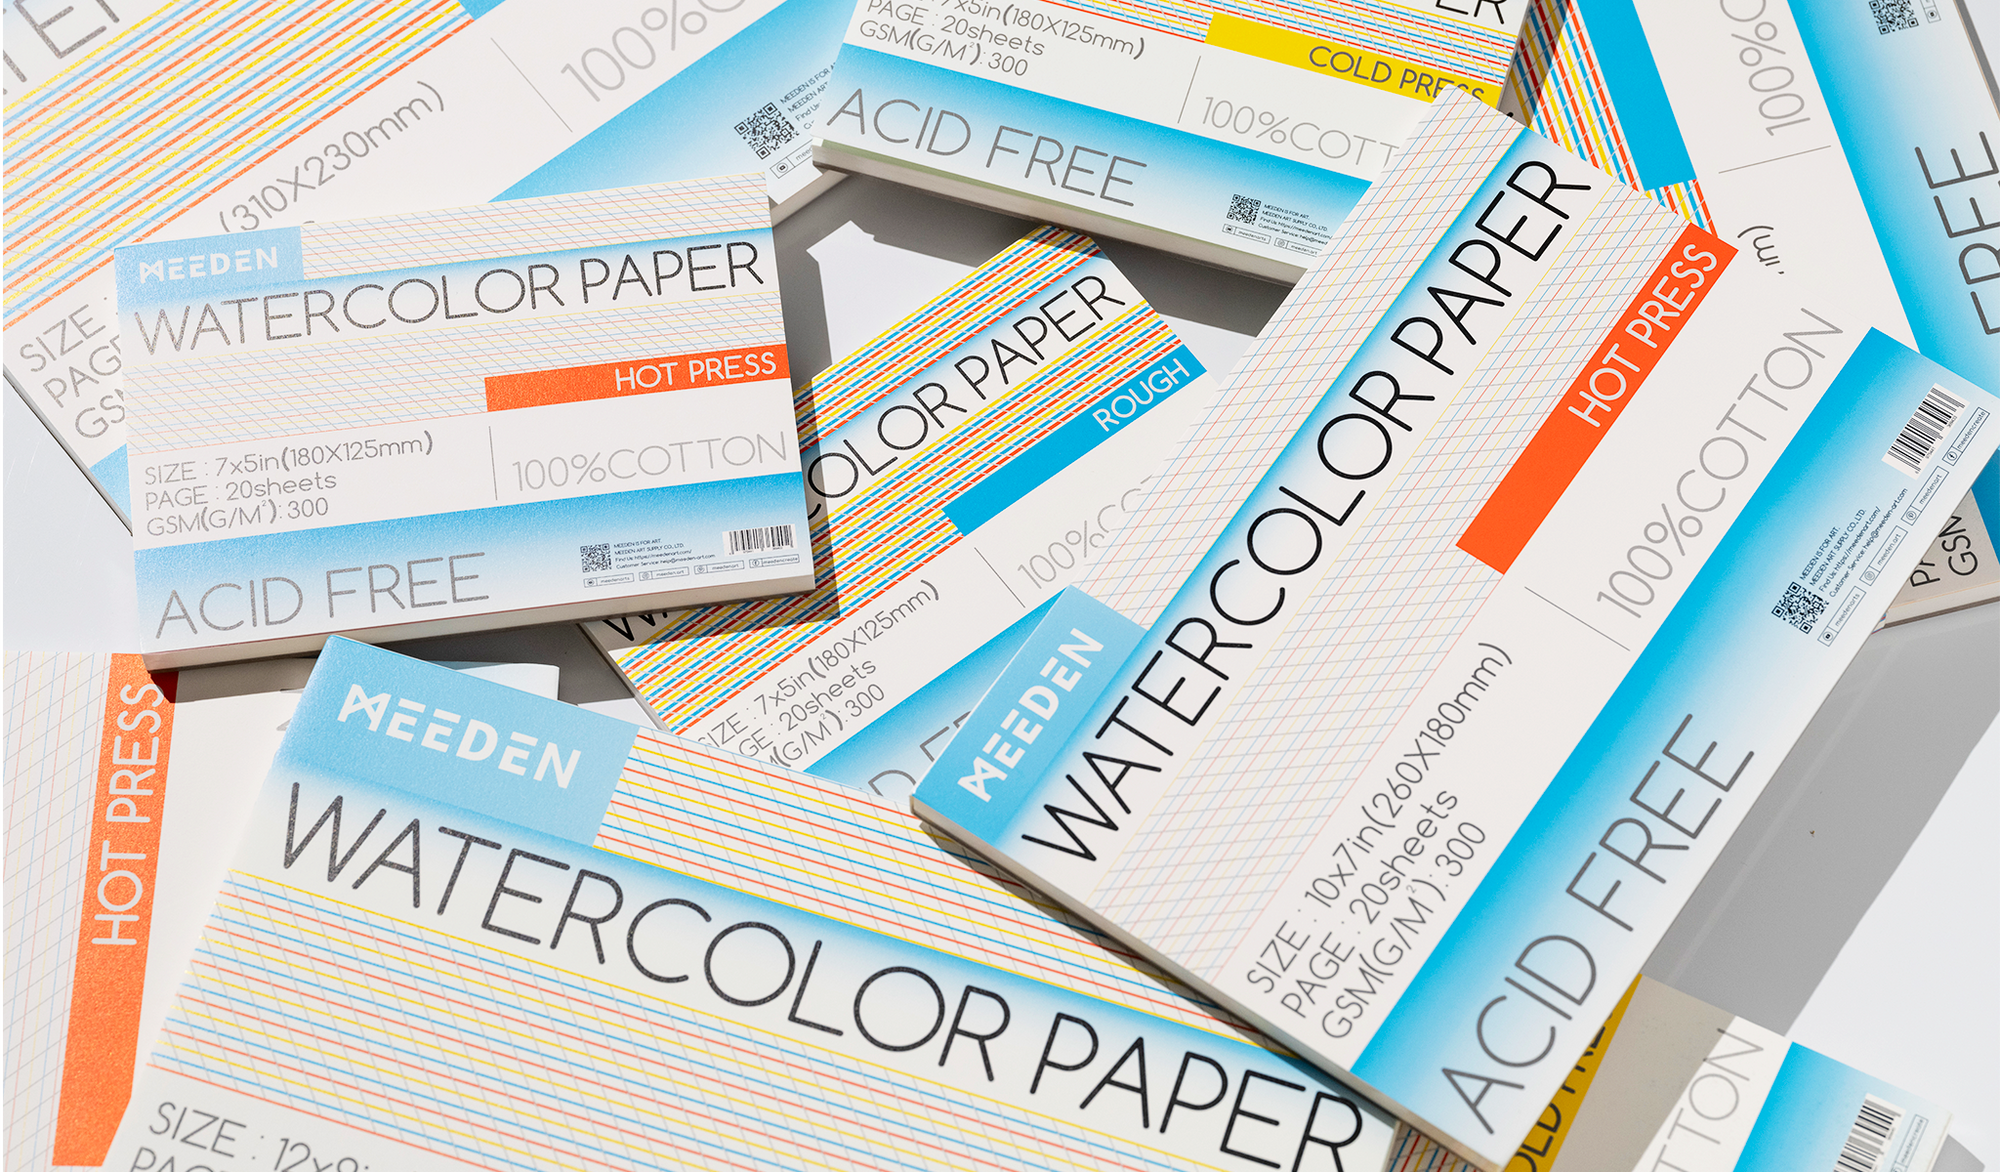
- Watercolor Paper Pad
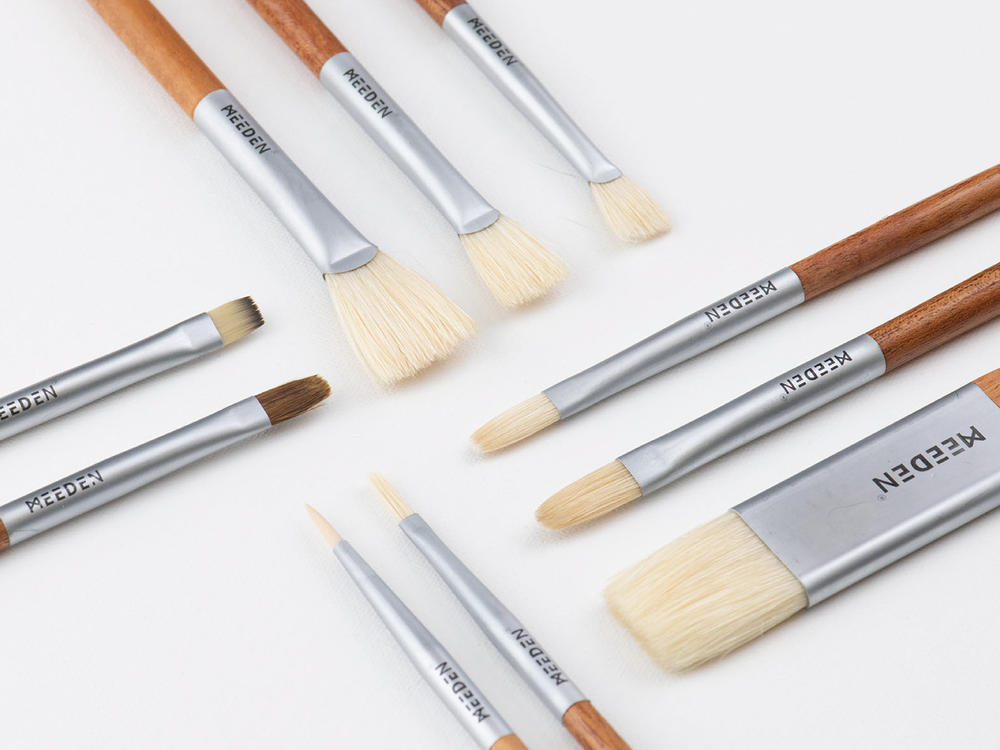
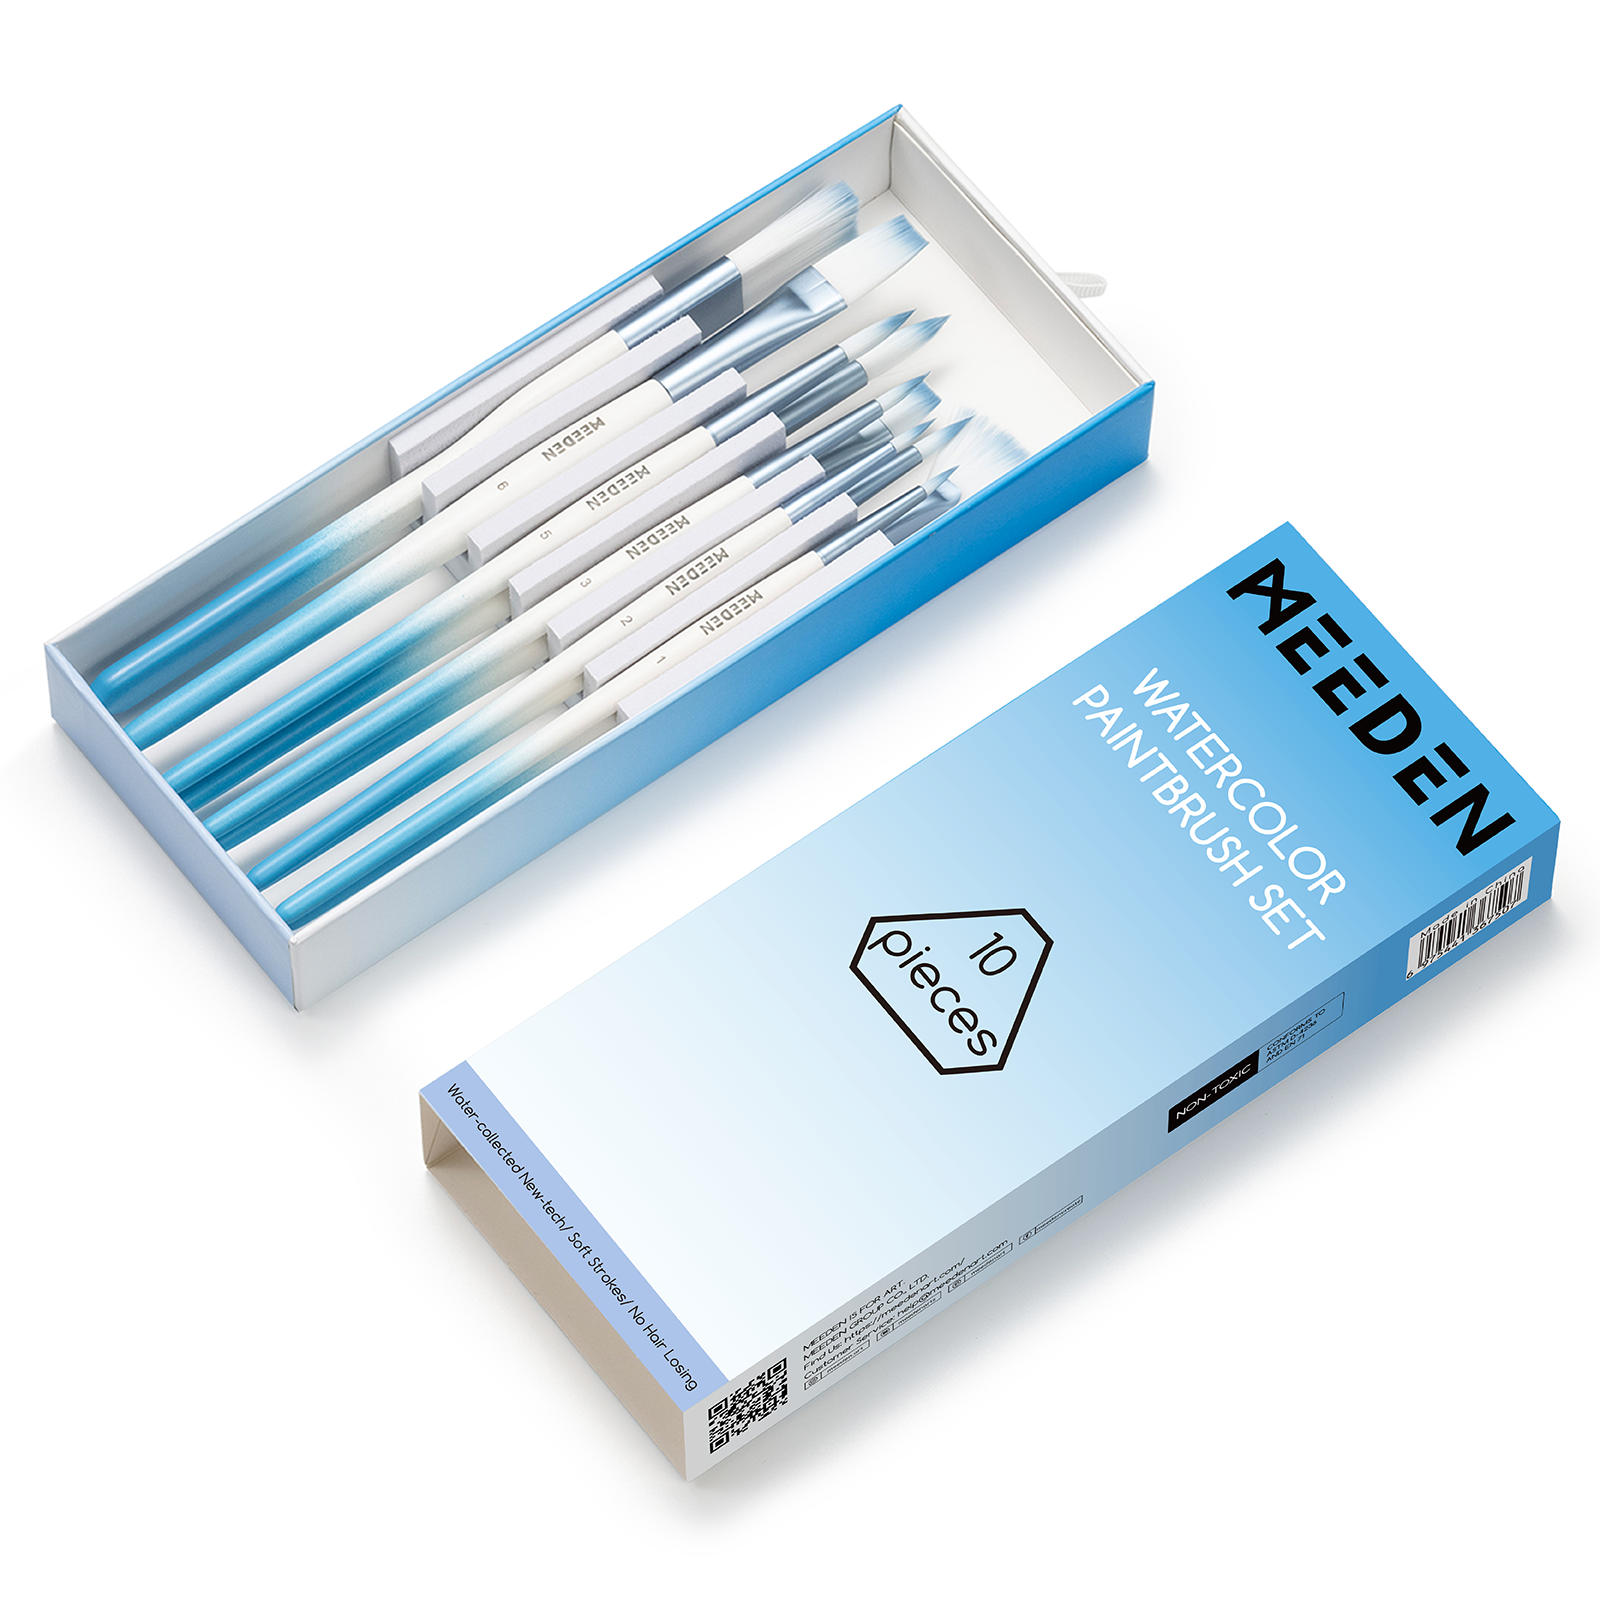
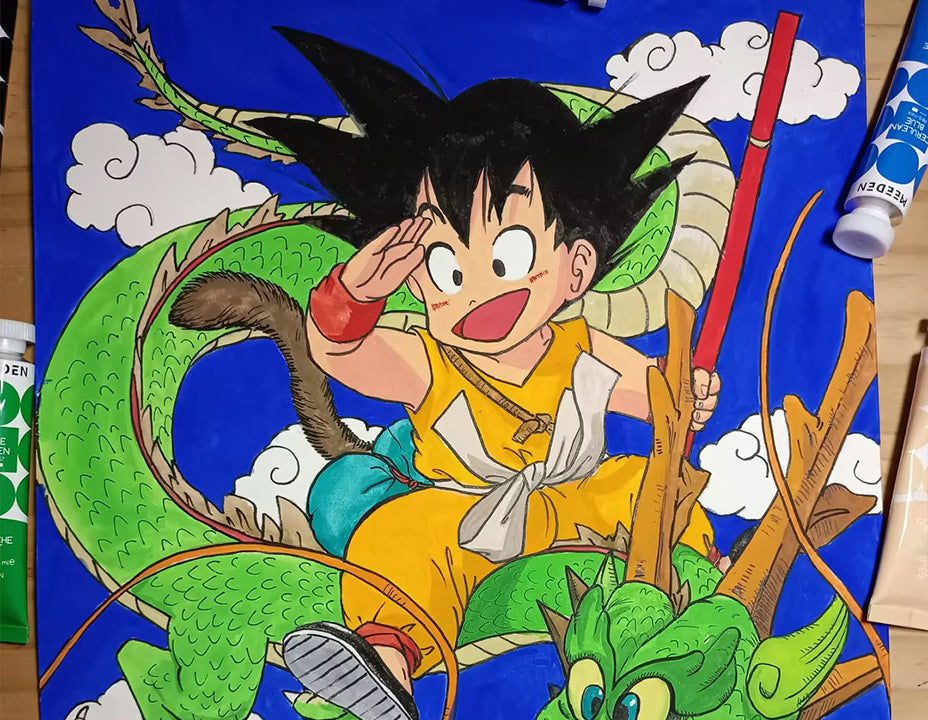
- Watercolor Brushes
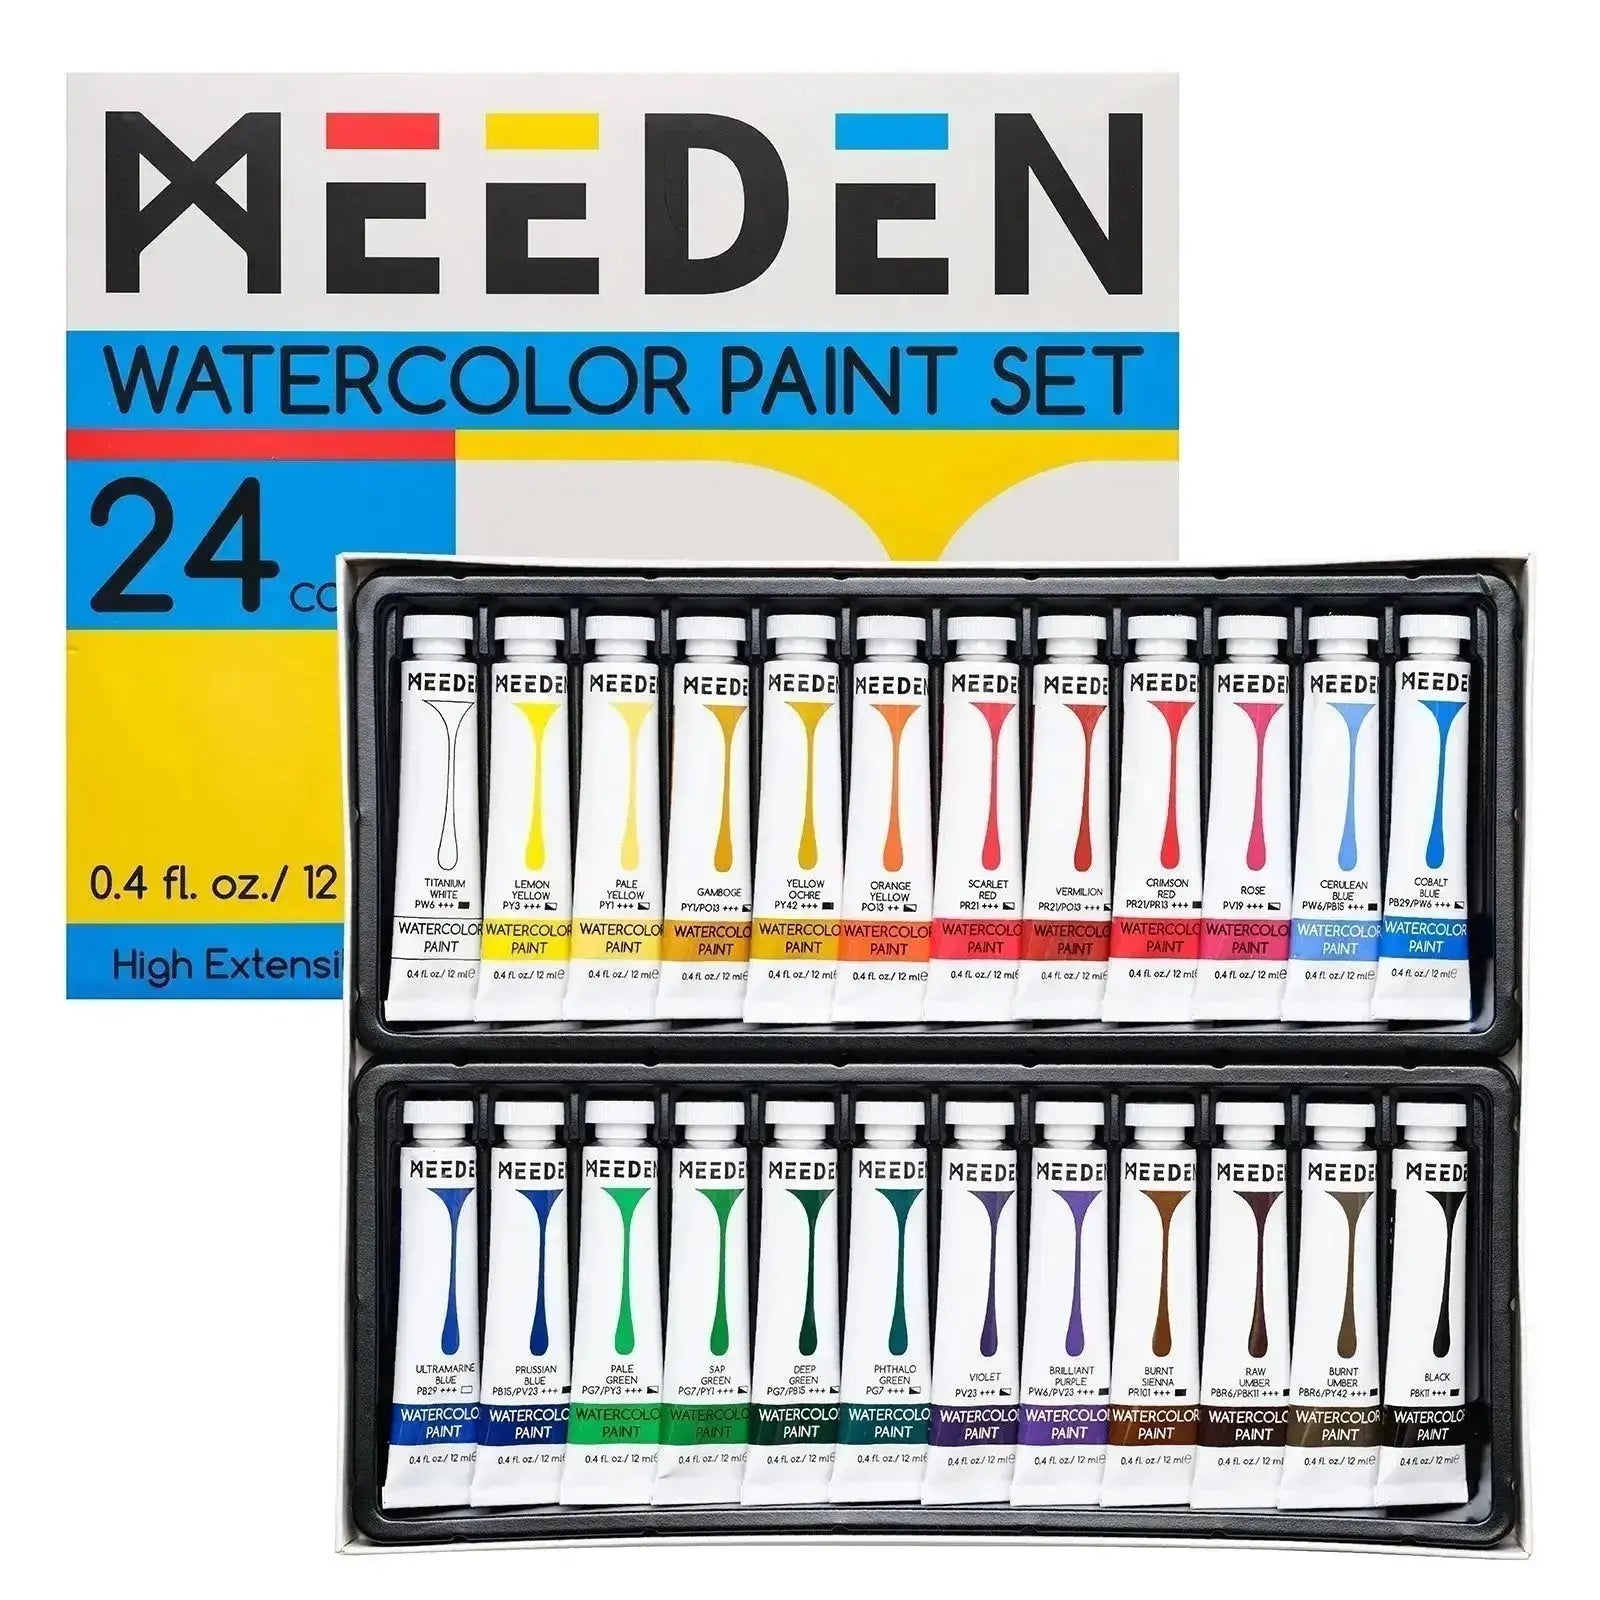
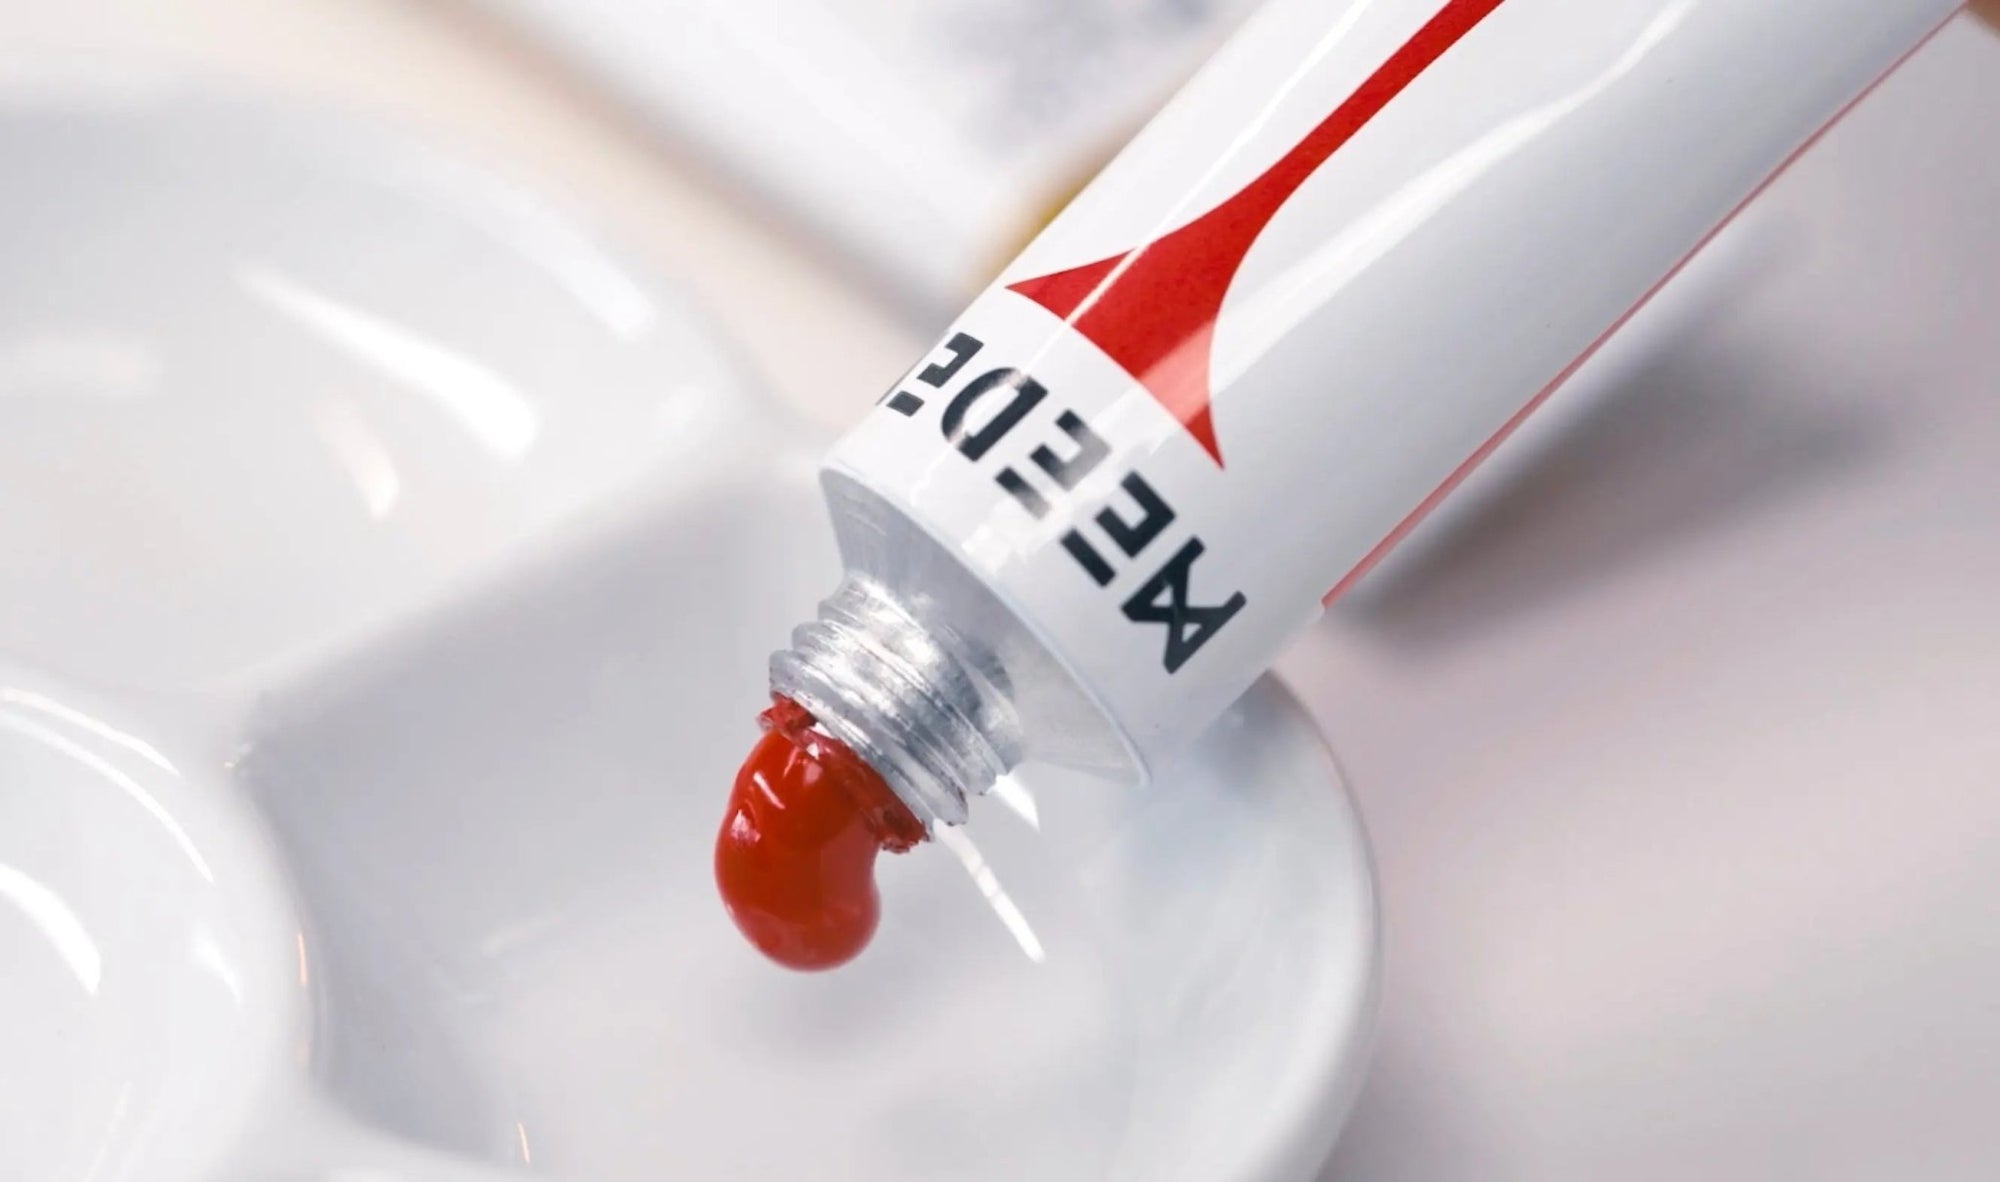
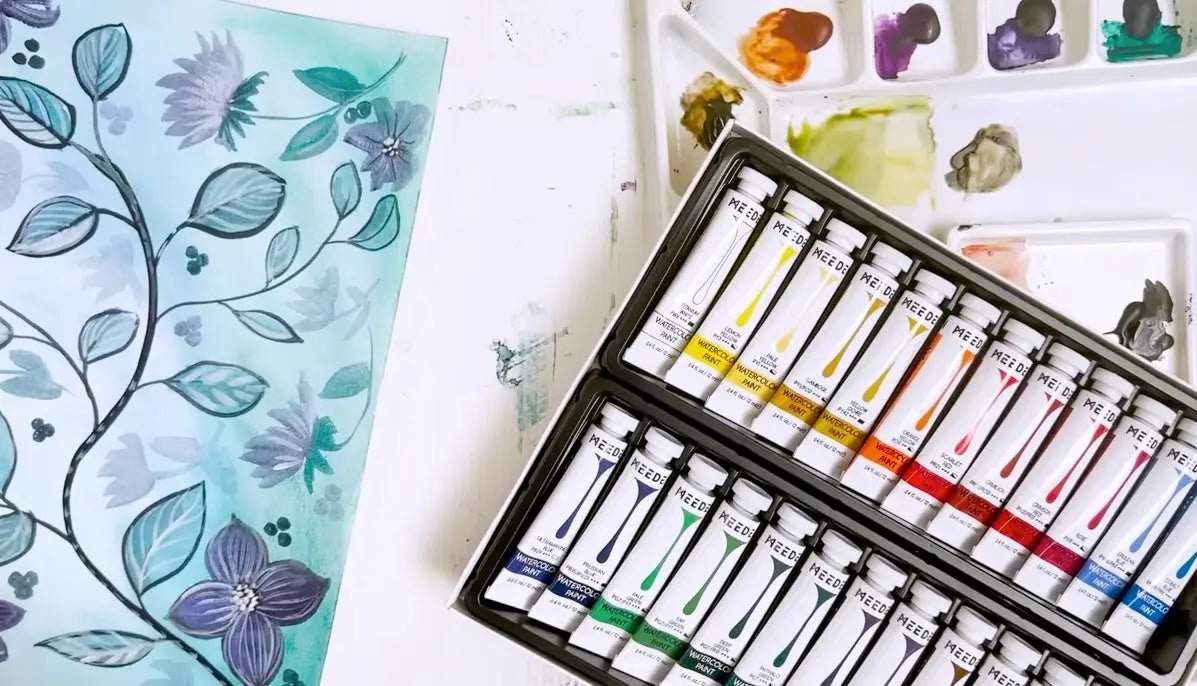
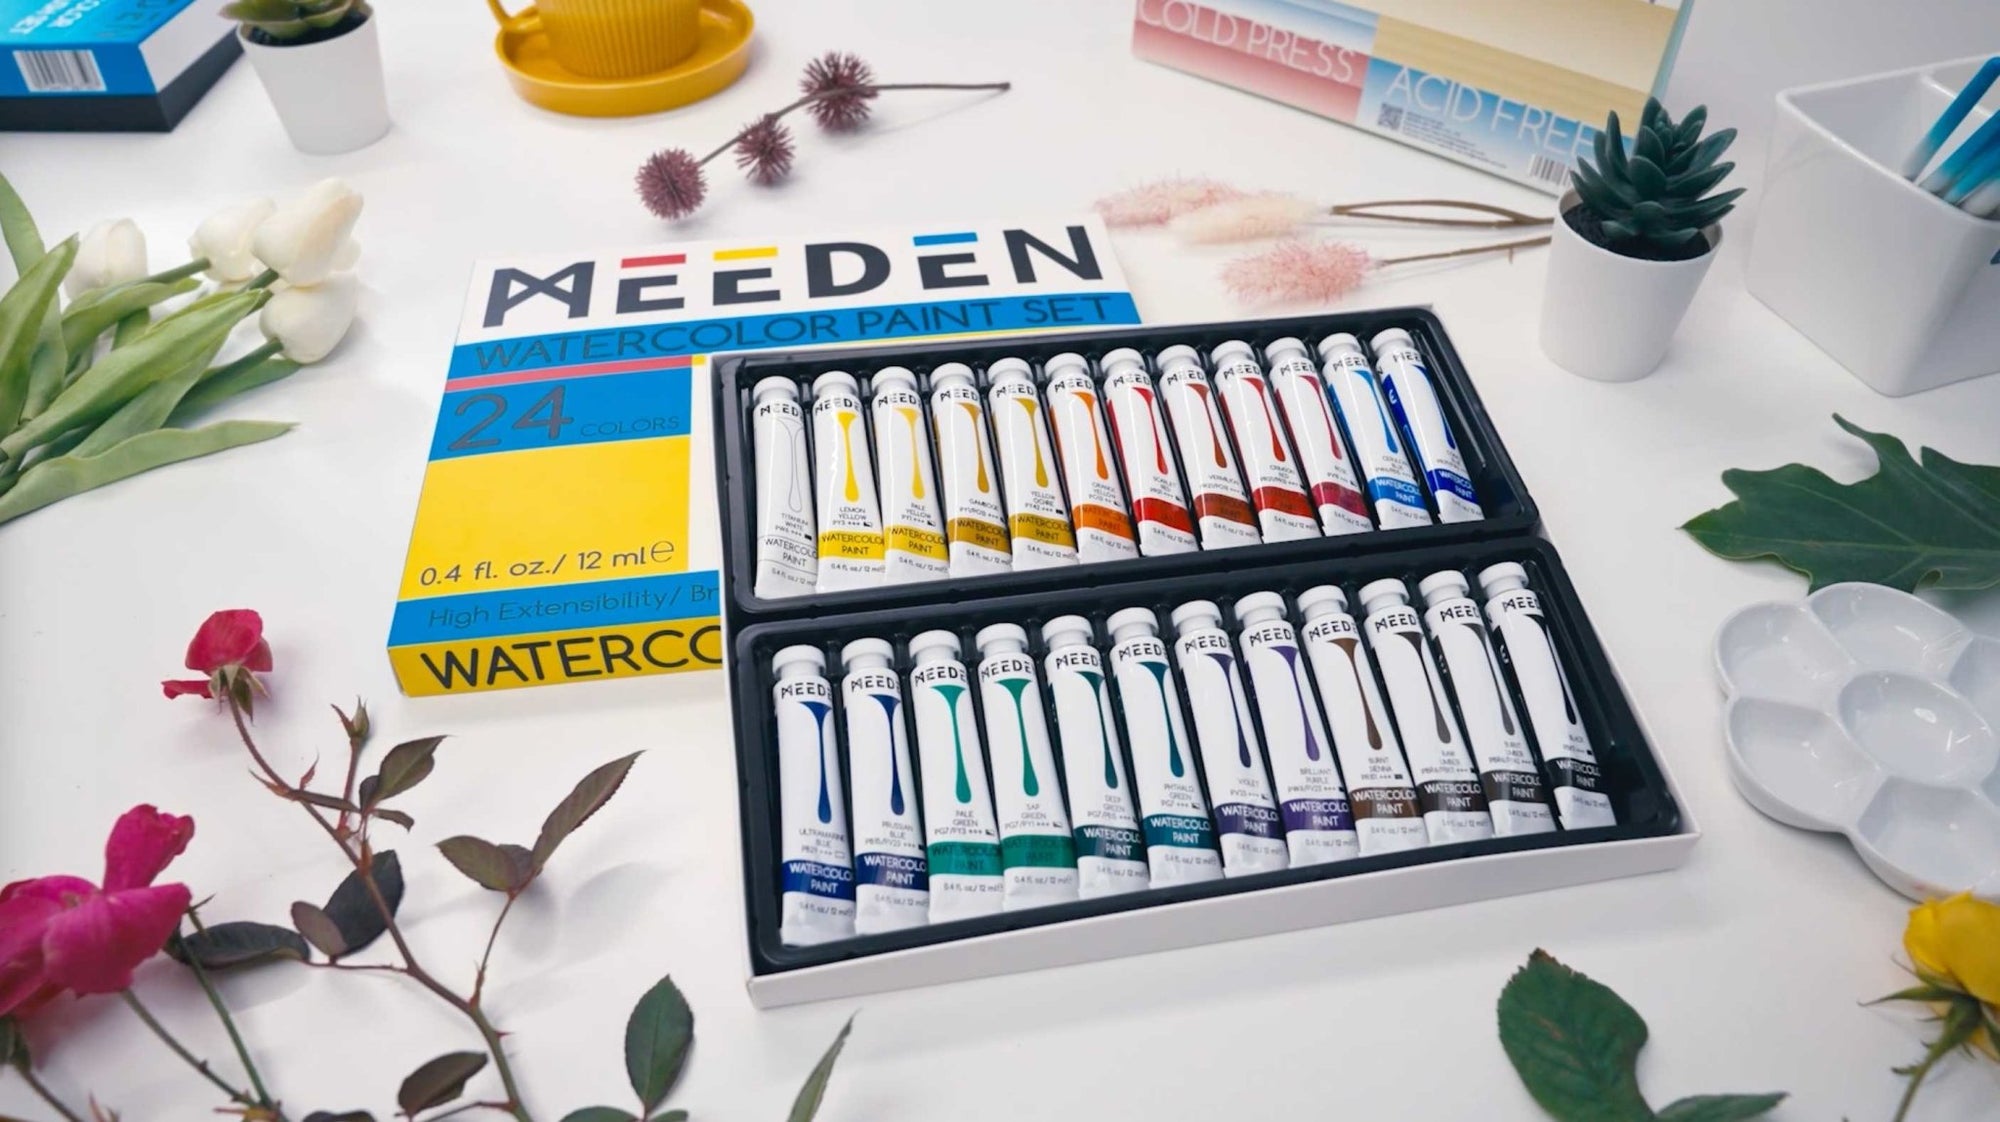
- Watercolor Paint Set
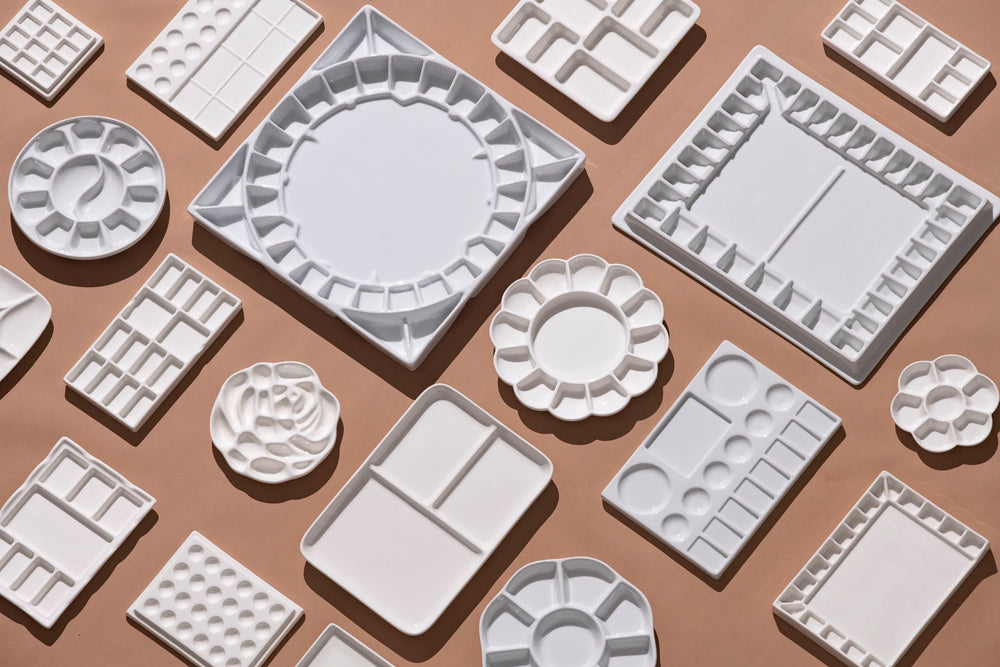
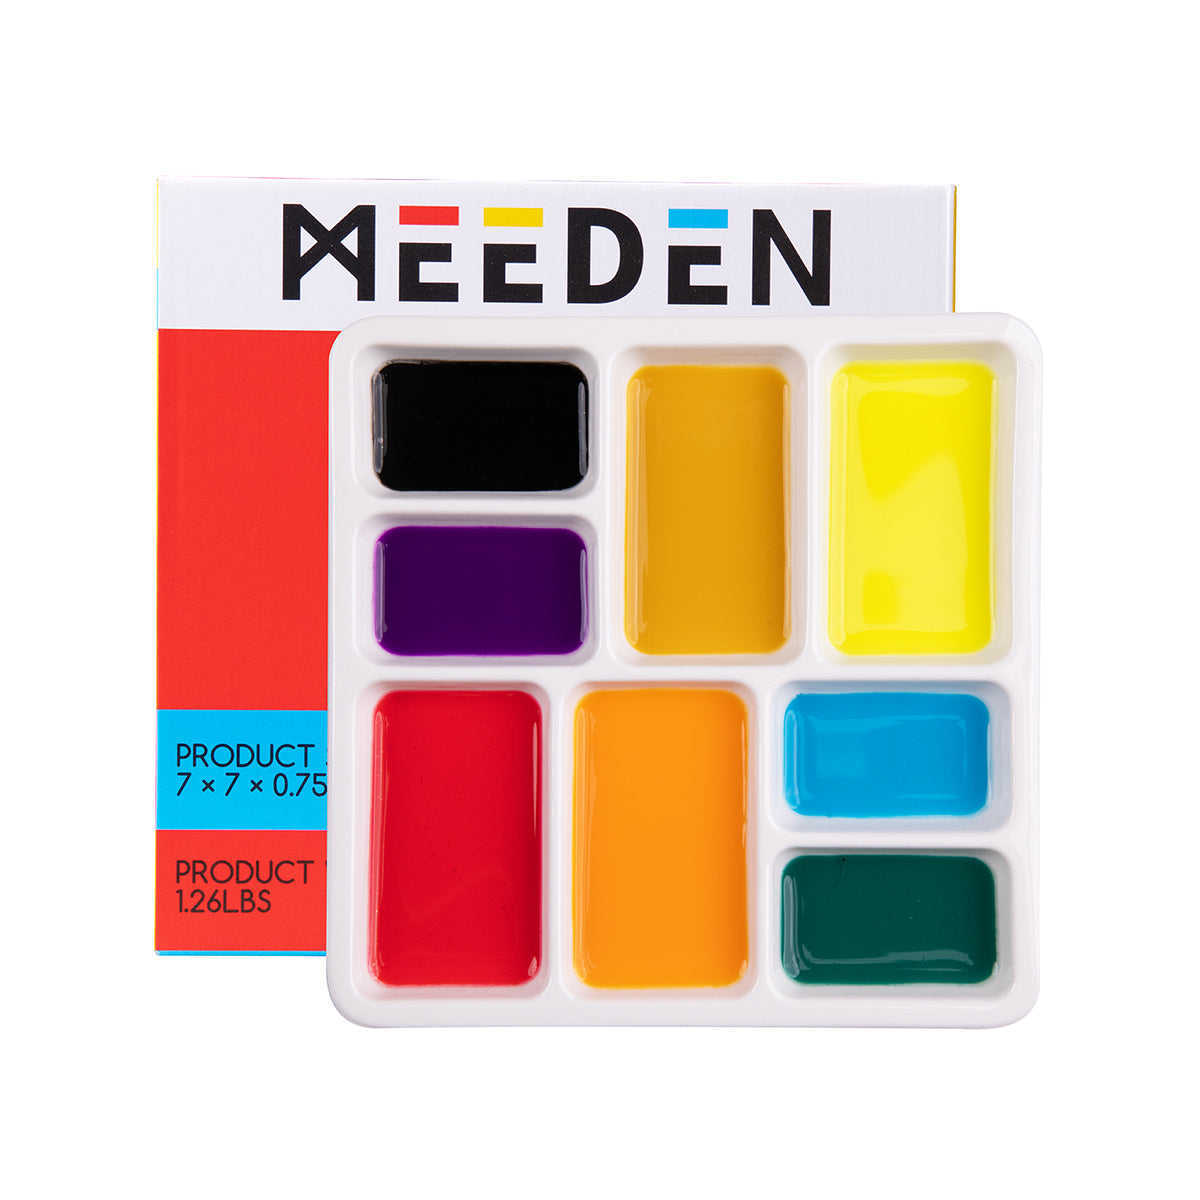
- 8-Well Ceramic Palette
- Wash Bowl
Step 1: Outlining the Bumblebee
Begin by lightly drawing the outline of the bumblebee using a pencil or a black sketching pen. Start by drawing an oval shape for the head, followed by four semi-circles adjacent to the oval. Remember that the bumblebee's body is plump, so make the semi-circle in the middle the largest, while the ones on the ends should be smaller, with the semi-circle at the tail being the smallest. Then, draw a droplet-shaped right wing in the middle of the body towards the top, and a curved line slightly above it to outline the left wing.

Step 2: Adding Outline Details
On the edges of the bumblebee's head, draw a plump spindle shape and add two antennae on top. Draw a pair of legs below the body and tail, but remember that bumblebee legs are not straight lines - they have bends, with the parts closer to the body being thicker and the tips being thinner. Next, lightly sketch the texture of the wings using lines. The texture should radiate from the base of the wings, resembling tree branches. Then, darken the main outline of the body to blend in any inaccurate lines and create a sense of depth in the composition. If you're using a pencil, you can gently erase any stray lines after the sketching process.

Step 3: Coloring with Watercolor
After preparing our sketch, it is time to add some color using watercolors. Dip your brush in water and remove any excess water by gently squeezing it. The brush shouldn't be too wet or too dry. Start by dabbing the brush in a pale yellow color and apply it to the body of the bumblebee. Clean your brush and dip it in black color to paint the head and the rest of the body, making sure to leave a white space for the eyes. Black can be challenging to control, especially for beginners, so I recommend starting with a small amount and adding more if needed.

Step 4: Adding Depth and More Details of the Bumblebee
In this step, we will use the same color paint but vary the amount of water on our brush. The more water on the brush, the lighter the color will appear, and vice versa. Take your brush and dip it into the black paint. We will use this to deepen the middle and end of the bumblebee's body, as well as the outline of its head. Pay attention to the details of the legs, making sure they are thicker at the body and gradually thinning towards the tips.

Step 5: Brushing on the Gray Shade for the Bumblebee's Wings
To start, add water to your brush and evenly dip it into a mix of black with a touch of blue (or you can directly use gray). Then, use a sponge to remove any excess moisture from your brush. Once your brush is adequately dried, quickly brush on a layer of gray on the upper half of the bumblebee's wings. The key here is to ensure your brush is dry enough and to brush on the color swiftly. This technique will create a translucent and natural effect for the bumblebee's wings.

Step 6: Detailing the Eyes
To make the eyes of the bumblebee painting more vibrant and lifelike, we will use a black sketching pen to outline the eye. Then, leave a small section at the upper part of the eye unpainted to create a highlight, and fill in the rest of the eye with black. Next, take a highly opaque white paint and use it to outline the lower portion of the eye. This will add depth and give the eye a more lively appearance.

Step 7: Refine the Details
To add more depth and definition to your artwork, use a fineliner pen to refine the fine details. Start by deepening the roots of the antennae and legs. You can also add pointed tips to the tips of the legs that may seem too blunt. To create a fluffy and furry texture, draw some short lines on the neck and body of the bumblebee. Moving on to the wings, darken the outline to make them stand out. Then, using a fine line, carefully draw the wing veins, mimicking the intricate pattern found on real bumblebee wings.

In our journey of exploring the captivating world of watercolor painting, we've reached an exciting point - learning how to draw a bumblebees! Have you picked up some valuable techniques along the way? If you're eager to dive deeper into this art form, we have a treat for you!
🖌️ Video Tutorial: To see the complete step-by-step process of painting bees with watercolors, click the video link below. Diane, our talented artist, will guide you through the entire tutorial, making it an enjoyable and educational experience.
If you've enjoyed Diane's watercolor tutorials and want to explore more of her artistic journey, you could visit her channel @DianeAntoneStudio on YouTube or her website. There, you'll find a treasure trove of creative inspiration and in-depth tutorials.
🎨 Share Your Thoughts: We're here to create a vibrant community of art lovers. Is there a specific painting technique or idea you'd like us to explore next? Let us know! We value your input and would love to hear from you. Please feel free to leave a comment below, sharing your thoughts and ideas. We're committed to continually sharing fun and exciting painting tips and ideas with each and every MEEDENer.
Other posts you may enjoy:
- Watercolor Painting Idea For Beginner- Flower Painting Step By Step-by Diane Antone
- What Is The Distinction Between Different Pigments
- How to Pick the Right Easel-Types, Tips & Pointers


1 comment
Stephanie Madison
I need assistance in understanding the codes on your acrylics, I have never used tube paint and I need knowledge I can put to use now
I need assistance in understanding the codes on your acrylics, I have never used tube paint and I need knowledge I can put to use now