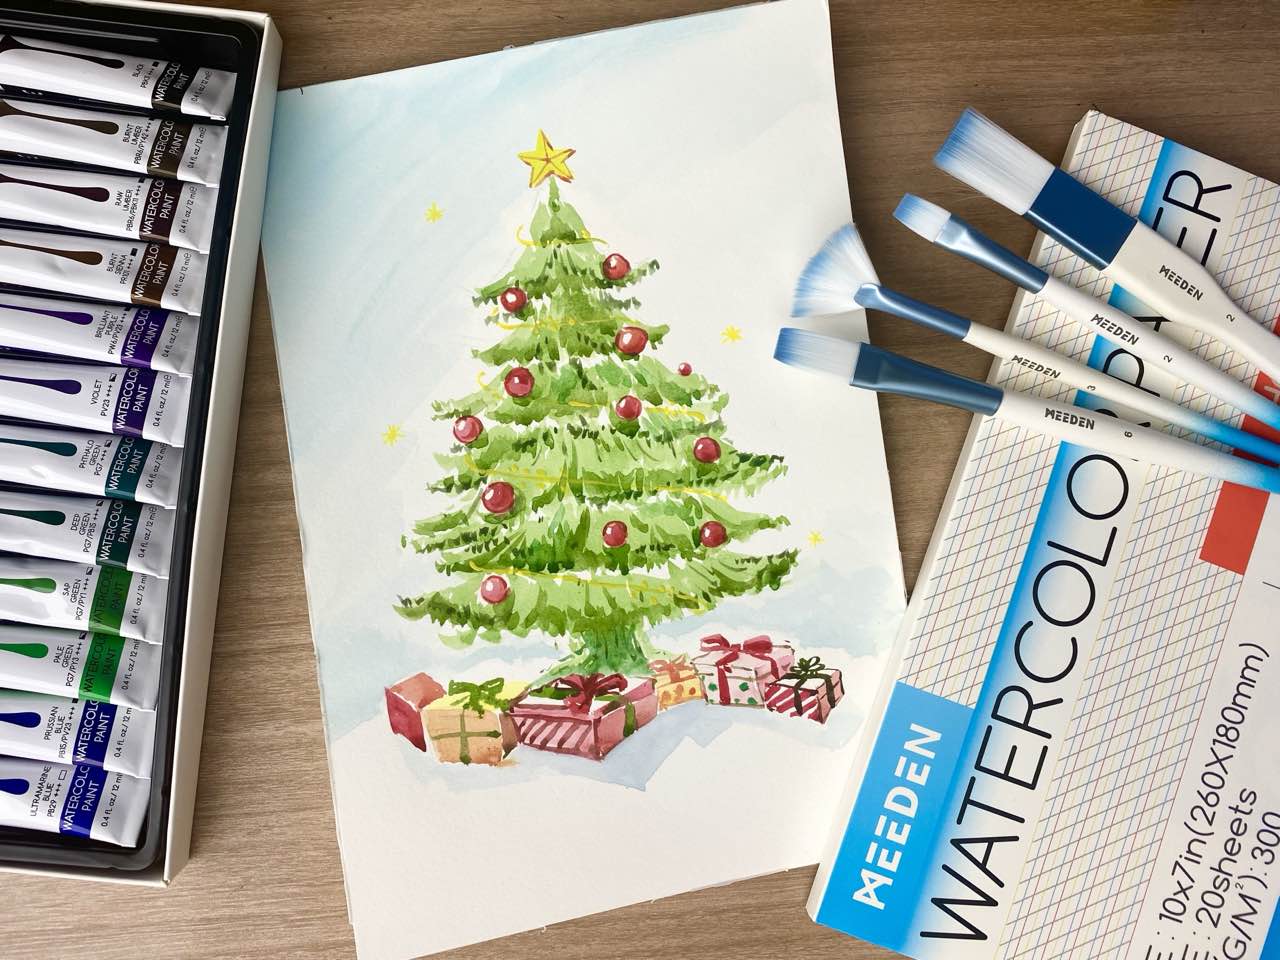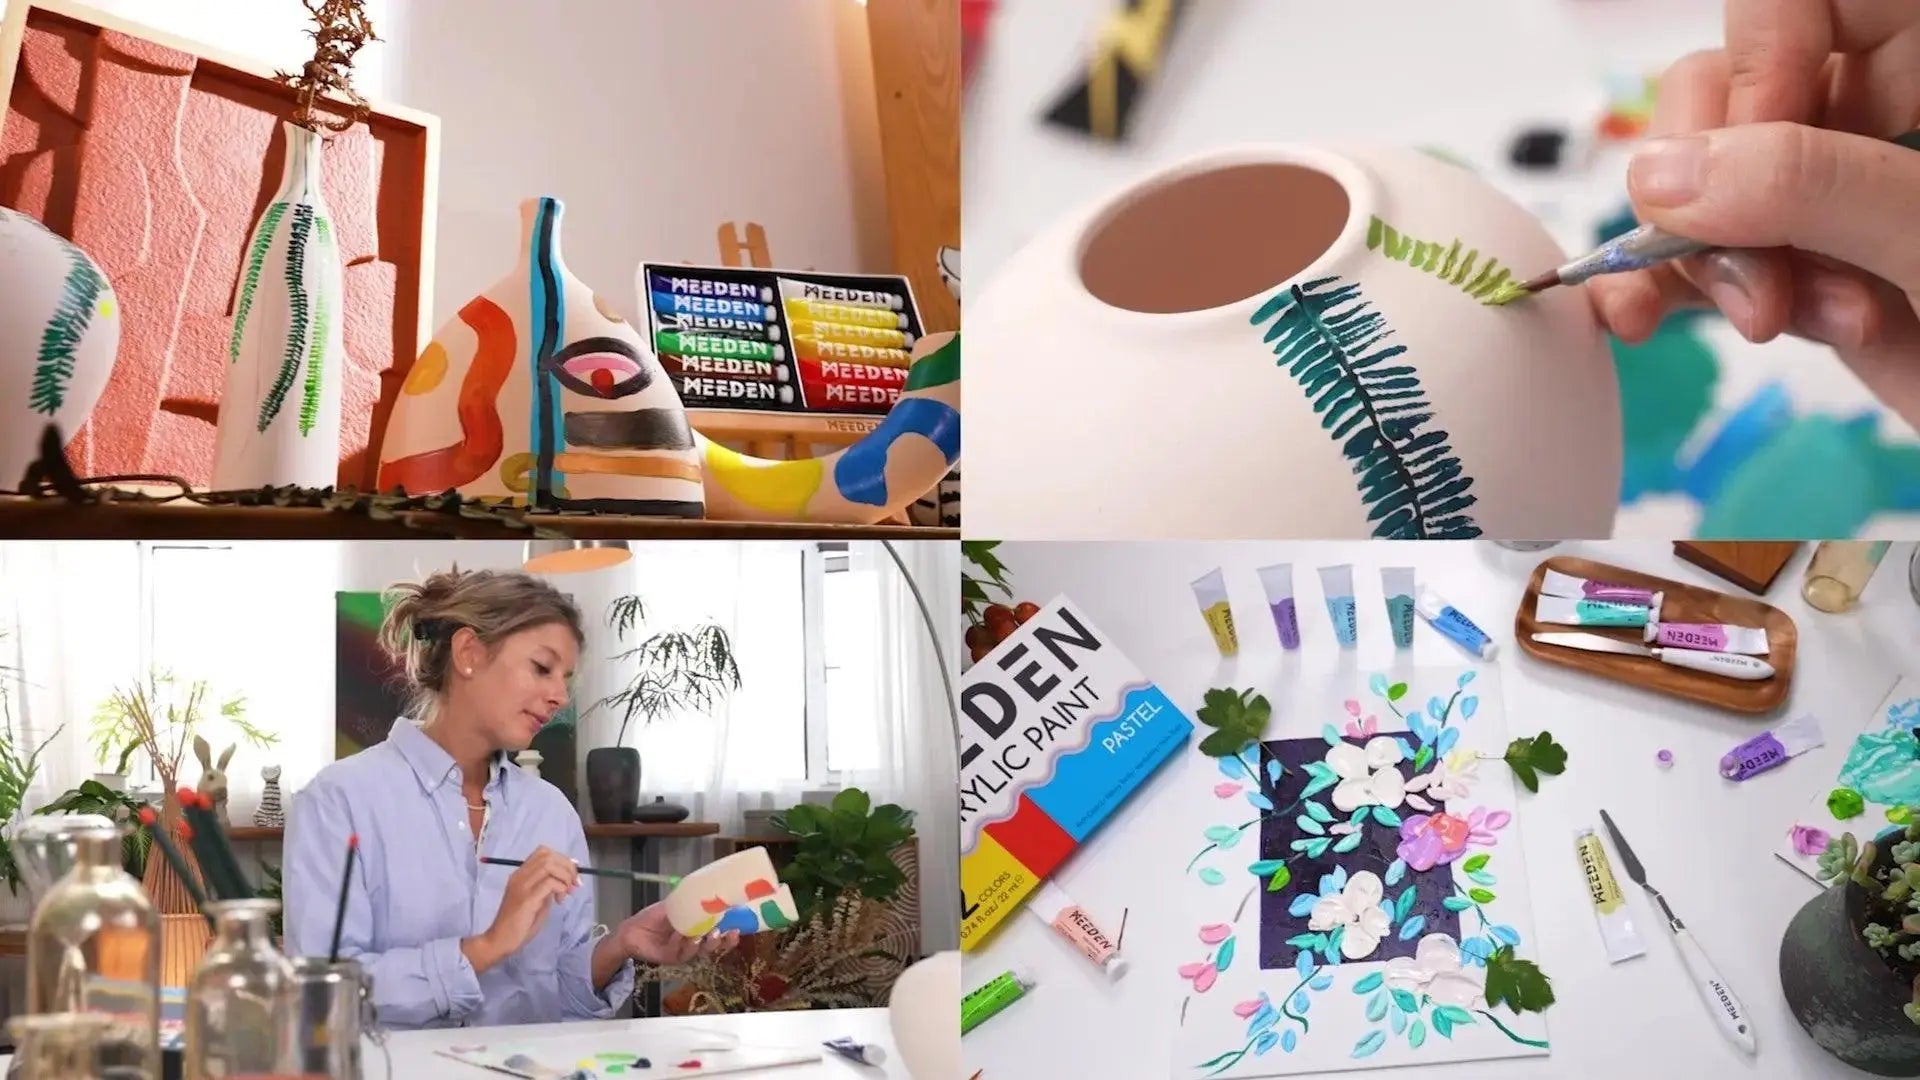
It's that magical time of year again — time to send out Christmas cards filled with love and warmth! Want to create a heartfelt card for your loved ones this holiday? Handmade cards are always extra special. Let’s paint one together!
Let’s gather our materials:
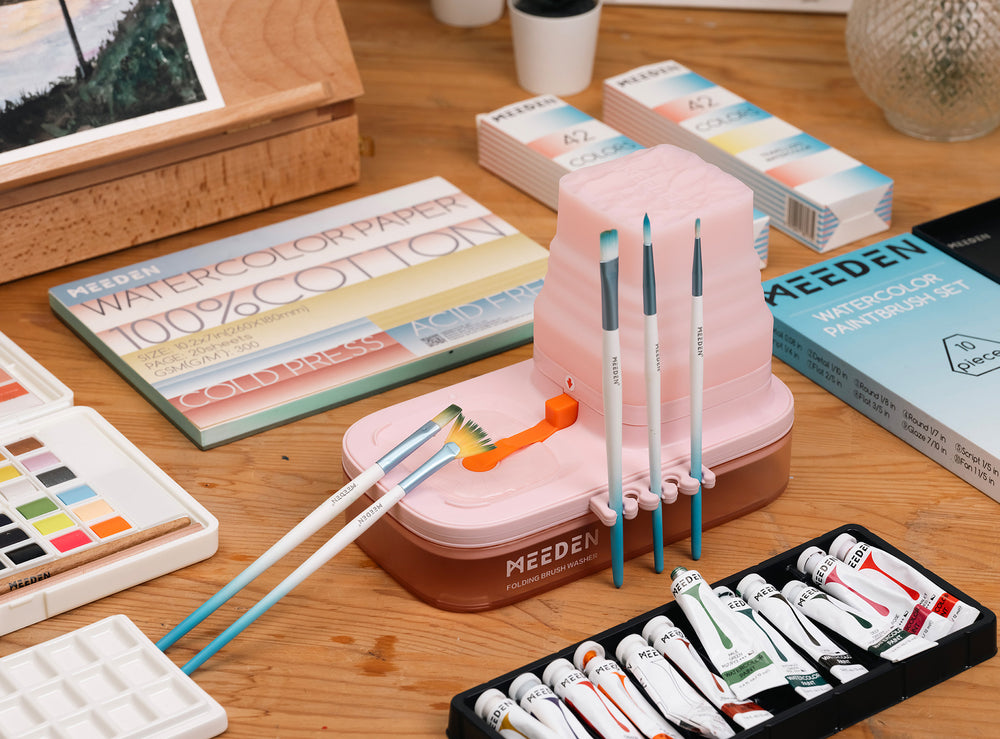
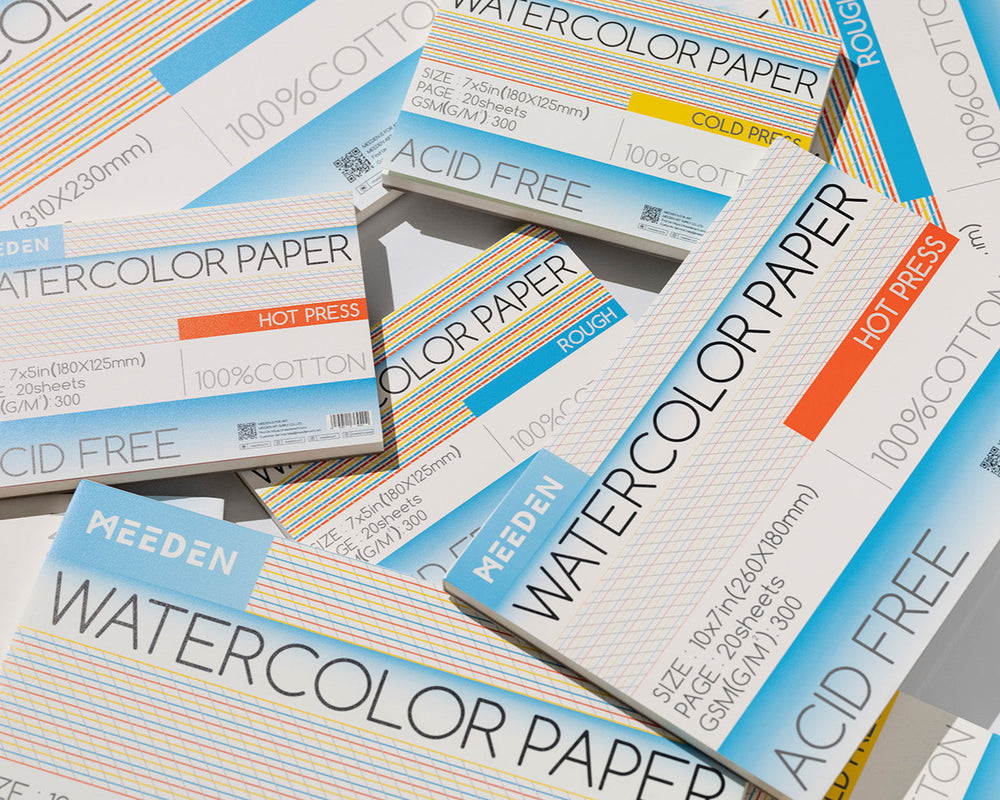
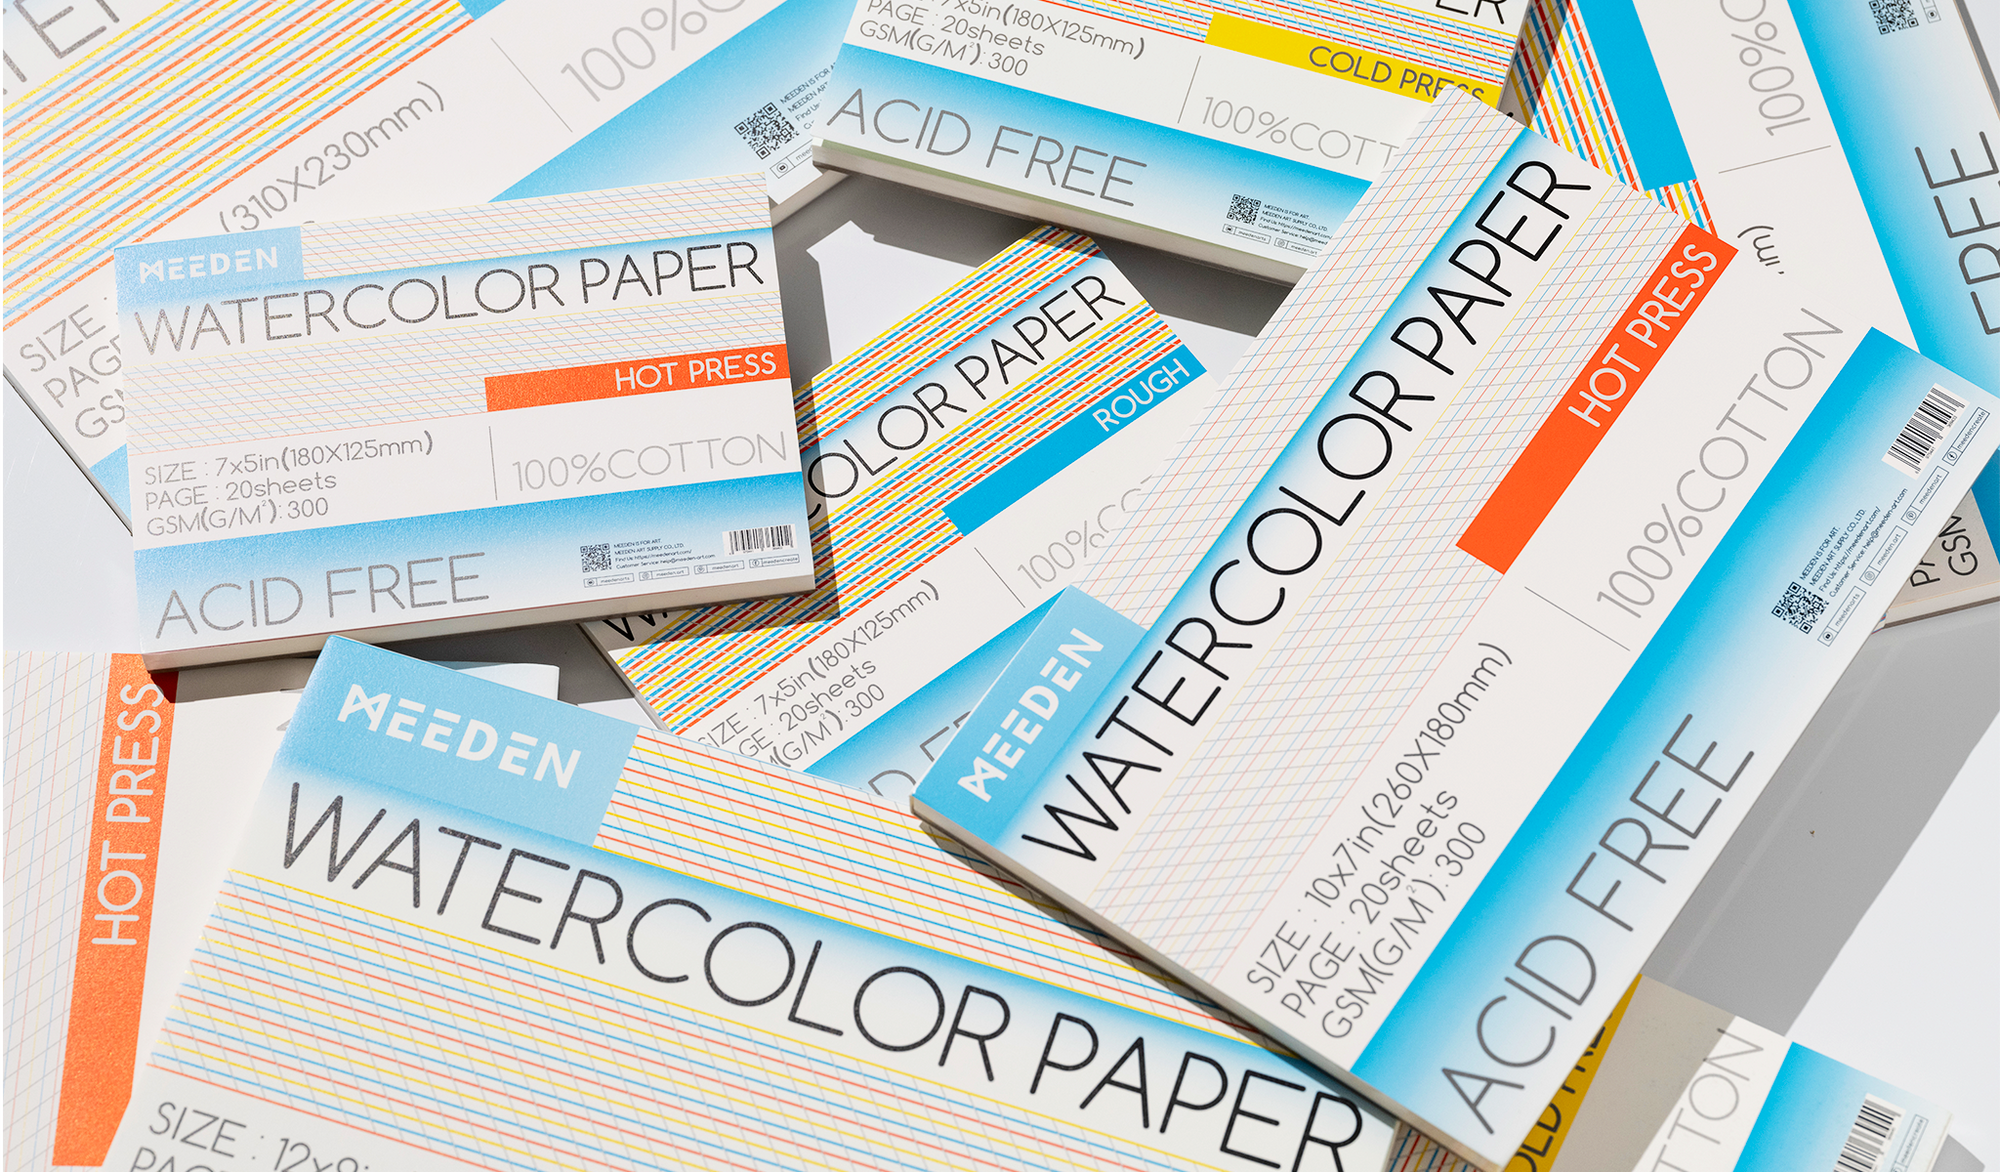
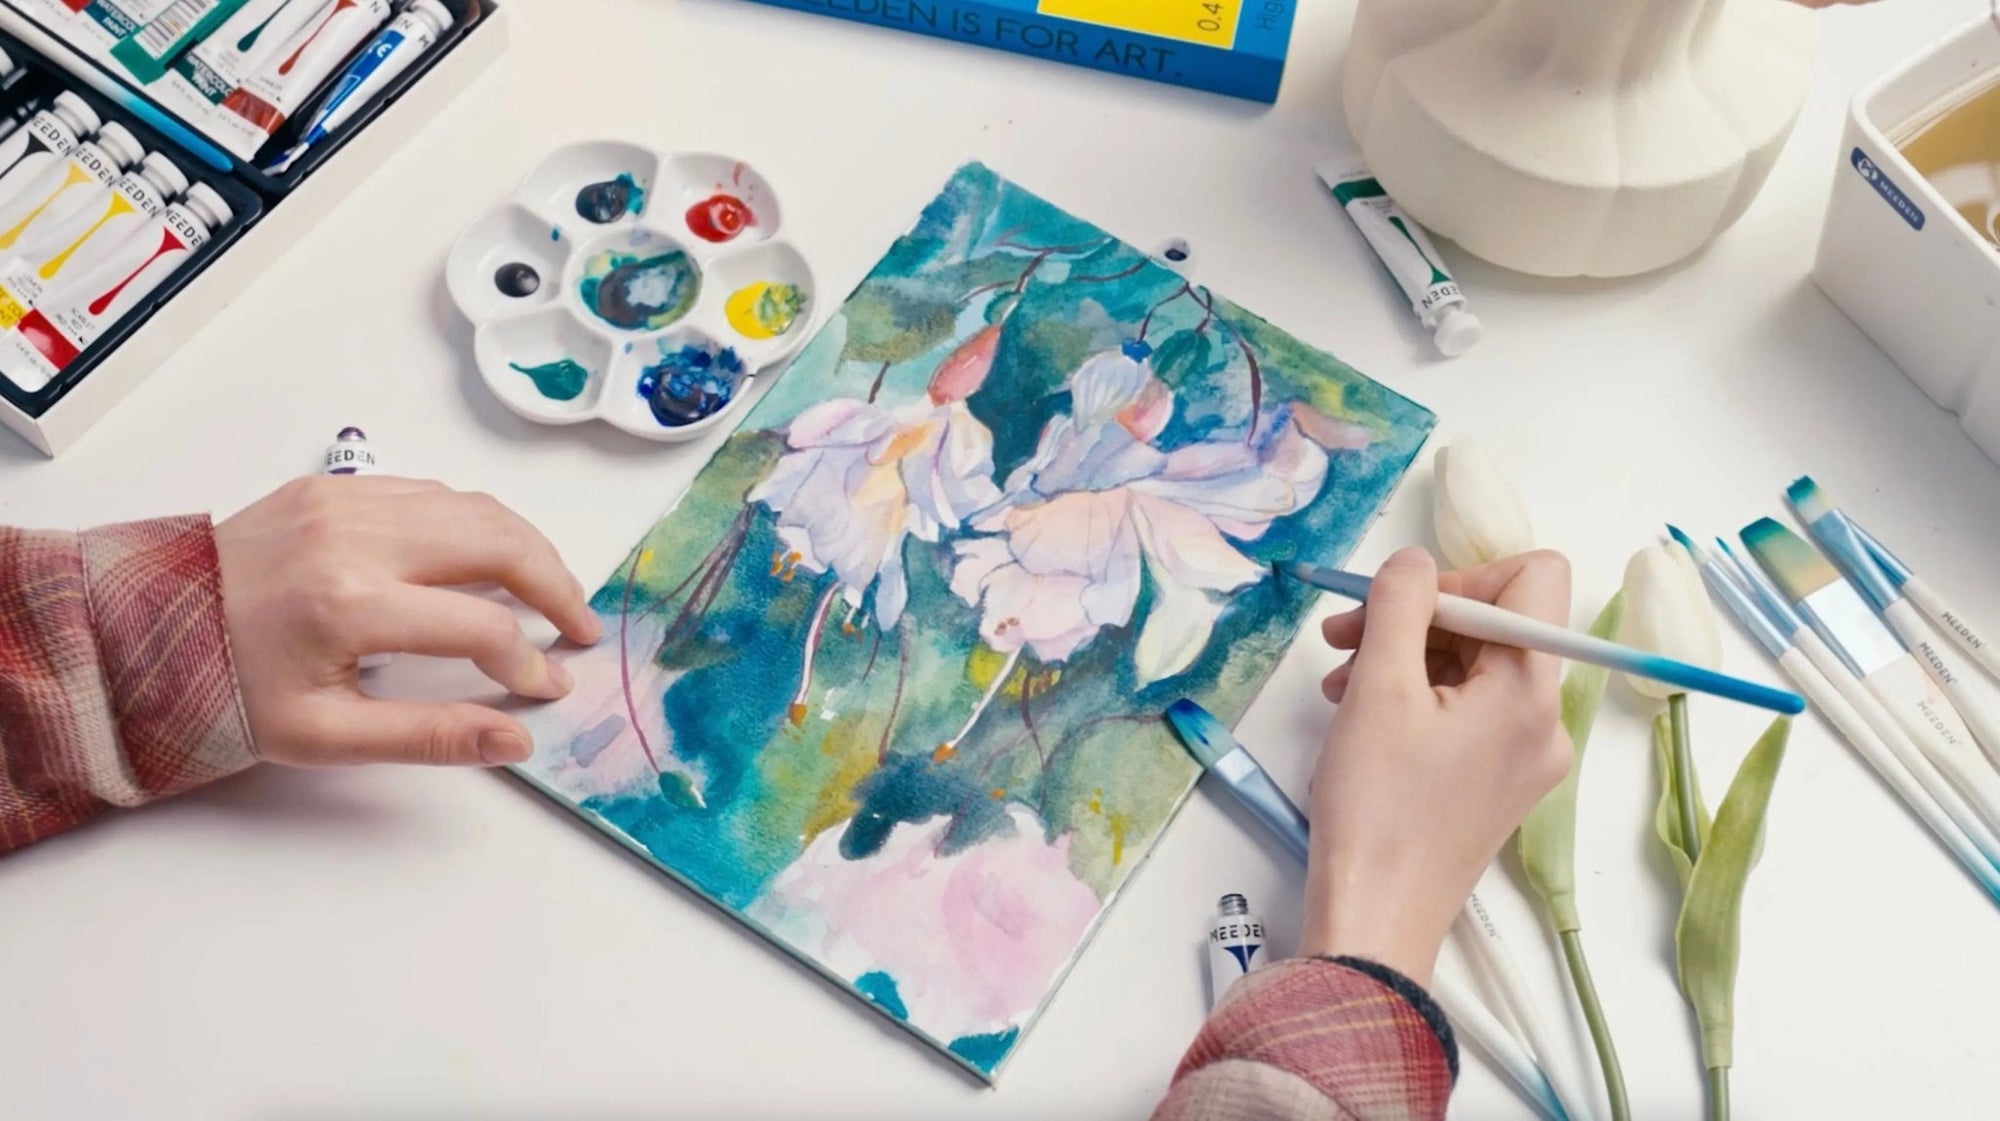
- MEEDEN 10x7" Hot Press Watercolor Paper Pad (20 sheets)
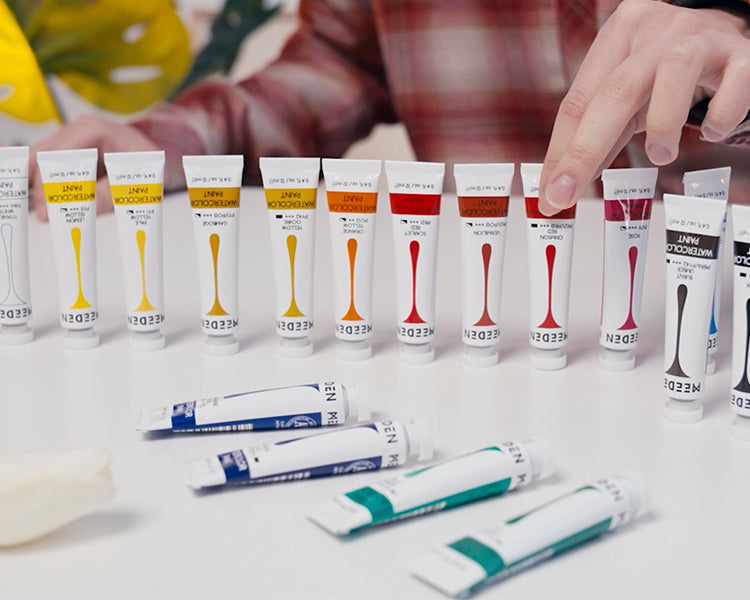
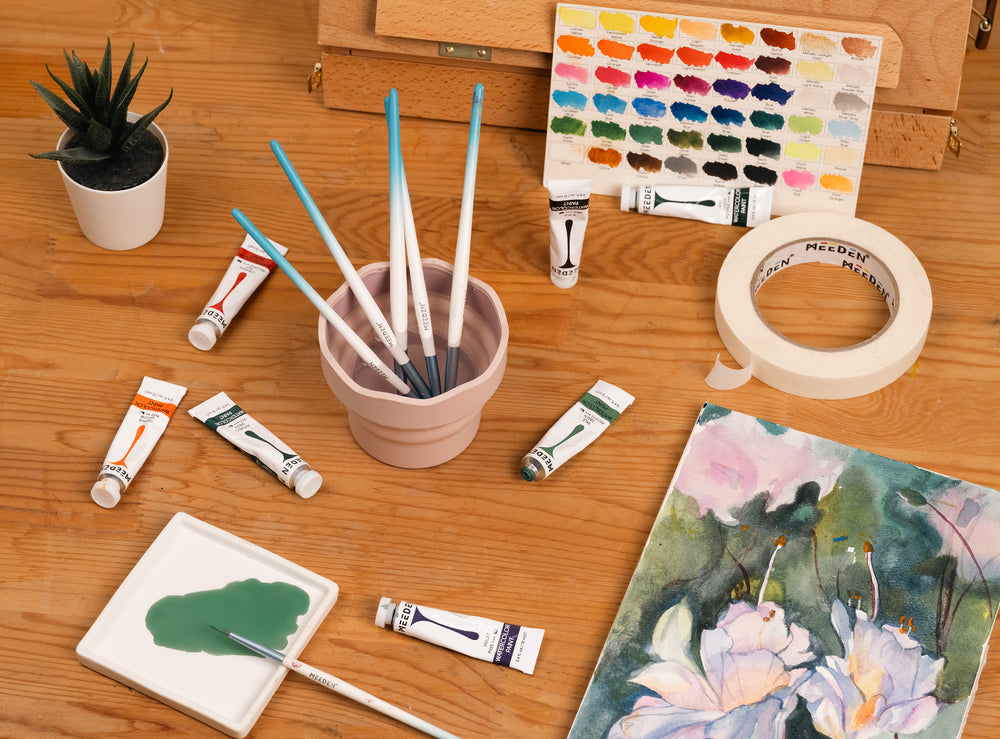
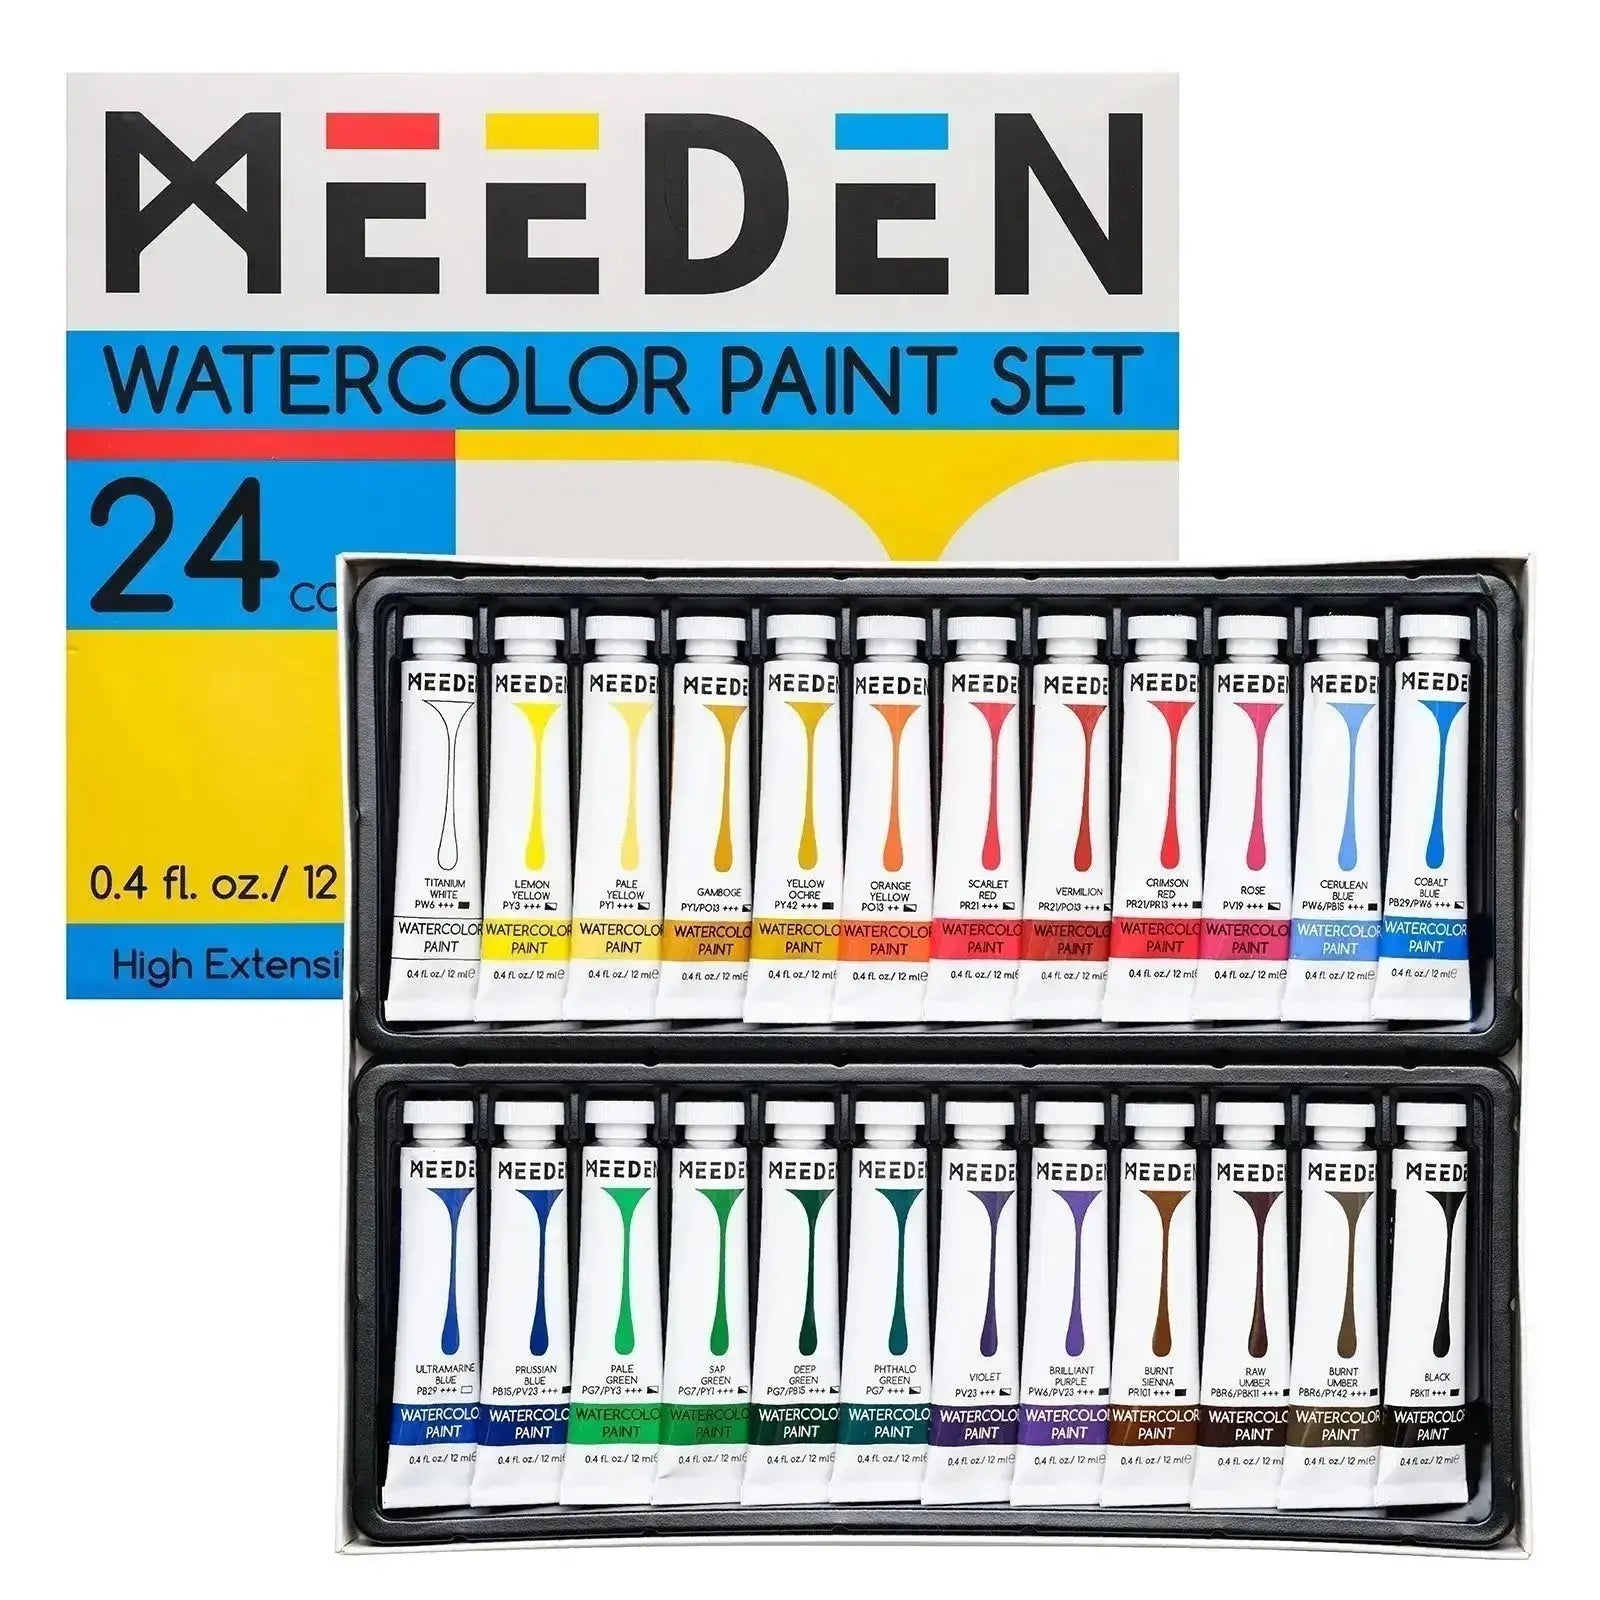
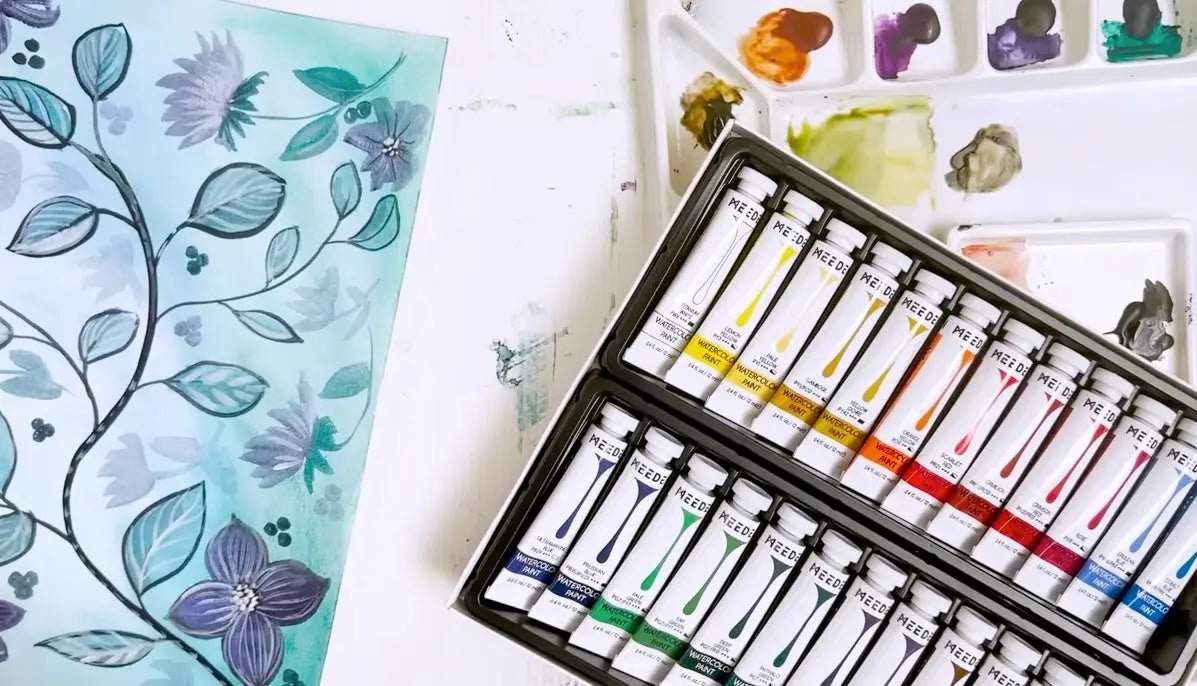
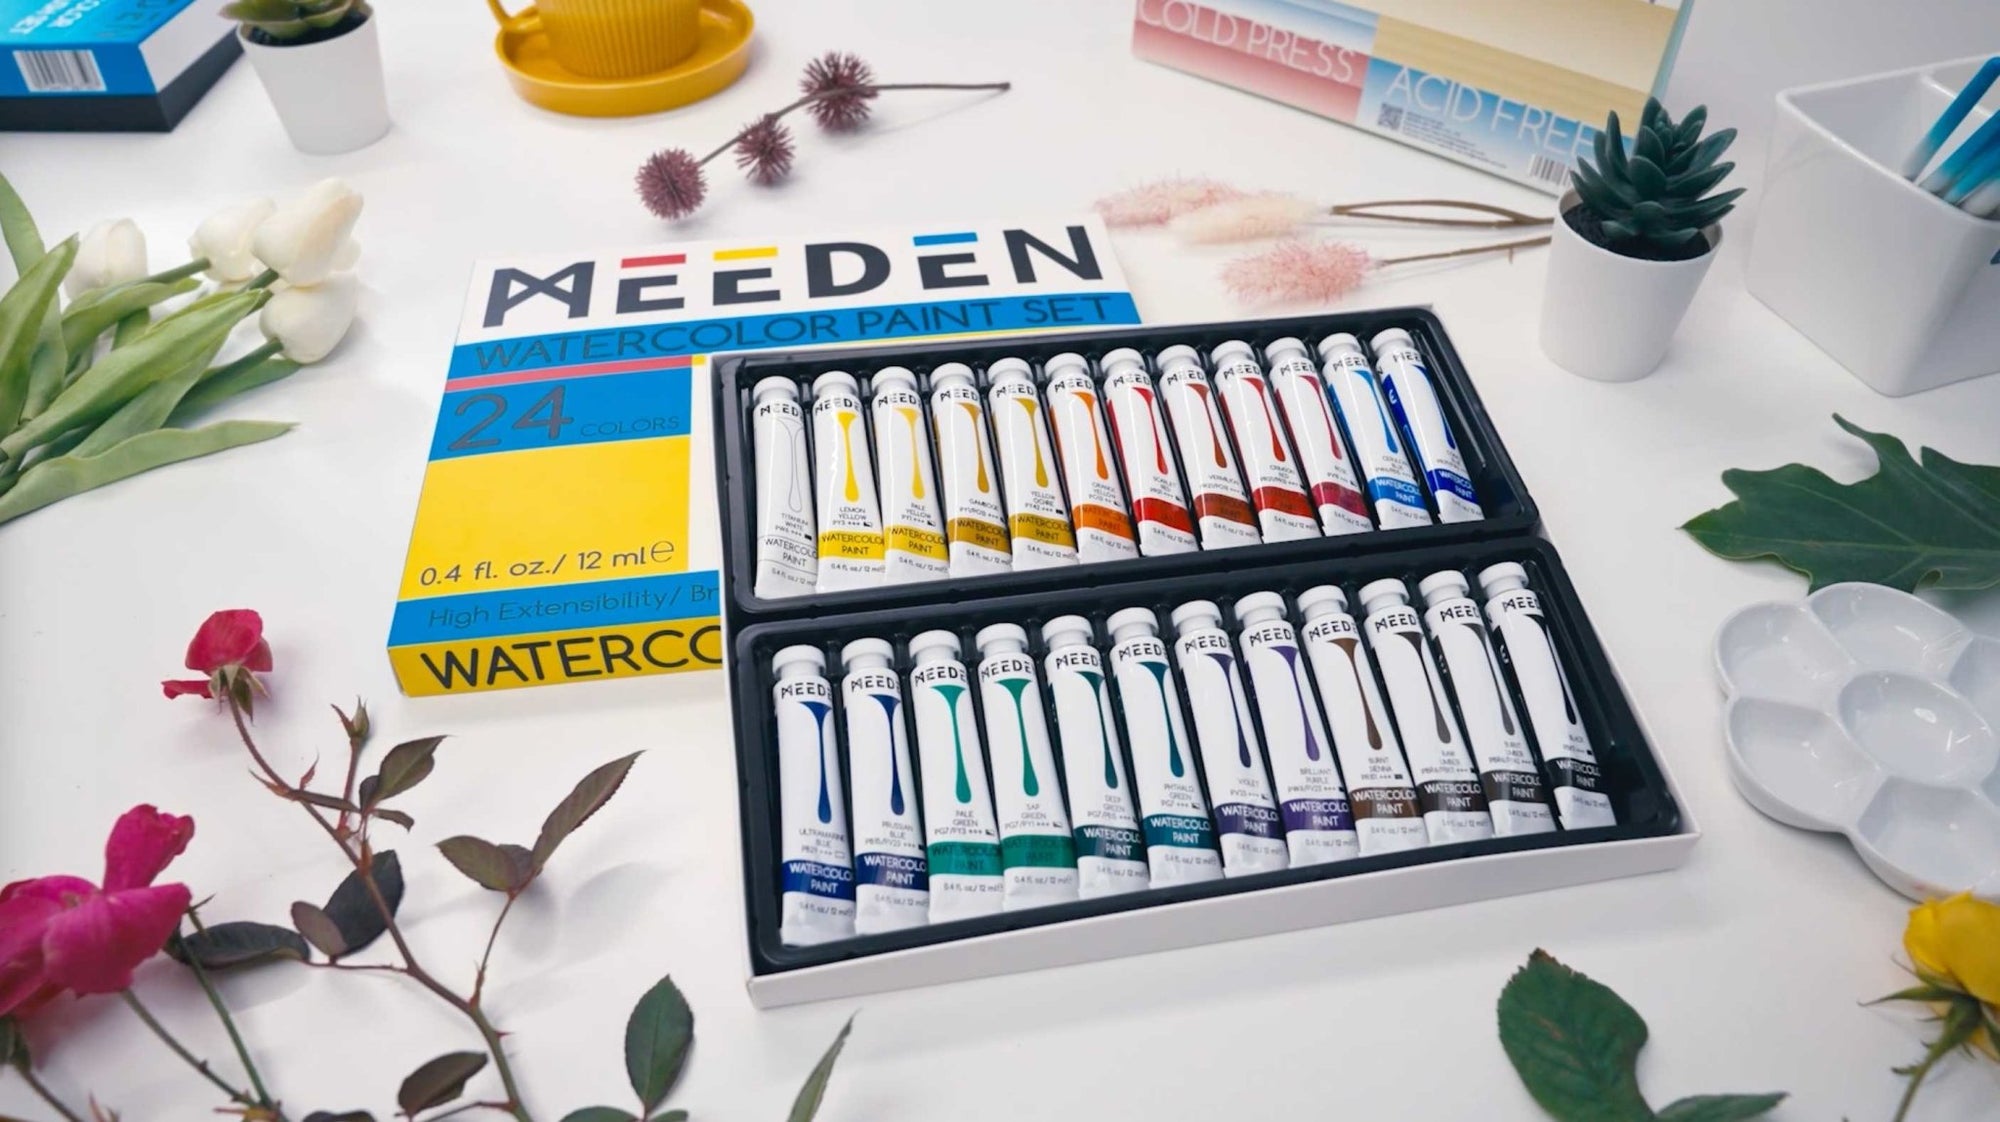
- MEEDEN Watercolor Paint Set (24 tubes, 12ml each)
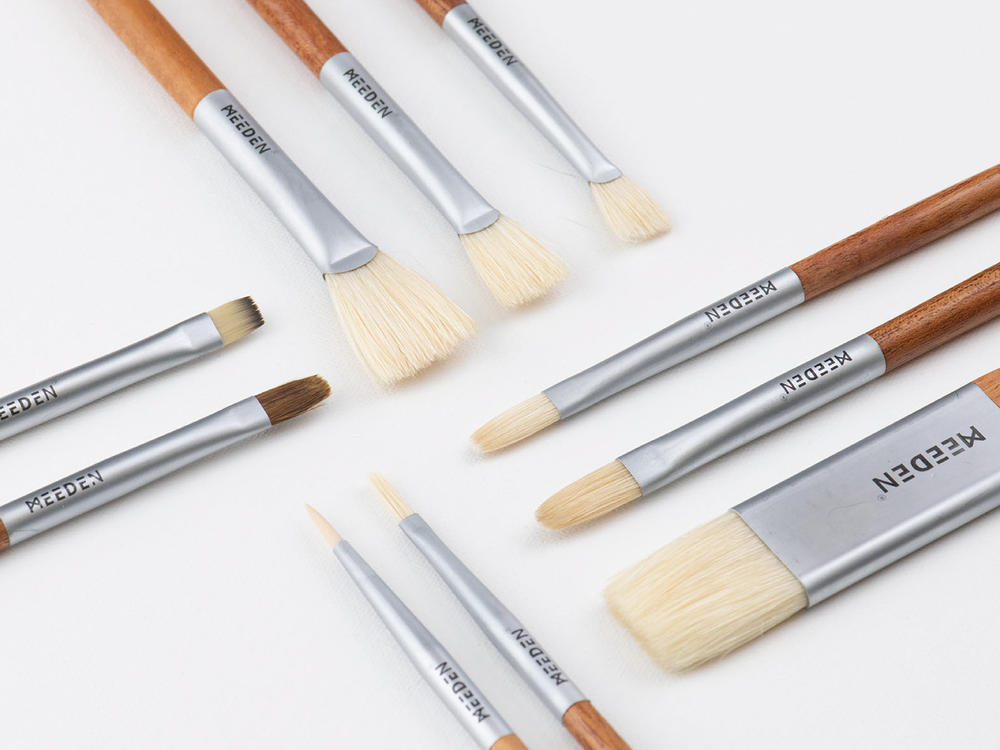
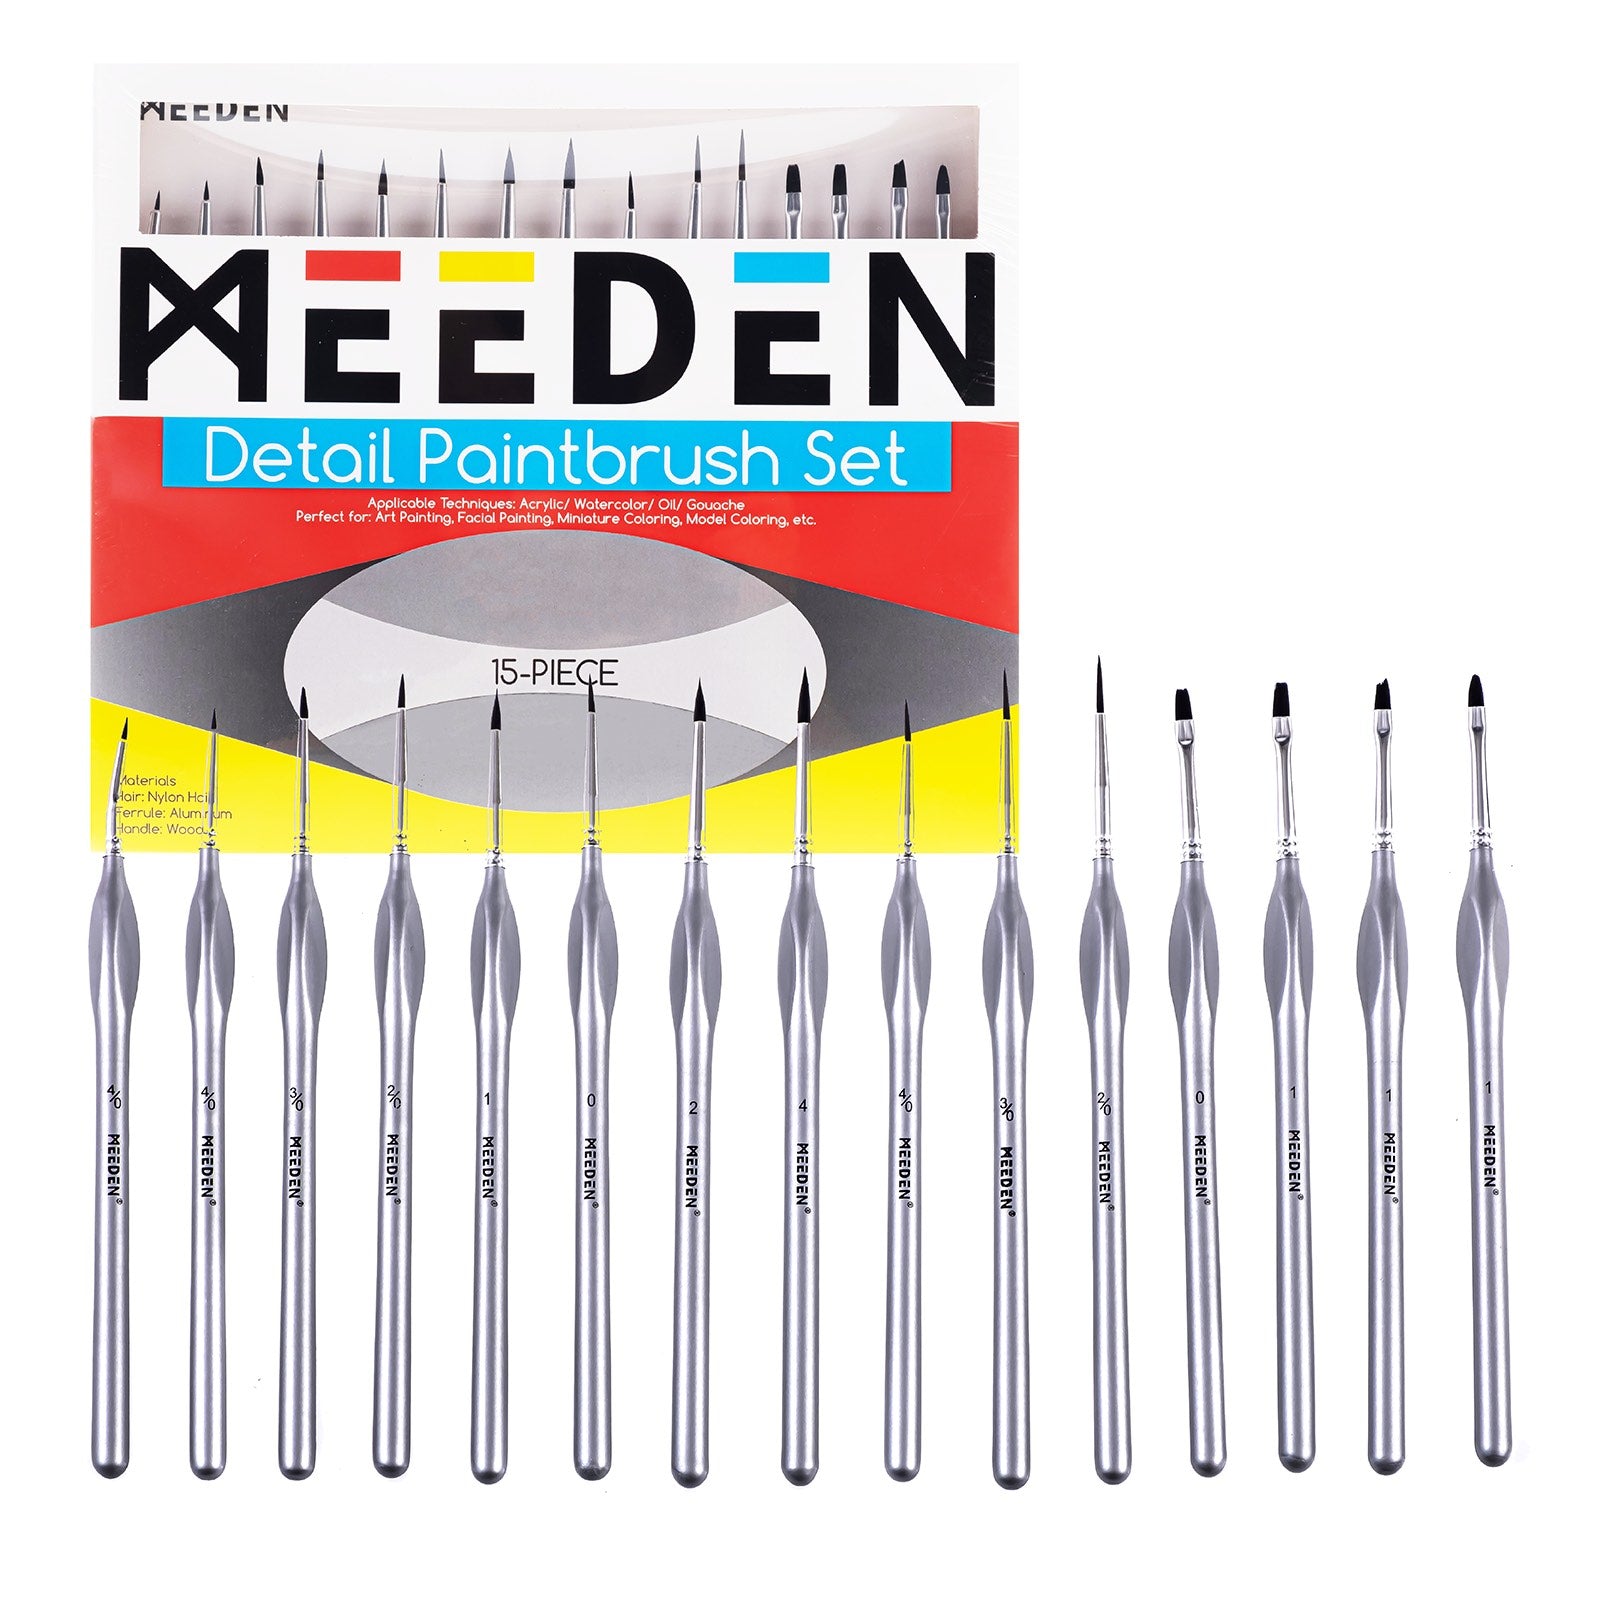
- MEEDEN Watercolor Paint Brushes Set (10 pieces)
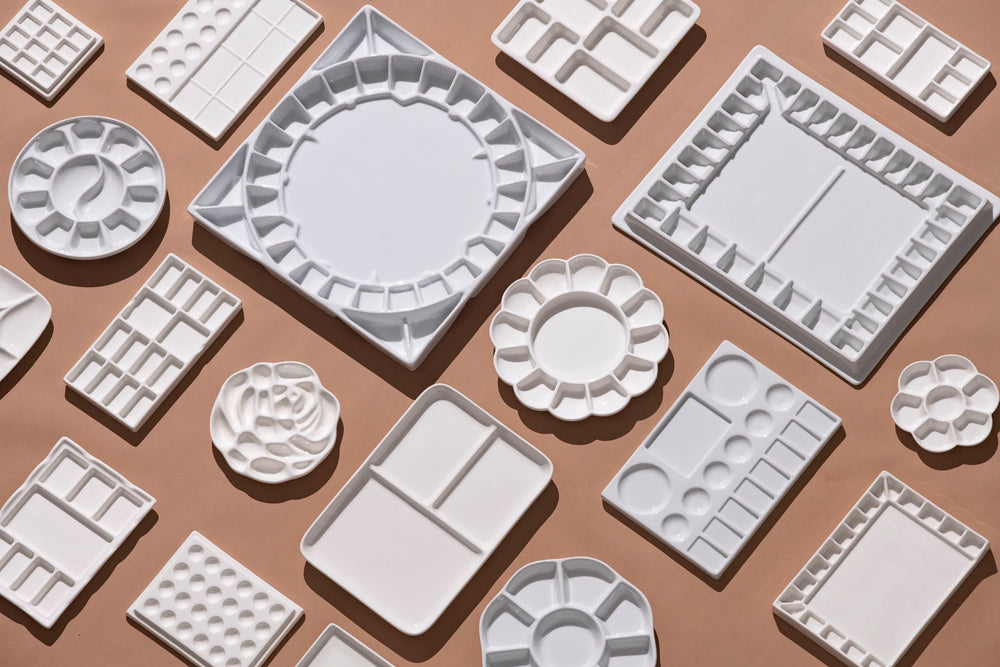
- MEEDEN Ceramic Watercolor Wash Bowl
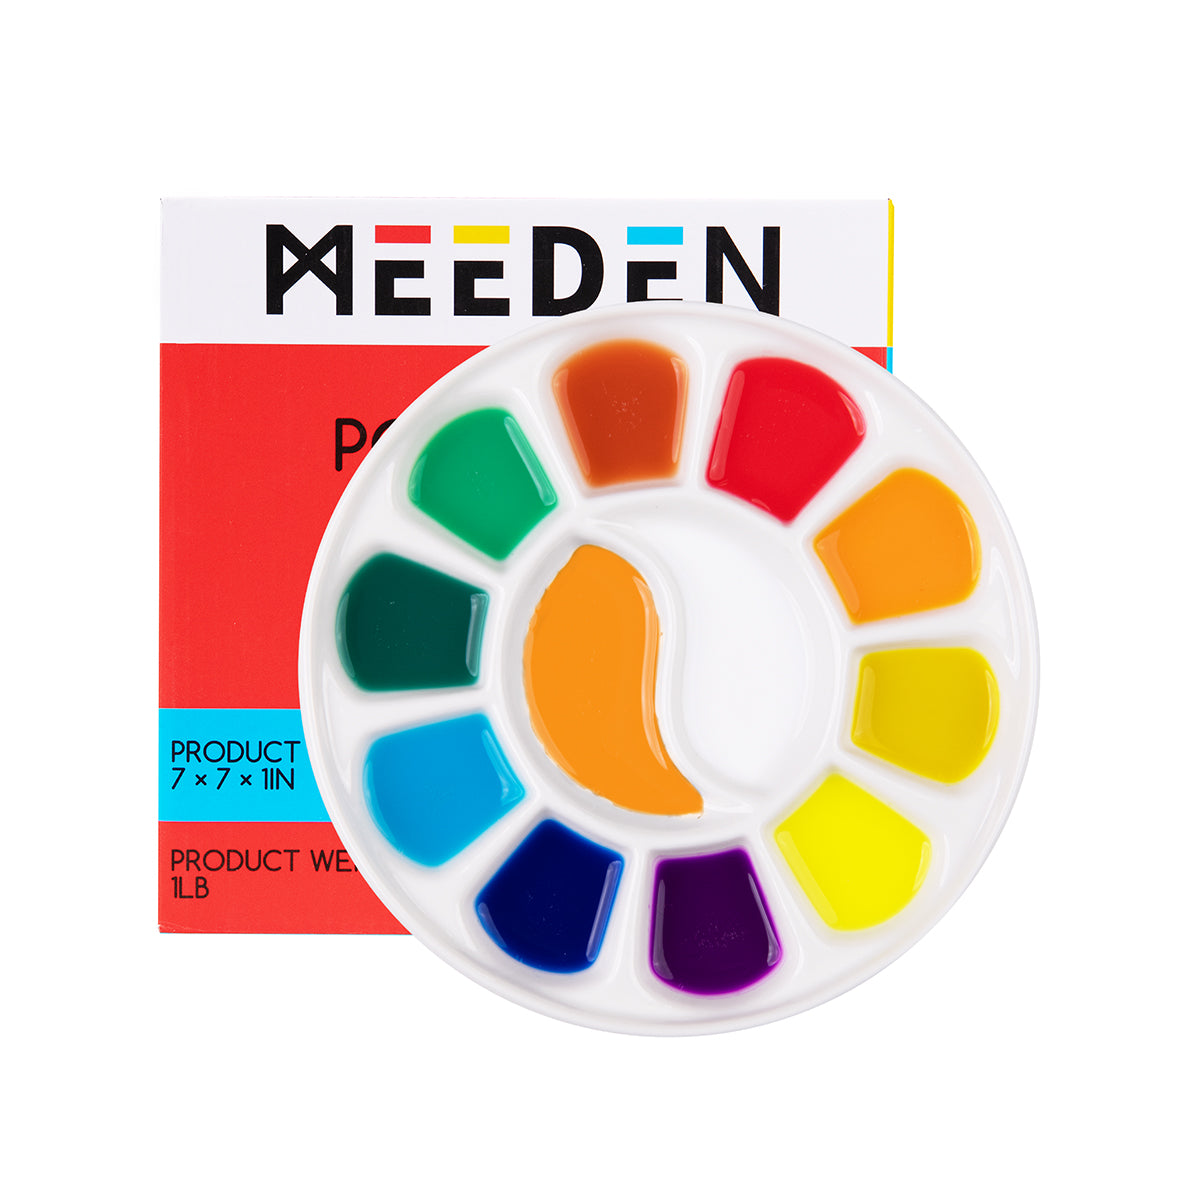
- MEEDEN Ceramic Watercolor Palette
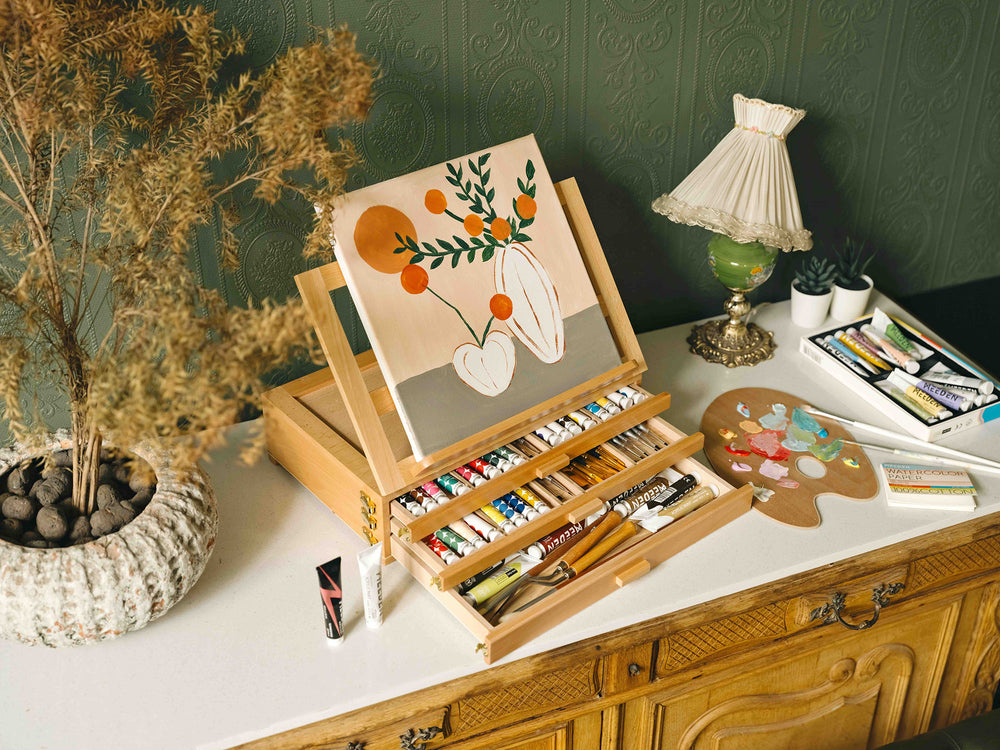
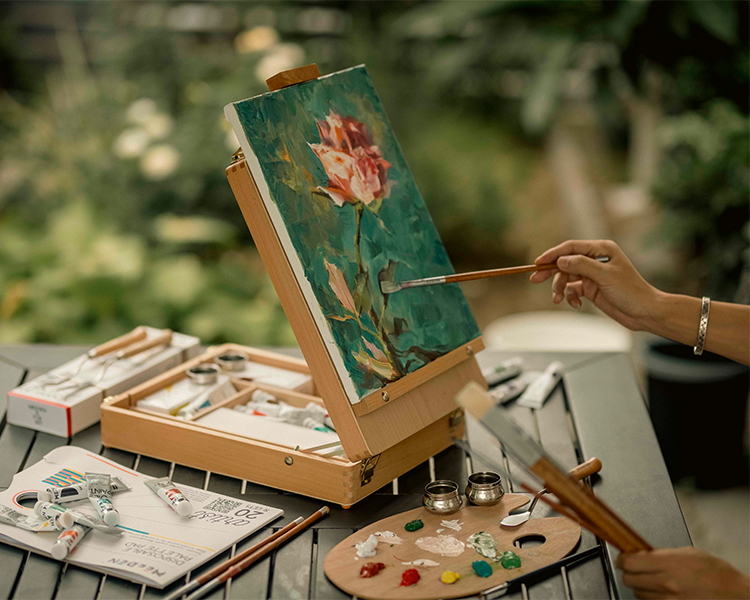
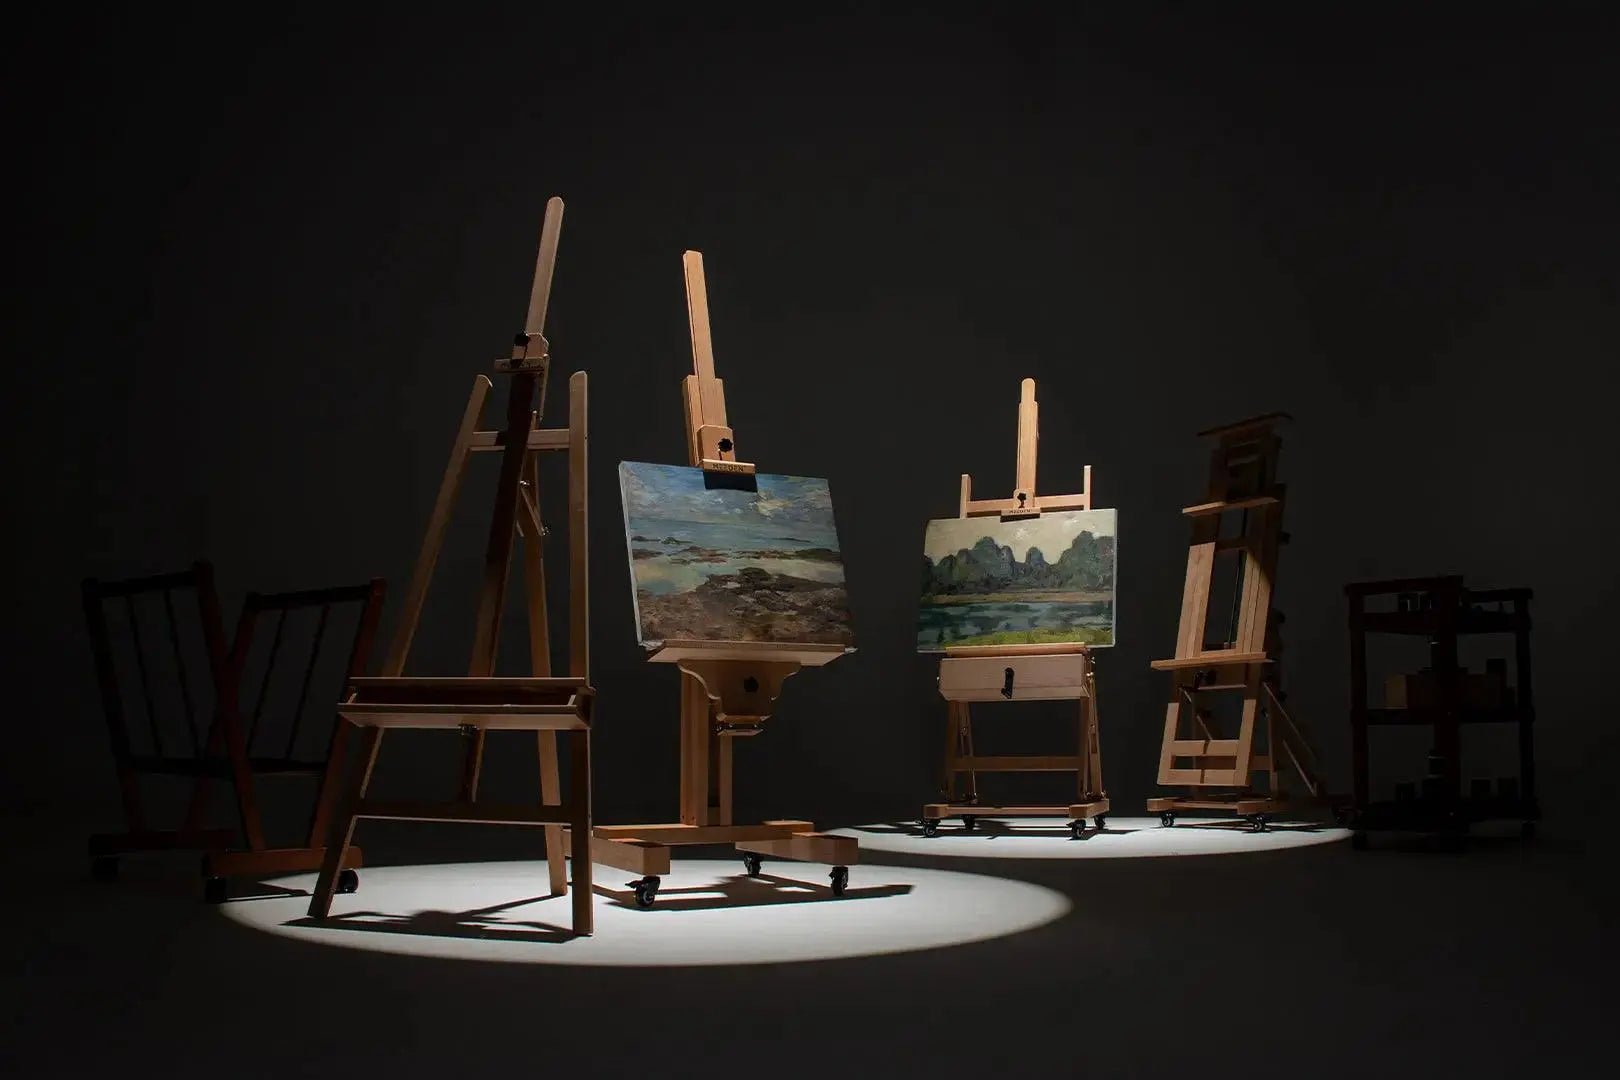
- MEEDEN Solid Beech Wood Tabletop Easel (optional)
- Pencil and eraser
- A jar of clean water
- Paper towel
Step-by-Step Tutorial
Step 1: Pencil Sketch

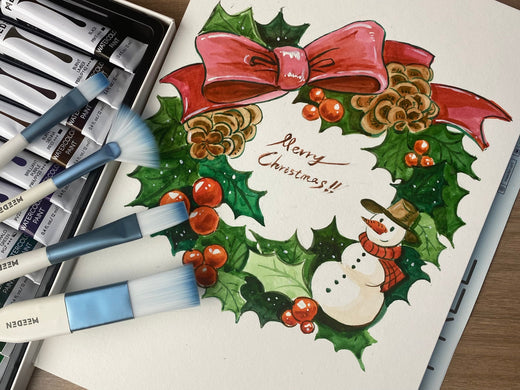
Start with a light pencil sketch to create your layout. For this card, I’m drawing a festive wreath that includes holly, pinecones, a large pink bow, and of course — Mr. Snowman!
If you'd like, feel free to add your own personal touch, like stars, bells, or candy canes. Use gentle, light strokes to outline the main elements. If any lines feel too dark, softly erase them so they don’t show through the paint. I’m leaving the center of the wreath blank so I can write "Merry Christmas" later — it’s a cute spot for a holiday message!
Step 2: Base Colors

Now it’s time to fill in the base colors. Start with the largest objects.
For the big pink bow, I’m using a large brush to apply a soft pink as the base color. Add a little water for smooth, even coverage. Once that’s dry, I move to the berries. Use a bright red for the berries, but leave small white circles unpainted to create highlights for a realistic look.
Step 3: Holly Leaves & Pinecones

Time to add the greenery!
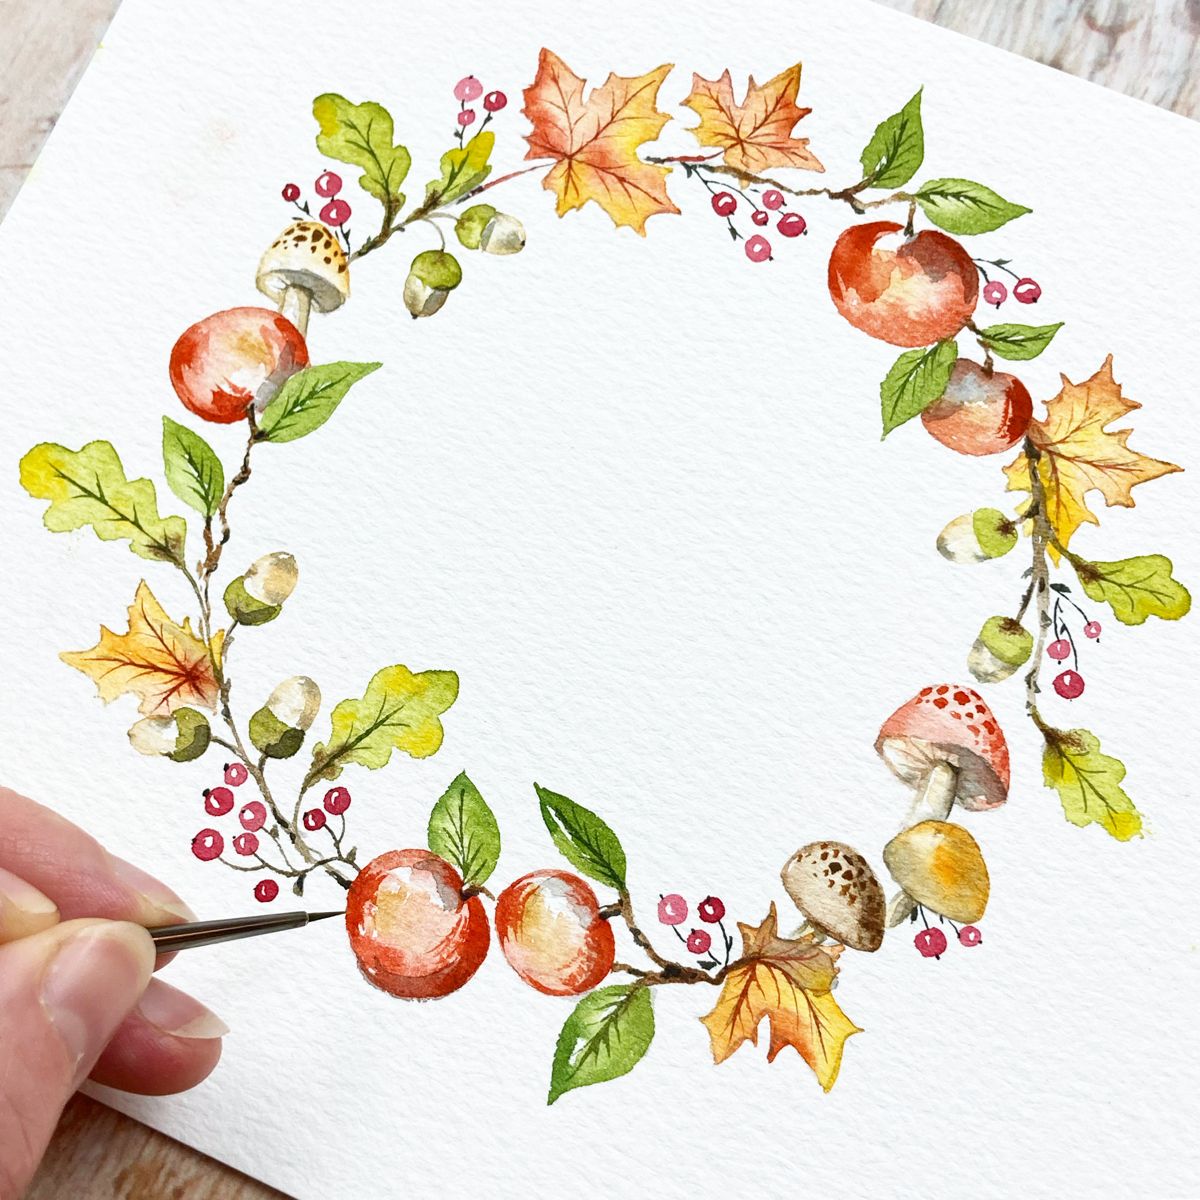
For the holly leaves, I like to mix different shades of green paint to give each leaf a unique tone. This creates visual depth and makes the whole composition feel more alive. Use a medium-sized brush to paint each leaf, and let some be darker while others remain lighter. Next up, pinecones.
They may look tricky, but trust me, they’re super simple! First, create a soft base shape using light brown paint. Then, use a darker brown to add overlapping crescent shapes to create the classic pinecone layers. This layering technique makes them look 3D and adds texture.
Step 4: Mr. Snowman

Now it’s time to bring Mr. Snowman to life!
Start by painting his scarf a rich red for that classic cozy winter look. Next, use a bright orange for his iconic carrot nose. His hat, eyes, buttons, and smile will all be painted in black, giving him that friendly, frosty face we all love. Use a fine detail brush to achieve clean, sharp lines.
Step 5: Outlines & Final Details

We’re almost done — now it’s time to add the finishing touches!
Take a thin, sharp brush and outline the edges of key elements for added clarity. Outline the leaves, bow, holly, and snowman. This makes everything pop.
Add texture to the holly leaves by painting small veins. Deepen the shadows on the bow to give it volume. Finally, use white gouache or opaque white watercolor to add highlights and snowflakes throughout the card.
Use splatter techniques for a whimsical snowfall effect, or use a small brush to paint individual flakes.
Finish it all off by writing “Merry Christmas” in the center of the card! Feel free to experiment with your lettering style to make it truly your own.

---Tips & Precautions—-
1️⃣ Layer Colors Gradually: Start with light colors, then build up shadows and details.
2️⃣ Add Snow for Magic: Flick white paint or use a drybrush to create a magical snow effect.
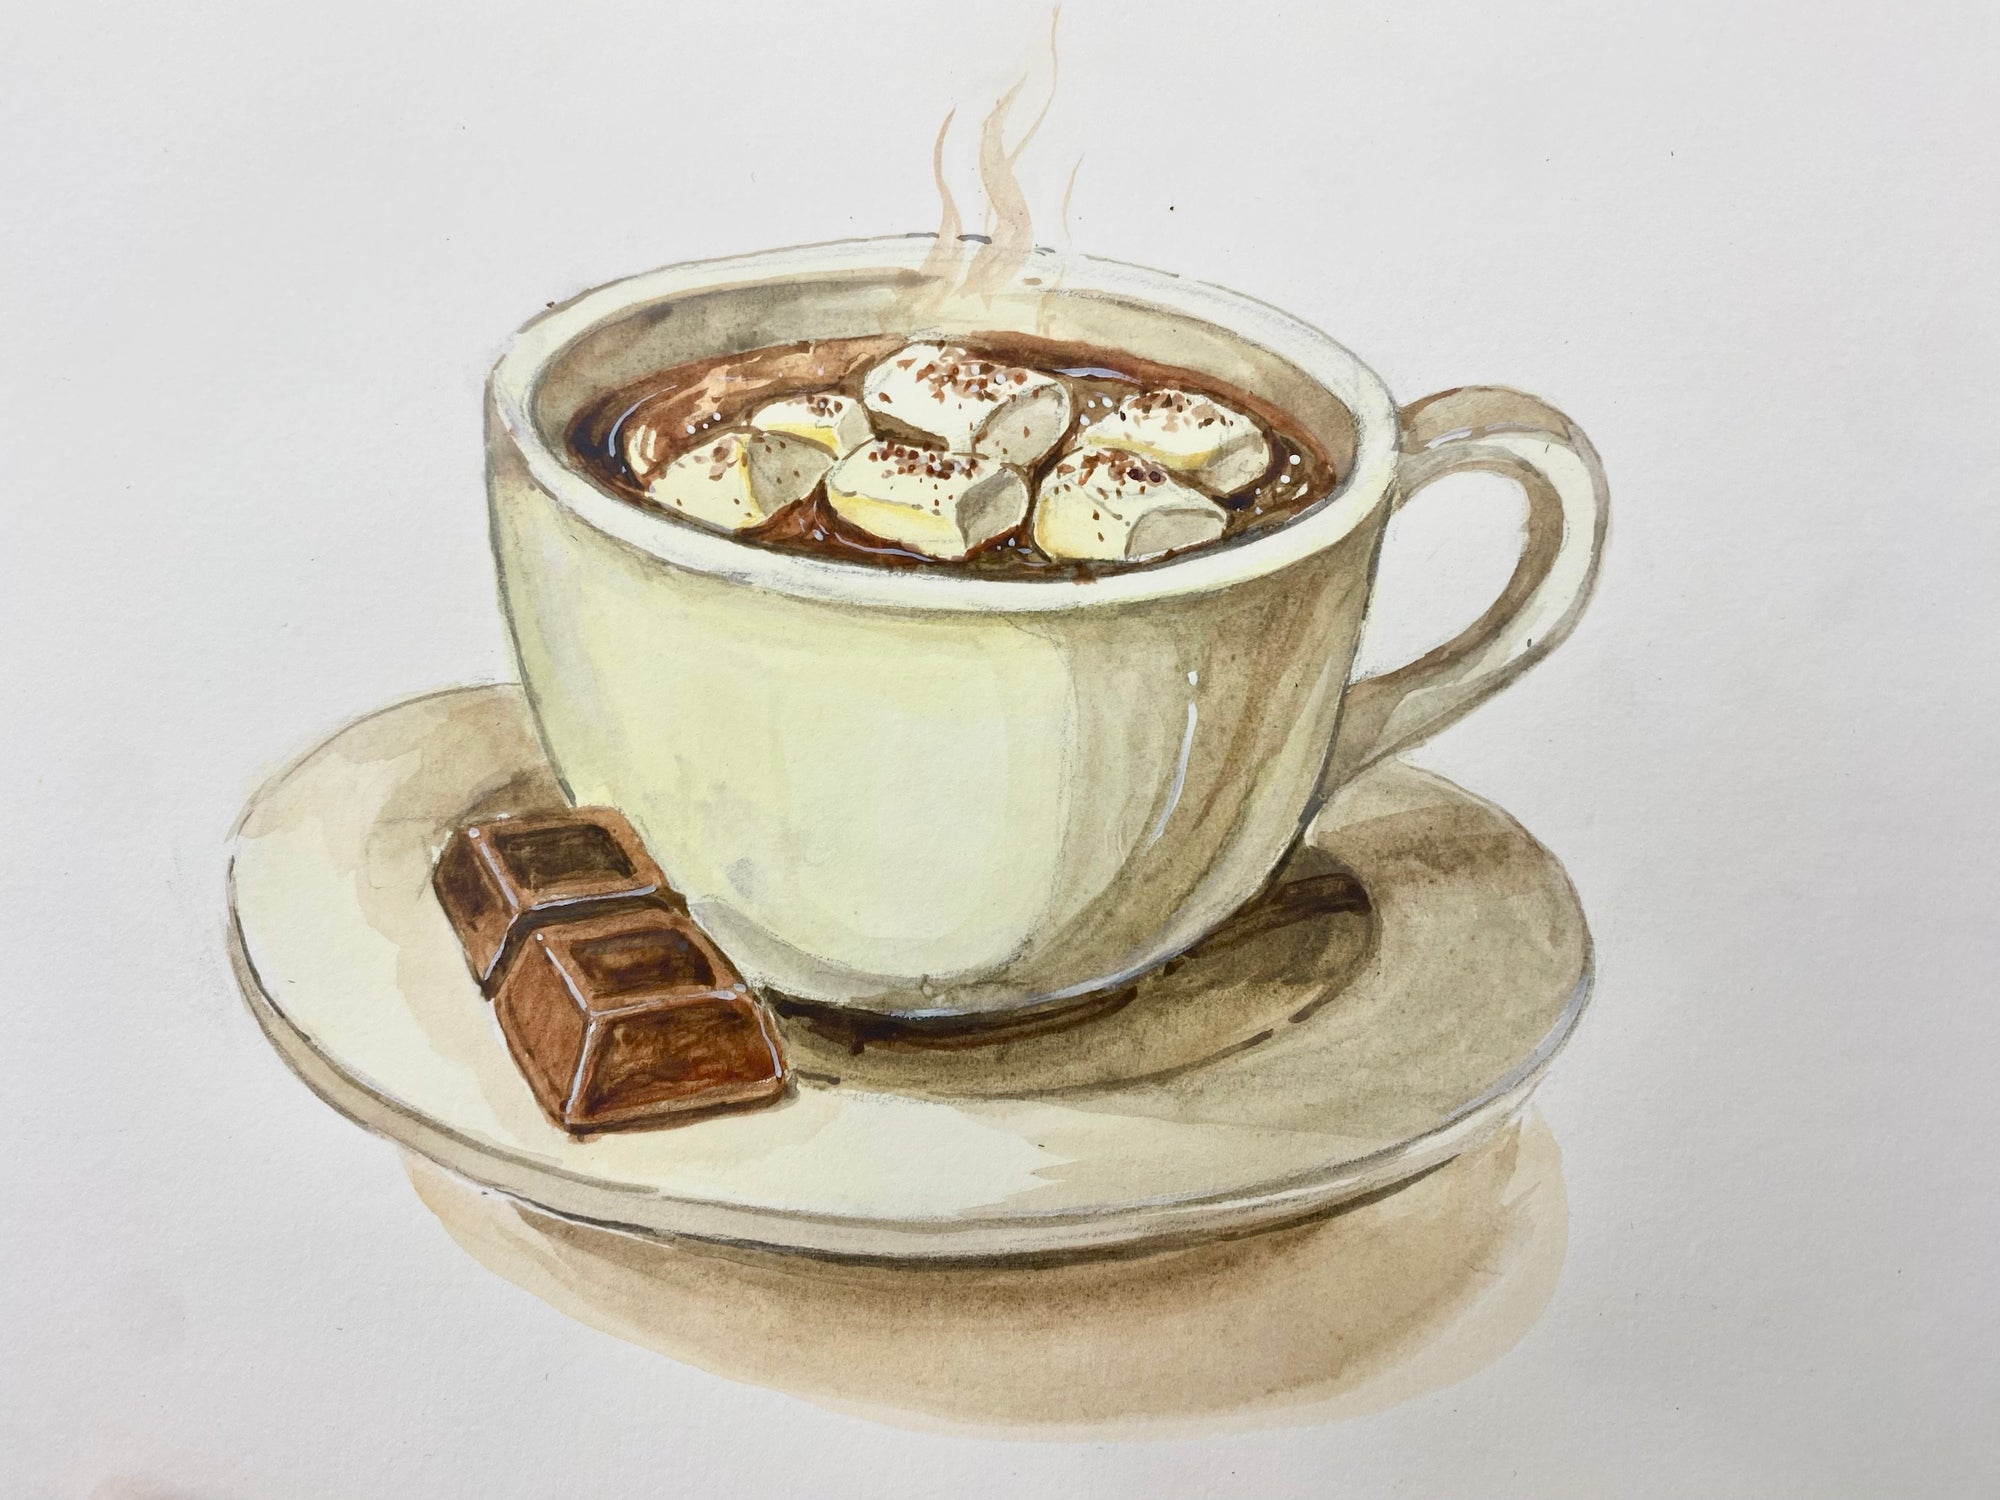
3️⃣ Personalize It: Add your own creative elements like candy canes, ornaments, or a cozy mug of hot chocolate!
And that’s it! Your Christmas card masterpiece is complete.
This is a simple, beginner-friendly project that you can gift to friends, family, or that special someone. Handmade cards are always a thoughtful gesture!
What do YOU like to include in your holiday cards? Let me know in the comments! I’d love to see your creative ideas. Happy Holidays!
#WatercolorTutorial #ChristmasCardDIY #HandmadeCards #HolidayVibes #WinterArt #ChristmasDIY #WatercolorArt #MEEDENArt


